Installing BI
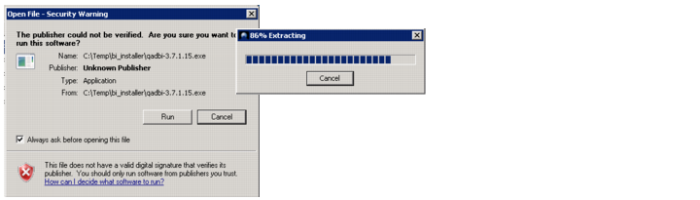
1 Navigate to the directory where the QAD BI Installer file was downloaded and double-click and launch the QAD BI Installer.
2 In the Open File window, click Run.
Installing BI
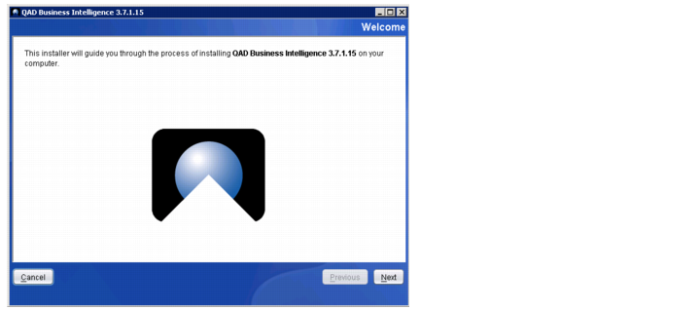
3 Click Next.
Installing BI
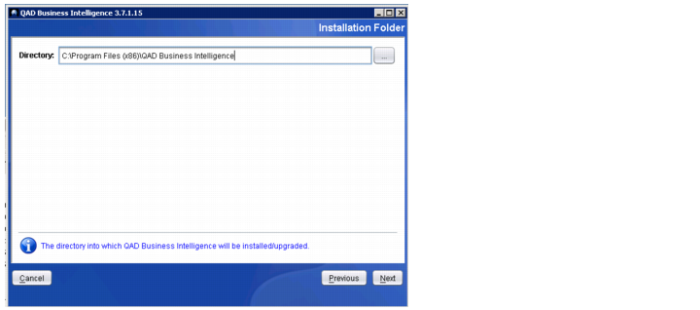
4 Choose the correct directory to install BI or accept the default location. Click Next.
Installing BI
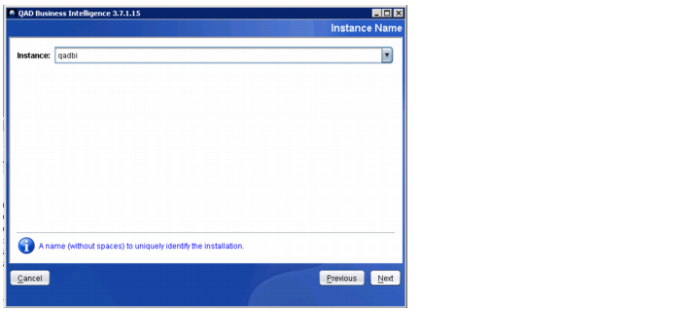
5 Pick the name of the database or use the default. Click Next.
Installing BI
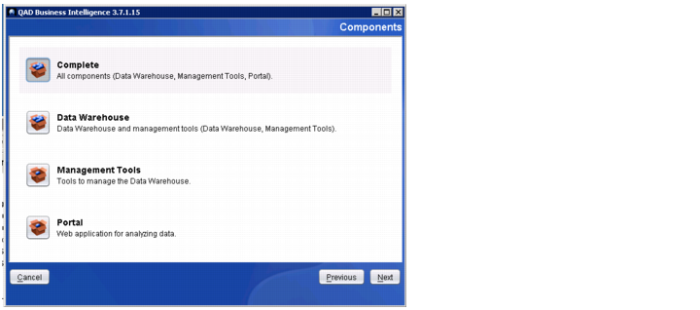
6 To install everything, select Complete. Click Next.
Installing BI
7 Pick the name of the database or use the default. Click Next.
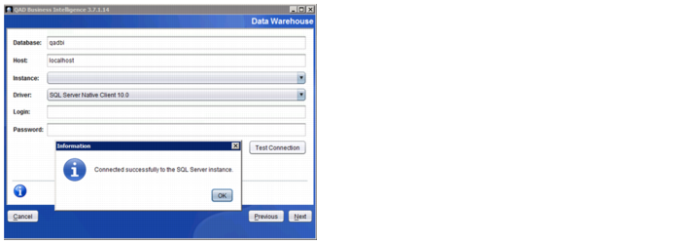
8 Enter the database host and instance name.
Note: It is recommended that you leave the Login and Password fields blank to use Windows authentication when connecting to the database. Otherwise, you can enter a SQL Server login and password.
9 Click Test Connection to validate the database connection. Once confirmed, click Next.
Installing BI
10 You need to know the following information about the customer’s Progress databases.
Example:
Required Information for Progress Database | EE | SE |
Connection Name | EE_QADDB | SE_QADDB |
Database | qaddb | mfgprod |
Host | localhost | localhost |
Port | 20214 | 20214 |
Driver | | |
Type (EE, SE, TM, or EAM) | EE | EE |
User ID | qaddb | qaddb |
Password | demo | demo |
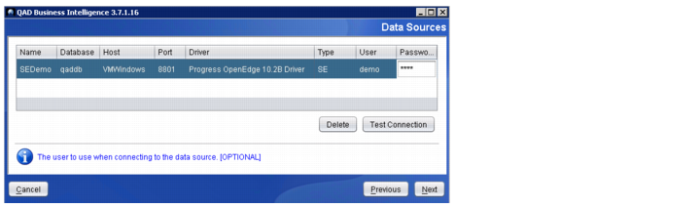
11 Define the ODBC connections to the Progress databases by entering the following:
• Name. Enter the distinct name of the ODBC connection.
Note: If you are setting up multiple data warehouses that source the same Progress databases, include a defining name extension for each ODBC Name, such as SEDemoDev, SEDemoTest, SEDemoProd. When multiple data warehouses are set up on the same server, the installer does not allow you to use the same ODBC connection name, even though the source may be the same.
• Database. Enter the source database name.
• Host. Enter the host name.
• Port. Enter the port number.
• Driver. Select the correct driver. For Progress database sources, select the Progress OpenEdge driver, which appears in the drop-down menu.
• Type. Select the type. For example, select whether this is for a SE or EE data source or for TM or EAM.
• User. Enter the username.
• Password. Enter the password.
Installing BI
12 Test the database connection that you set up by clicking Test Connection.
Note: If the connection test does not work, confirm the following:
• The database name, host, and user/passwords are spelled correctly.
• The port number is correct.
• The Progress databases is currently running and it has a working SQL broker running on the specified port.
13 Repeat for every Progress data source that must be added.
Note: You can add more non-Progress data sources later using the DWD Admin tool.
14 Enter the DWD License Name and Number. A specific license name and number for the installation is provided as part of the BI purchase.
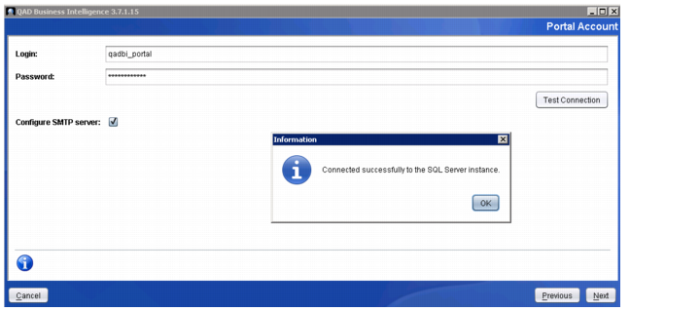
15 Enter setup Portal Login and Password. This is for the SQL Server login that was setup earlier.
Note: The Portal requires a SQL Server login and password. It cannot use Windows authentication to connect to the Portal database.
16 Select the Configure SMTP Server check box. Selecting this check box ensures that emails can be sent from the Portal.
17 Click Test Connection to verify that the connection works.
Installing BI
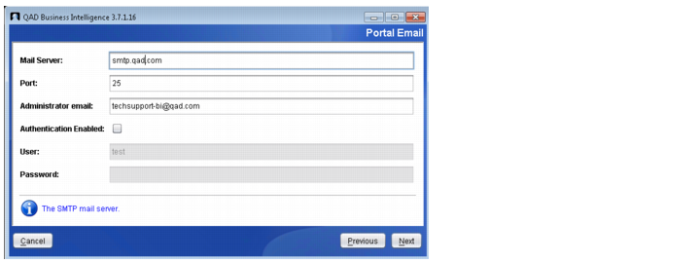
18 Enter setup SMTP Server information.
Installing BI
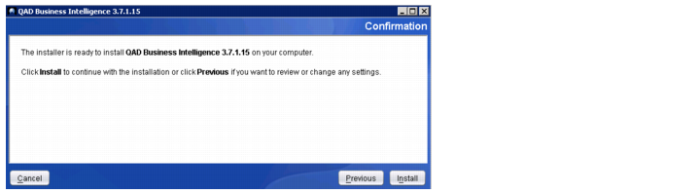
19 Click Install to create database.
Installing BI
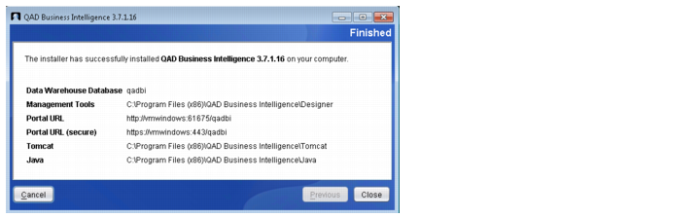
20 Once the installation is complete, a message appears indicating that the installation was successful. Click Close.
Installing BI