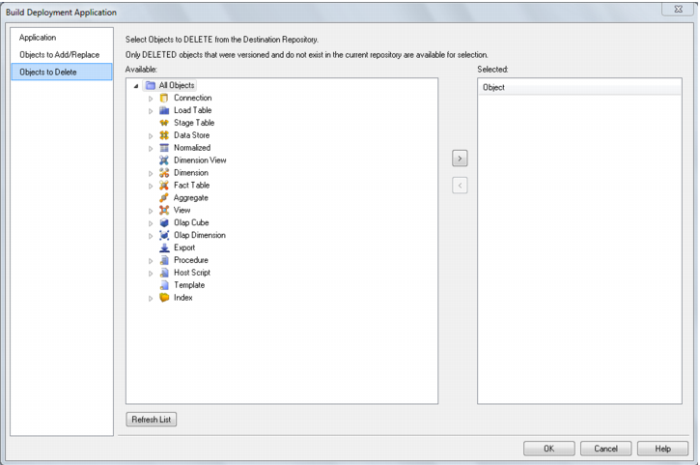
Objects to Delete
Objects can be moved from the left hand object tree by double clicking on an object name or by using the > button. This tab allows you to select the objects to delete in the destination repository.
Note: To be available for selection an object must have been deleted and no longer exist in the repository.
Application Loading
Note: Applications can only be loaded into the same relational database type from which they where created. (For Example an Oracle application can only be loaded into an Oracle database).
Applications are loaded via the Setup Administrator utility. The normal process for implementing an application would be as follows:
1 Run the Setup Administrator utility.
2 Change the application directory to the application's location.
3 Turn on logging in the Setup Administrator utility using Tools/Start logging.
4 Load the application via the Setup Administrator utility.
5 Choose the level of metadata application. There are several levels, from load metadata only through to load metadata and apply changes to all tables.
6 Resolve any connections and tablespaces/filegroups to those present in the target environment.
7 Create/Re-create/Alter database tables, if selected in (5).
8 Compile database procedures, if selected in (5).
9 Turn off logging.
10 Review the output in the Setup Administrator utility.
11 Review the log file.
Refer to the Setup Administrator manual for more information about loading an application.
Importing Object Metadata
Any group of objects can be imported into the current metadata repository from another repository. If an object already exists in the target repository then it is either skipped or replaced depending on the type of import undertaken. If an object is to be replaced as part of an import, a version of the object is created prior to its replacement.
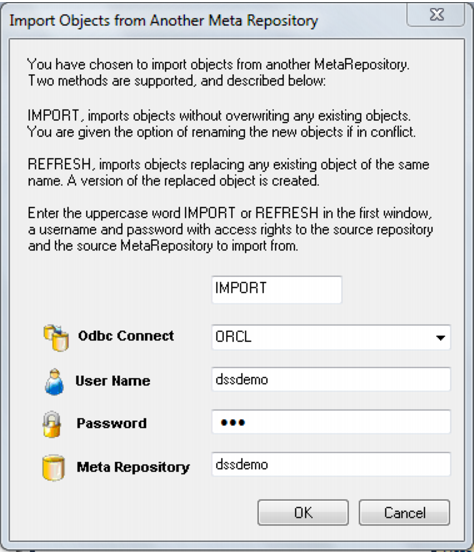
To import an object or group of objects select the Tools/Import Metadata Objects menu option. A dialog as below will appear. The two options are IMPORT or REFRESH. An import will not replace an existing object of the same name. A refresh will version and replace any existing object of the same name.
Enter the connection, and a database user name and password that has access to the source metadata repository. Finally, enter the user name of the metadata repository you want to import from. In most situations the 'user name' and 'meta repository' would be the same. However, if you only have read access to a meta repository then it may be necessary to login to the database under a different user name from that of the repository you are trying to import from.
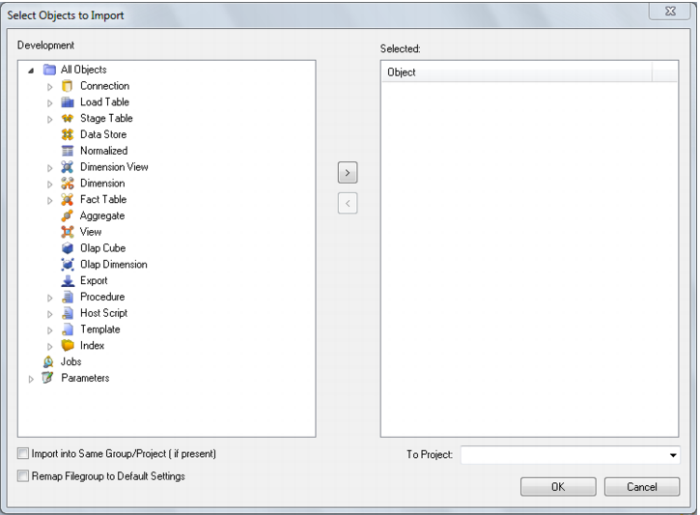
You are not permitted to select the current meta repository in the 'Meta Repository' field, but are permitted to login using the existing repository username. Once a successful logon is completed the contents of the source repository are loaded and the following dialog appears.
Select an object by double clicking on it or by selecting and using the > button. If an object such as a table is chosen then any related scripts, procedures and indexes are also selected. They can be removed if required. A target project can be selected.
Once all required objects are selected the import will commence when the OK button is clicked.
On completion a dialog box will appear notifying of the number of each type of object imported, and skipped.
Note: The repository from which you are importing should be the same metadata version as the target repository.
Importing Language Files
Note: Applications can only be loaded into the same relational database type from which they where created. (For Example an Oracle application can only be loaded into an Oracle database).
Language Files are loaded via the Setup Administrator utility. The normal process for implementing a Language file would be as follows:
1 Run the Setup Administrator utility.
2 Go to the Languages menu item in the top command bar and choose 'Load Languages'.
3 Right click on the Language file to be loaded and select 'Install Language'.
4 Select the ODBC data source and Log on to the target meta repository.
5 Select the language to be updated.
6 Review the output in the Setup Administrator utility.
Refer to the Setup Administrator manual for more information about loading a Language File.
Data Warehouse Testing
Note: Applications can only be loaded into the same relational database type from which they where created. (For Example an Oracle application can only be loaded into an Oracle database).
Testing applications are loaded via the Setup Administrator utility. Refer to the Setup Administrator manual for more information on how to load an application.
A testing application set consists of a Procedure and an XML script and provides the ability to define a series of tests against data warehouse objects; either comparing them to an expected value or to the results of a query.
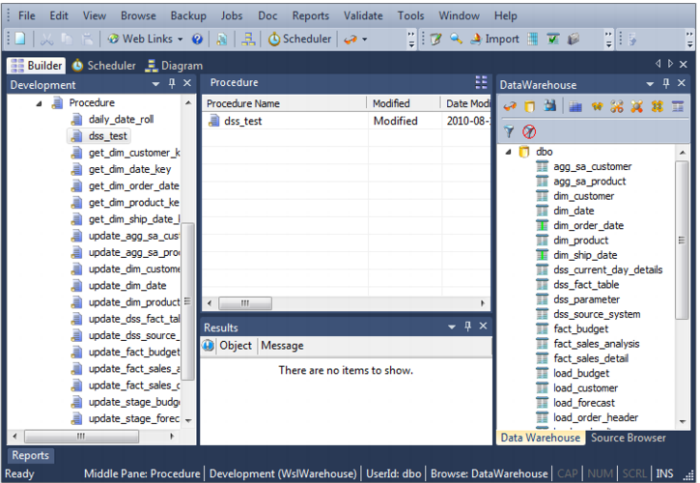
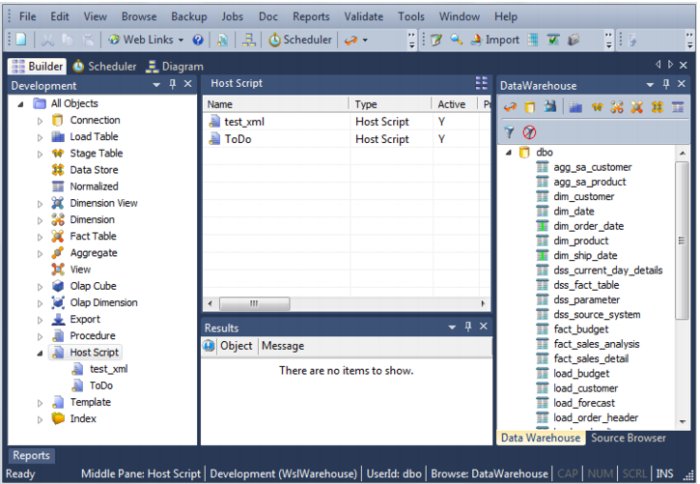
Once the application set has been loaded, the Procedure and the XML script will be visible in the left pane.
The XML script contains the test definitions. Each test is a new XML node in the comparison query. The procedure simply runs the test and determines whether the tests are passed or not. This is most likely to be run as a scheduled job within QAD Data Warehouse Designer. To create a job
1 Choose the Scheduler Button.
2 Choose File and then New Job.
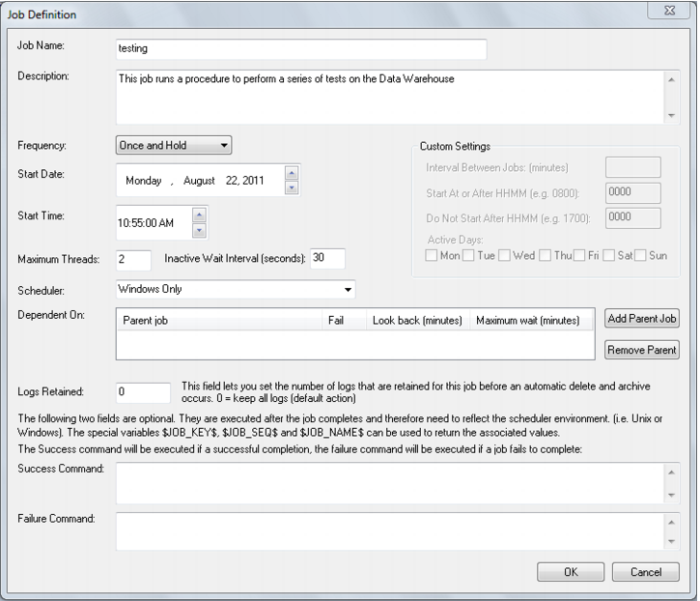
3 Enter the definition of the job.
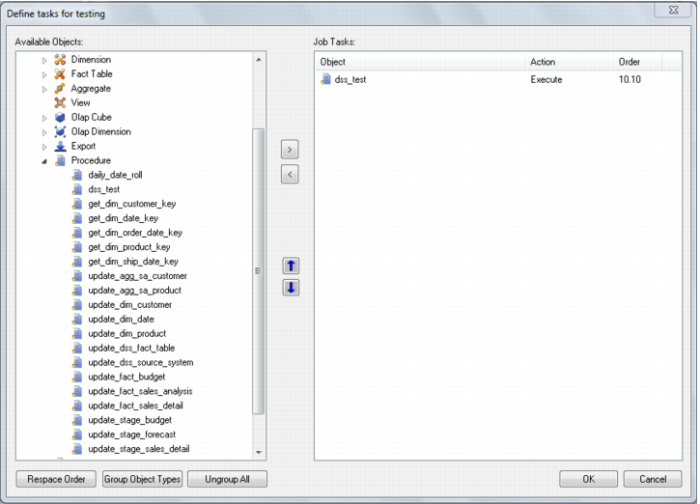
4 To select the test procedure as a task, open the Procedure object heading in the left pane. Choose
dss_test and the
> button. Choose
OK.
5 To run the job, click on the All Jobs button and then right click on the job and choose Start the Job.
Creating and Loading Applications from the Command Line
It is possible to create and load applications from the command line by running a bat file. The QAD Data Warehouse Designer Application directory contains an example bat file WSL_Application_Create_Restore_Point_and_Load.bat for creating and loading.
If you right mouse on this file and choose Edit you will see the steps outlined as well as the details on the options available.
The first step creates a restore point application (R) based on objects about to be loaded. This process calls the command line functionality of Data Warehouse Designer and creates the application file.
The second step loads an application (A) into a test QAD Data Warehouse Designer repository. It uses an xml file to specify various options, calls the command line automation functionality of Setup Administrator and loads the application (A). The QAD Data Warehouse Designer Application directory contains example xml files:
WSL_Application_Load_SQL.xml for SQL Server
WSL_Application_Load_DB2.xml for DB2
WSL_Application_Load_ORA.xml for Oracle
The tags in the xml file need to be edited as the login/connection details etc need setting.
The Batch Application Create options and the Batch Application Load options are listed at the end of the bat file. The values for these variables will also need to be customized before running this file.
The process typically involves the following steps:
1 Create an application (A) in Data Warehouse Designer containing your data warehouse changes.
2 RUN WSL_Application_Create_Restore_Point_and_Load.bat from the command line; which creates a restore point application (R) and applies application (A) to a test QAD Data Warehouse Designer repository.
3 If the changes are incorrect, they can be undone by loading the restore point application (R).
Note: You can only create a RESTORE application through the command line; deployment applications are still built through Data Warehouse Designer.
Batch Application CREATE options
Batch Application LOAD options