Initial Data Transfer
The initial data transfer between QAD Enterprise Applications and QAD CRM marks the success of their integration. The integration automatically synchronizes data between the two systems based on the configuration. However, the initial data transfer from QAD Enterprise Applications to QAD CRM must be initiated manually. To access this option, go to Main Menu|QAD ERP Integration|Settings and Switches|QAD ERP|Initial Data Transfer from QAD ERP.
Before you can transfer data from QAD Enterprise Applications to QAD CRM, make sure you have properly configured both applications. For configuration details, see Installation Guide: QAD CRM. You must also ensure that the QAD CRM and the QAD Enterprise Applications databases are connected.
When you initiate the first data transfer from QAD Enterprise Applications using the QAD CRM working environment, you should transfer the data in the following order:
• Multiple Currency
• Product
• Address
• Sales Quote
• Sales Order
• Installed Base
• Call
• Call Quote
• Contract
• Contract Quote
To start the data transfer process, do the following:
1 Select a node under the Initial Data Transfer from QAD ERP option. A dialog box displays.
2 Select the check boxes in the dialog box, if any, based on your requirements.
3 Click OK to start the data transfer process from QAD Enterprise Applications to QAD CRM.
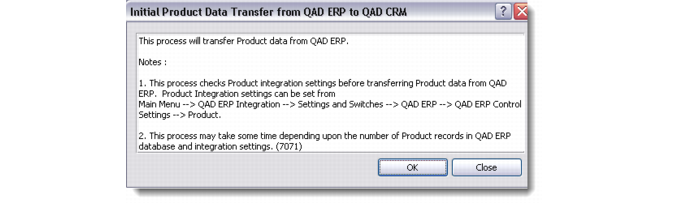
The Product Data node dialog box is displayed below as an example.
Initial Data Transfer - Product
To determine the result of the initial data transfer, see the .txt files that are created in the <MFG/PRO installation>\log folder. These text files are created in either the QADSFAandMAInstallation\test\log or QADSFAandMAInstallation\prod\log directory depending upon the environment.