Converting 6.3 B1 / 6.4 B2 Databases to 6.4 B6 Format
Perform the following steps in order to upgrade QAD CRM database from version 6.3 B1 / 6.4 B2 to 6.4 B6. Please skip steps from 2 to 13 if you are upgrading from 6.4 B2.
1 Modify QADCRM64InstallDir\compile\qadsfamaupgrade.pf to connect to QAD CRM 6.3 B1 / 6.4 B2 databases. You do not need to connect QAD Enterprise Applications databases.
2 Copy emailc.txt file from QADCRM64InstallDir\compile\conversion\data to c:\temp folder.
3 Choose Start|All Programs|QAD CRM 6.4|QAD CRM Upgrade Utility in order to apply df / data.
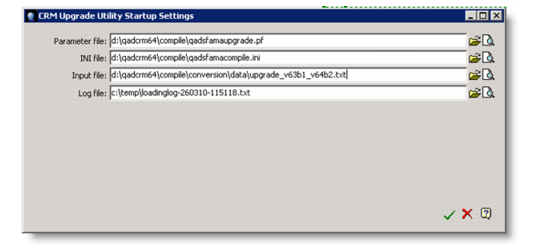
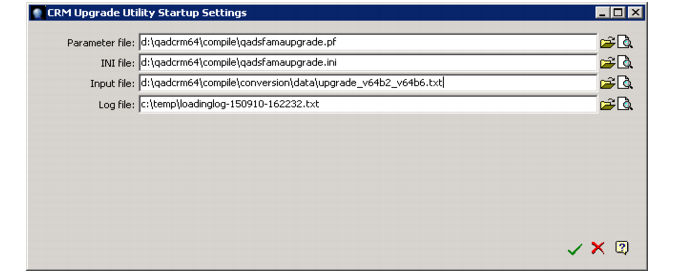
4 Select the value of “Parameter file” and “Input file” as shown in the following figure and then select the OK button.
The below screen assumes that QAD CRM 6.4 is installed in the d:\qadcrm64 directory.
5 When you select OK, the following screen appears:
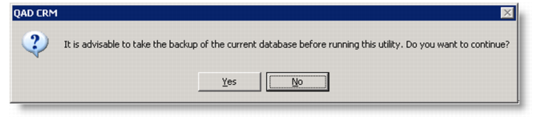
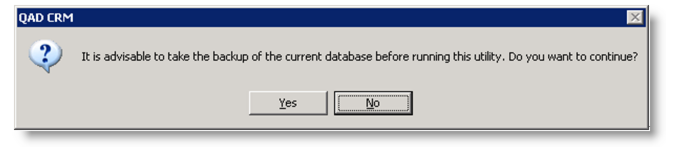
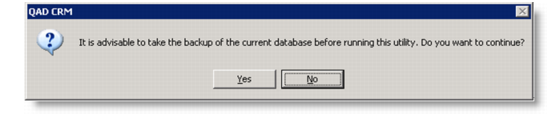
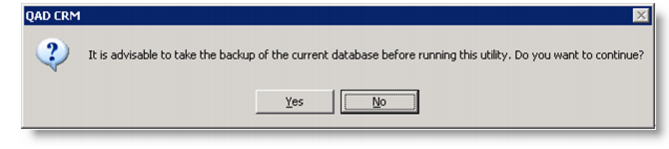
6 Make sure the CRM 6.3 B1 databases are backed up and select Yes. The following screen appears:
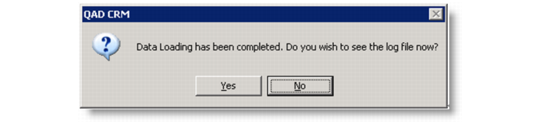
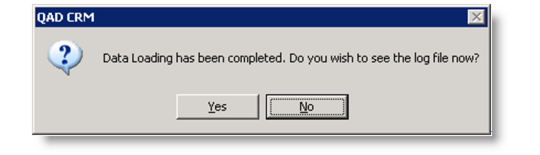
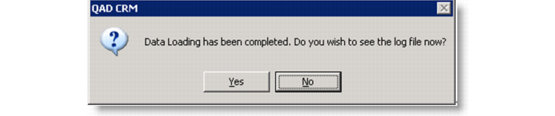
7 Select No. The following screen appears:
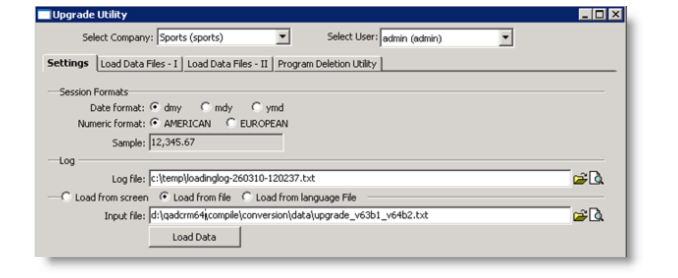
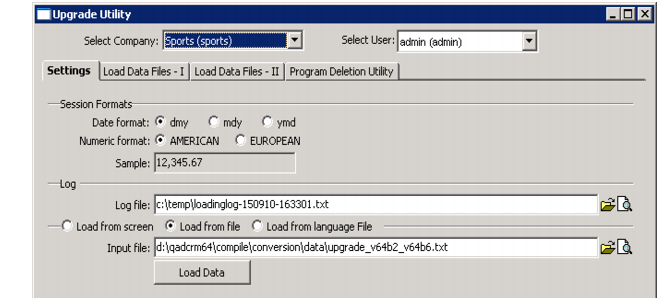
8 Select the correct Company (Business Unit) from Select Company combo and make sure that the “Load from file” option is selected and the value of “Input file” is correct as shown in the above figure.
9 Select the Load Data button. The following screen appears.
10 Make sure databases are backed up and select Yes. The following screen appears.
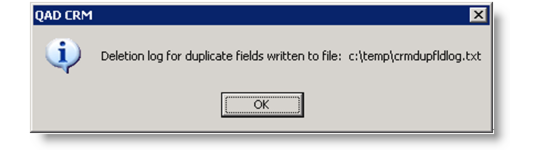
11 Select OK. The following screen appears:
12 Select No. The original interface remains visible on the screen.
13 Select the Close button to close the interface.
14 Run Upgrade Utility. Choose Start|All Programs|QAD CRM 6.4|QAD CRM Upgrade Utility in order to apply df / data.
15 Select the value of “Parameter file” and “Input file” as shown in the following figure and then select the OK button. The below screen assumes that QAD CRM 6.4 is installed in the d:\qadcrm64 folder.
16 When you select OK, the following screen appears:
17 Make sure the CRM 6.3 B1/ 6.4 B2 databases are backed up and select Yes. The following screen appears:
18 Select No. The following screen appears:
19 Select the correct Company (Business Unit) from Select Company combo and make sure that the “Load from file” option is selected and the value of “Input file” is correct as shown in the above figure.
20 Select the Load Data button. The following screen appears:
21 Make sure databases are backed up and select Yes. The following screen appears:
22 Select No. The original interface remains visible on the screen.
23 Select the Close button to close the interface.