Customization Using UI Design Mode
Configurable Screens
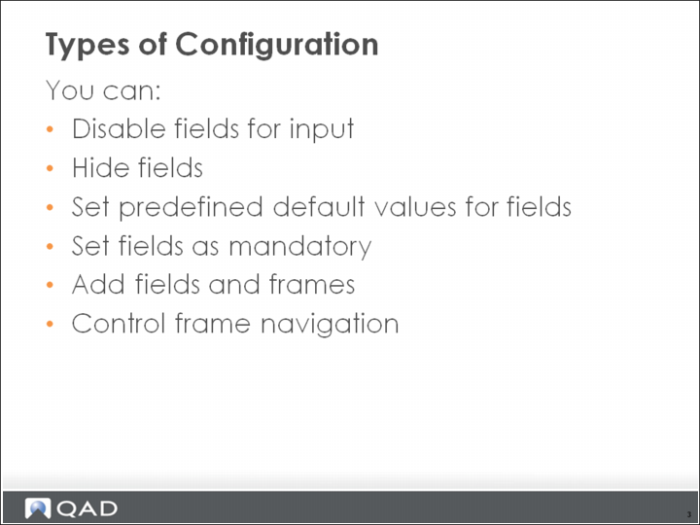
Types of Configuration
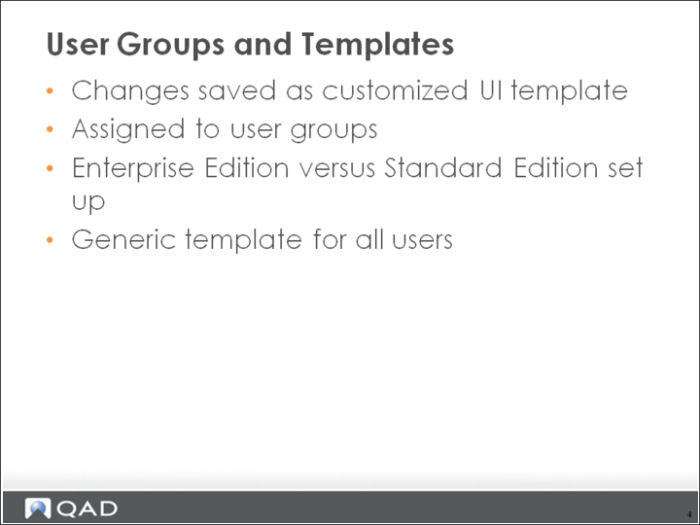
User Groups and Templates
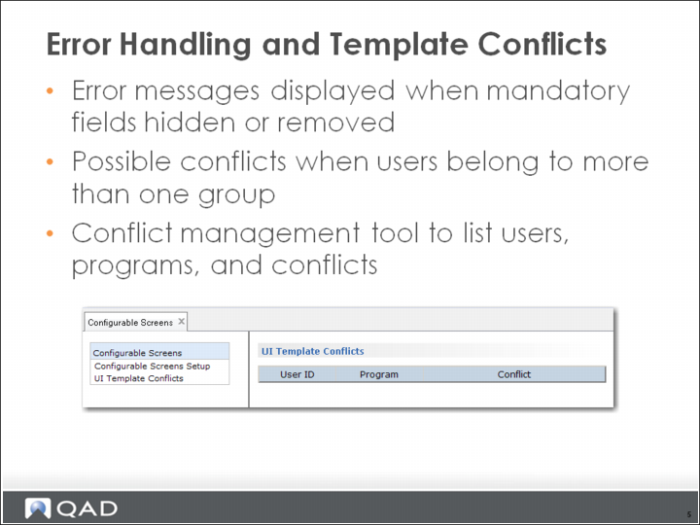
Error Handling and Template Conflicts
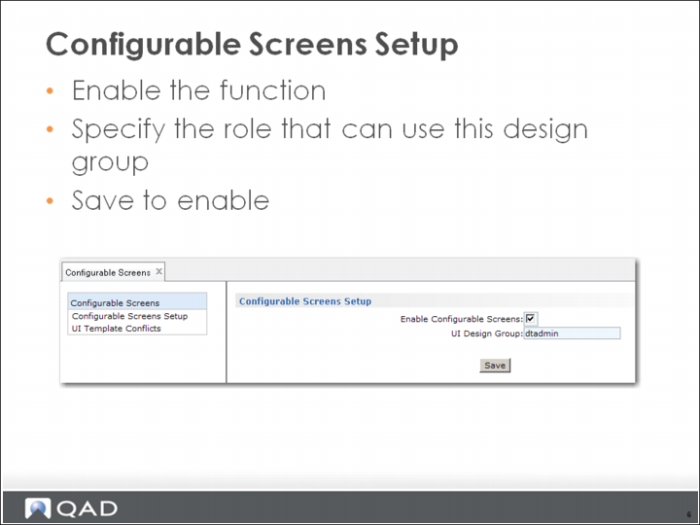
Configurable Screens Setup
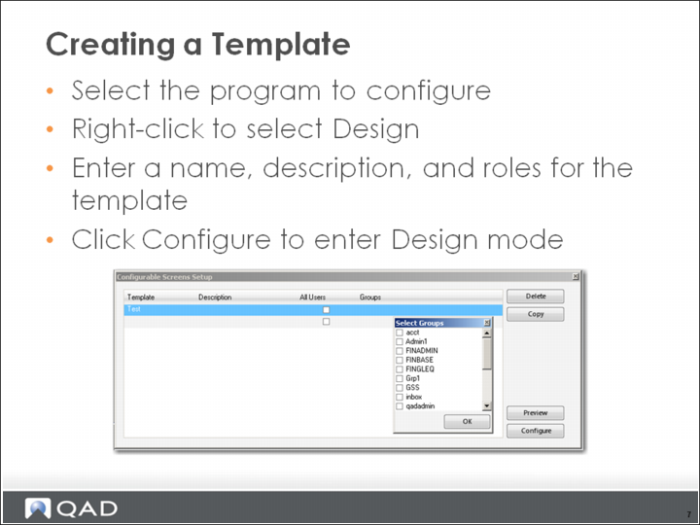
Creating a Template
Roles are called groups in Enterprise Edition.
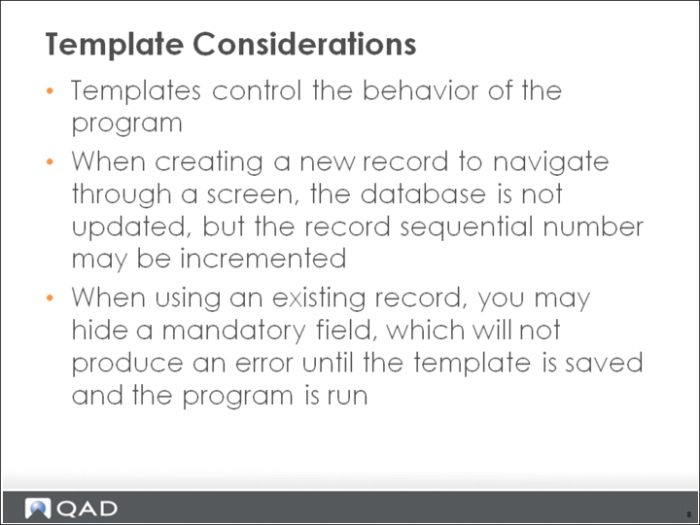
Template Considerations
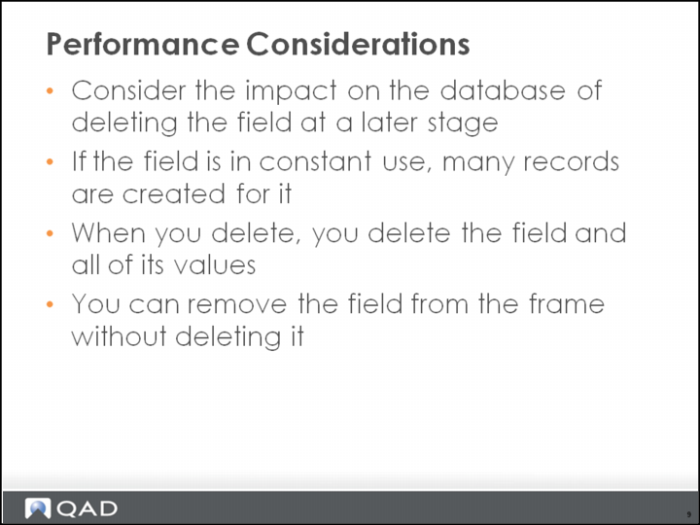
Performance Considerations
When you create your own field and frame, you add the field to the schema, and as the program is used, users add values to it. When you delete, you delete the field and all its stored values from the database. Use the Disable or remove options to remove a field from the screen without deleting it from the database.
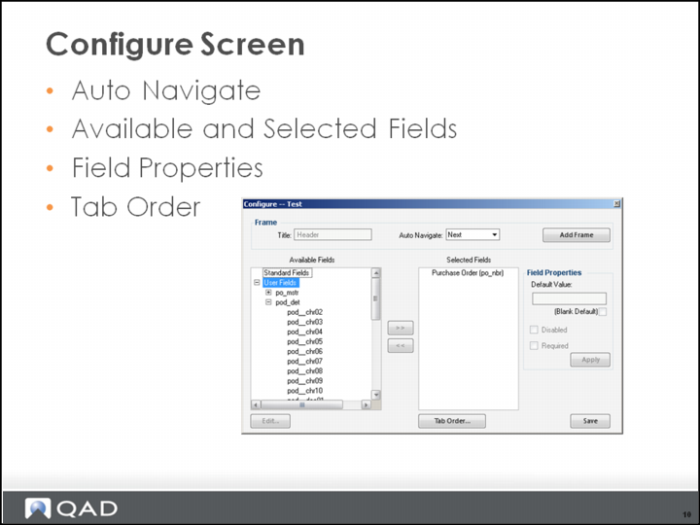
Configure Screen
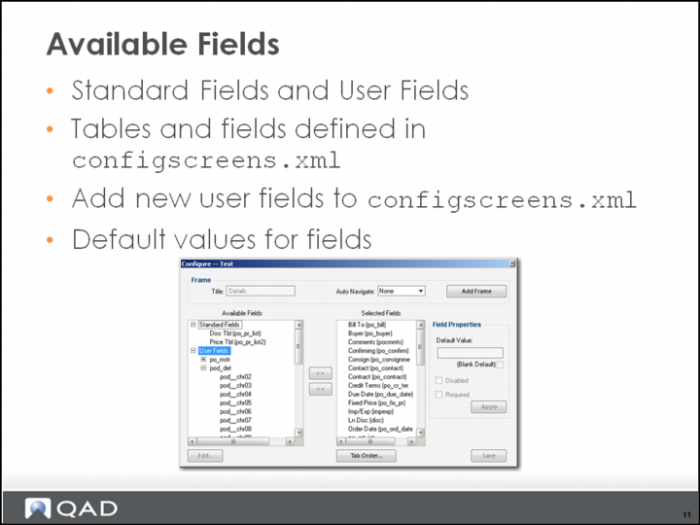
Available Fields
Field types and how to add them
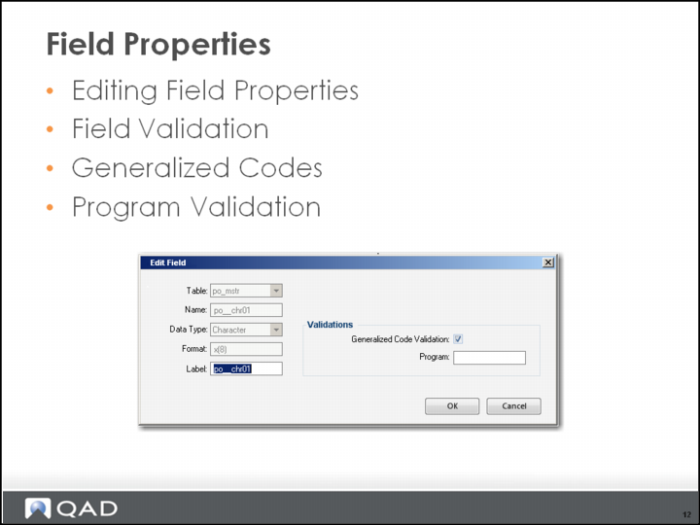
Field Properties
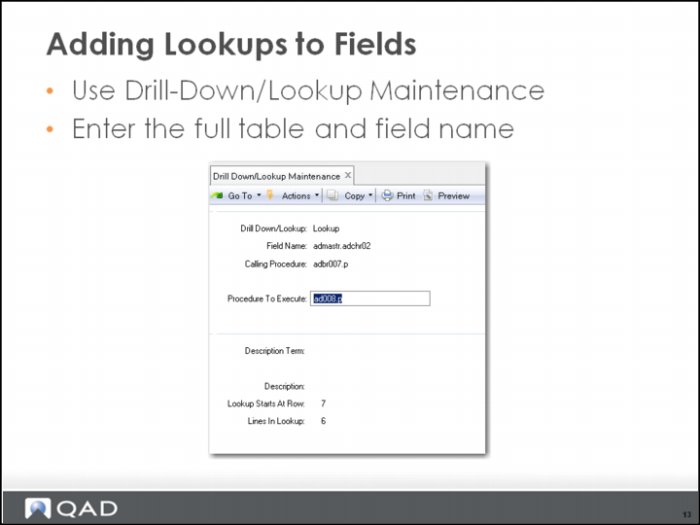
Adding Lookups to Fields
Using Added Fields in Character Code
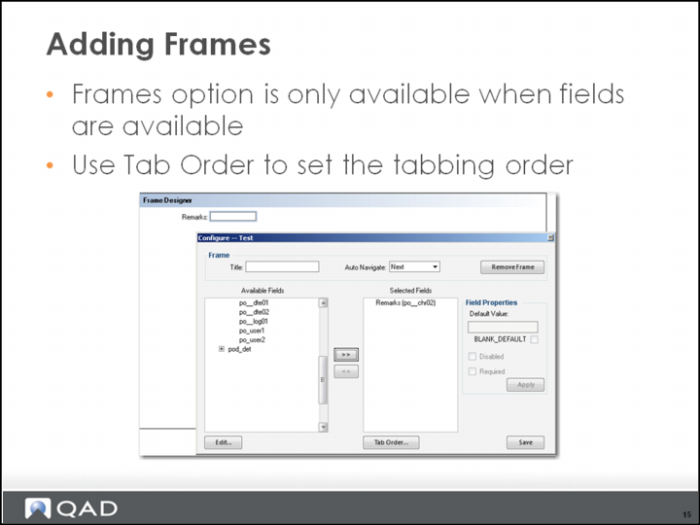
Adding Frames
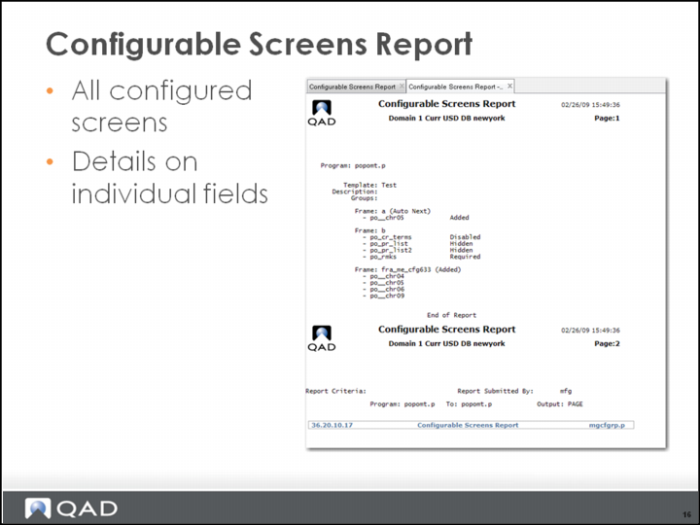
Configurable Screens Report
Hands-on Exercise (5)
UI Design Mode
• QAD developers design all financials forms. The forms are included in the application UI libraries.
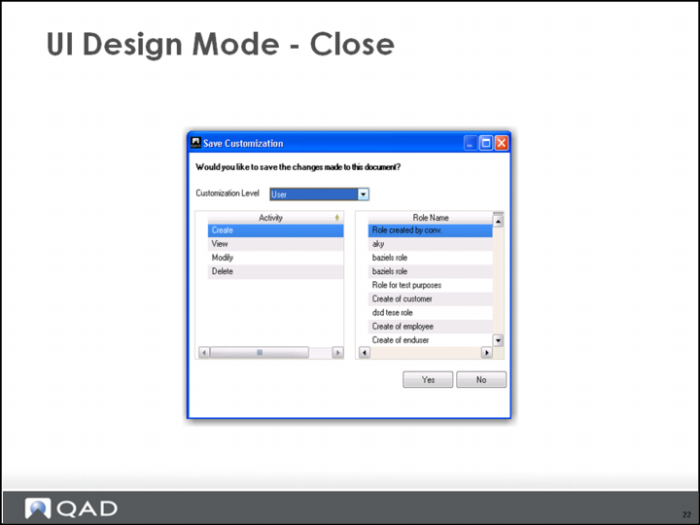
• The system provides the possibility to apply changes to the standard layout/design, by using. The system stores the applied changes (the changed properties) on user/role/system level.
• UI Design Mode is a secured feature. The system administrator can enable/disable it for certain roles.
• The UI design changes are on the level of the activity. Even if the standard application used the same object form for all activities, the end user can change the form layouts for each of the activities.
UI Design mode is typically used to:
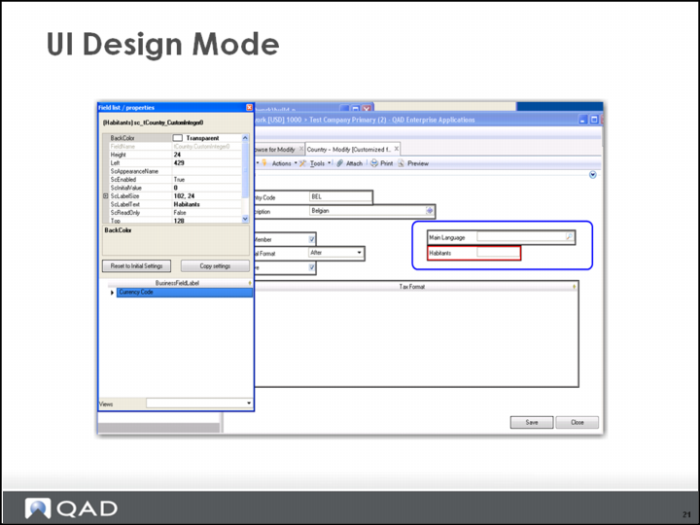
• Add user-defined fields to the form
• Change the position of fields on the form
• Change labels
• Hide fields
• Assign initial values to fields
You can disable Design Mode in the System Settings option. If the customer does not plan to do UI customization, you can disable the function for performance reasons.
UI Design Mode 2
The UI Design Mode is the main way to change the applications UI. Typically customization developers would remove fields, or make them read-only. They can also totally rearrange the form.
You can also use UI customization to put new fields, tab controls, and grids on the form (if you are adding a custom table to an existing form).
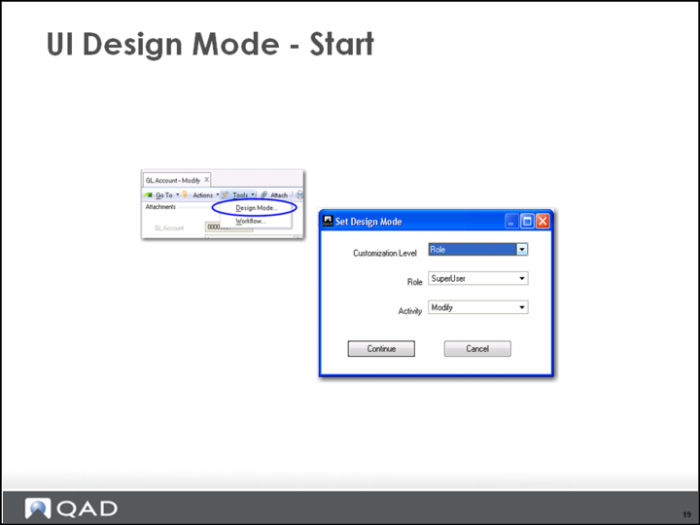
The UI Design Mode is available on almost all forms in the fin application, and is started with “Tools->Design Mode…”
UI Design Mode 3
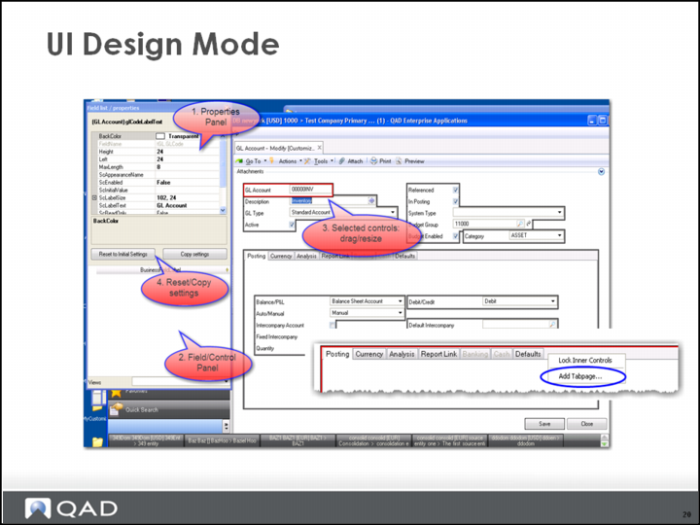
• (1) You can use the Properties panel to manually change the available properties of the selected control (the selected control is the control that is selected with a red rectangle on the screen. The name of the business field represented on the object form is displayed in the Field List, Properties window (as the FieldName property). In most cases, this value is auto-completed. If the field is not directly mapped to a field in the object dataset, the field name is not displayed, and the related business field name is retrieved using other mechanisms or by consulting the HTML documentation.
• (2) The Field/Control panel contains the business fields and/or controls that are available, but not visible on the form. The user can drag the fields from the panel straight on the form in Design Mode.
• (2) If the user wants to add a custom table on the form, the user can to drag it to the form, which adds a grid on the form.
• (3) The user can use the form in Design Mode to select a field or control. The user can drag a control or resize it.
• (3) On the form design, the user can use the context menu to add a tabcontrol (maximum one per form), and in an existing tabcontrol, add tabpages. One can also add a text control in this way.
• (4) One can go back to the factory defaults by using the “Reset to initial settings” button.
• (4) The “Copy settings” button allows the user to copy an existing UI customization (from some other user/role) for personal use. Using this option causes the selected customization to overwrite the previous own customization.
UI Design Mode 4
UI Design Mode 5
UI Design Mode 6
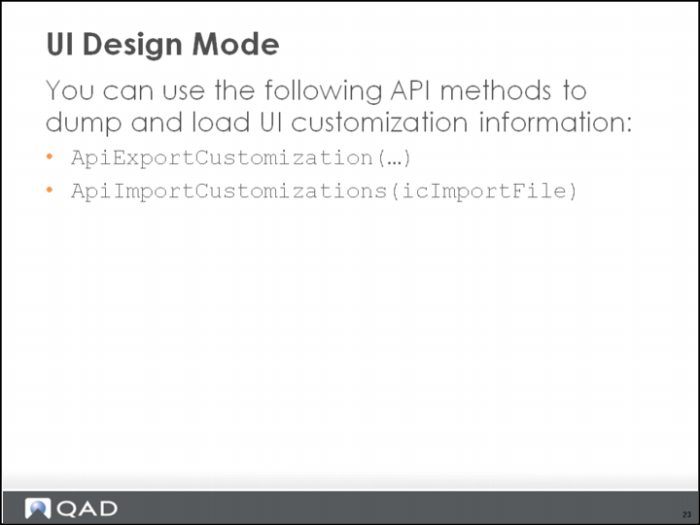
• Refer to the section about how to use the 4GL proxy layer to call financials API methods. (in “Customization of Component-Based QAD Applications - 5 - Integration with financials backend”)
• XML is the format used for dump and load
UI Design Mode 7
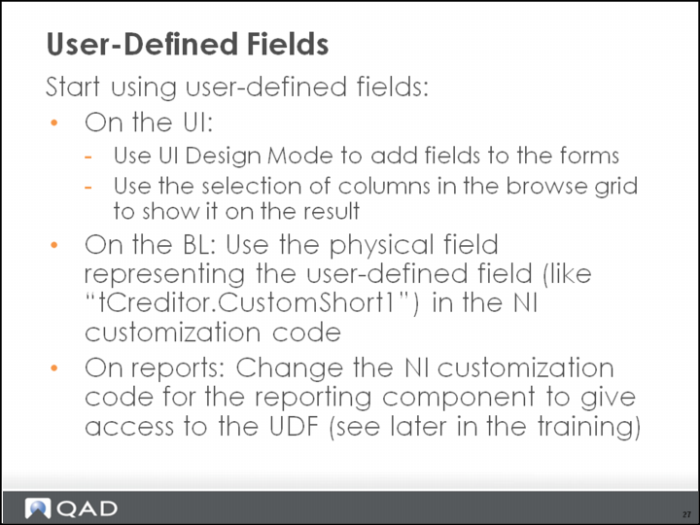
User-Defined Fields
Many of the UI customization activities include the use of user-defined fields. Because the data available on the BL back-end and the UI frontend are different, and the datasets are the only way that the data is passed between the layers, we try to use UDFs in many cases just to pass data.
Every component’s object dataset can contain business fields used to store customer-specific values (user-defined fields). They can be defined on one or more data tables in the object dataset. The user-defined fields are fields that map to physical fields in the database. The fields are known in the internal data flow within the application and also in the application database itself. For the internal use of these user-defined fields, all normal patterns are followed. User-defined fields are passed between database, application server, and client the same way as other object data.
Use this activity to define a user-defined field. A user-defined field means, in effect, that the end user gives the field a meaning.
You specify the following information:
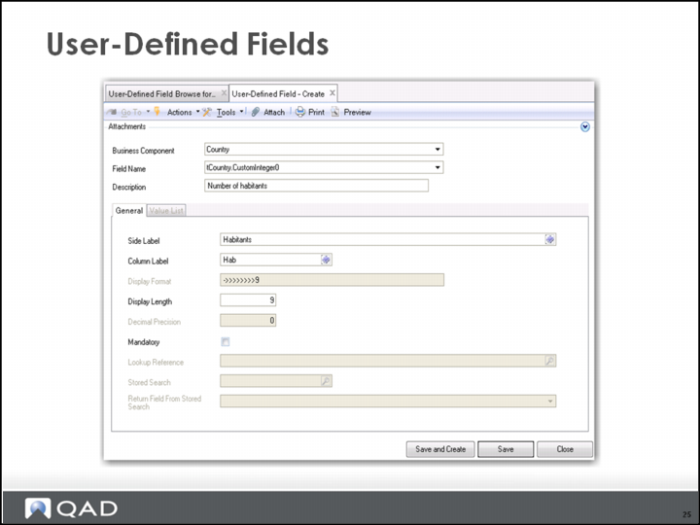
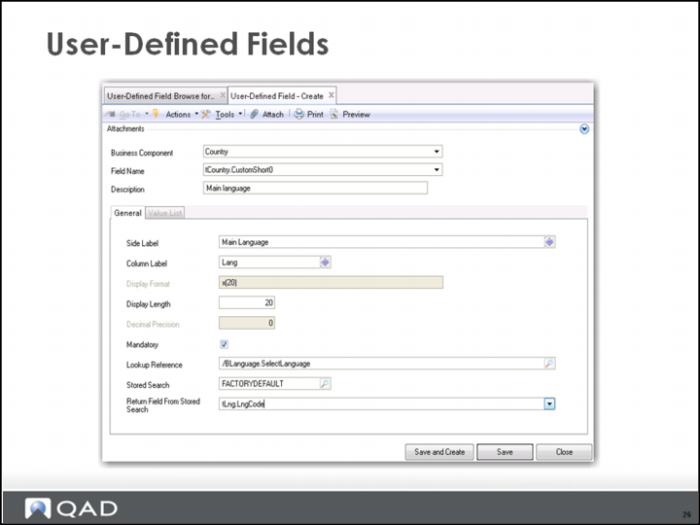
• Business component: This is the business component label. For example “GL account” maps to the physical component name “BGl”. Use the activity Business Component View to detect this mapping.
• Field name: Select a type of physical field. Typically, the following types of custom fields are available: CustomShort0..9 (character type fields, for normal fields with a limited display length); CustomLong0..1 (character type fields, with a longer display length); CustomCombo0..9 (character type fields, with a possible values list attached); CustomDecimal0..4 (decimal type fields); CustomInteger0..4 (Integer type fields); CustomDate0..4 (date type fields); CustomNote (character type field especially for fields represented as an editor)
• Description: Enter a logical name for the field that is to use in the application.
• Display: Modify the display length and decimal precision to change the display format.
• Lookup reference / Stored search / Return Field: Use these values to attach a lookup to the user-defined field.
• The Value List tab is only enabled for user-defined fields of type CustomCombo. This tab lets the user specify a distinct list of possible values.
User-Defined Fields 2
User-Defined Fields 3
Hands-on Exercise (6)