Non-intrusive Customization: Development
Requirements for Customization
General requirements
[G1] Manageable
The Customizations should be easily manageable. This means that a developer is able to add and change Customization code using his own preferred development tools. For Progress this might be the Progress Editor or OE architect.
[G2] Upgradeability
The effort required to move non-intrusive Customizations from one version of the standard product to another should be minimized and predictable.
When Customizations are in place at a customer installation, it should be relatively easy for the customer to upgrade the Customizations to a newer version of the standard product.
[G3] Learning curve
It should be easy enough for an experienced developer to start writing non-intrusive Customization code. The system should come with enough documentation, samples and templates.
It may also be necessary to provide Customization training.
[G4] Extra localizations
It should be possible for local service organizations to add specific localization code via non-intrusive Customizations and deliver this as add-ons with the standard product.
[G5] Documentation
Customizations should come with sufficient documentation. People should be able to use the documentation to set up and define a Customization, code it and maintain it. The documentation should also include the object-specific documentation. For example, what are the extendable methods of the Journal Entry component?
[G6] Training
Customization should come with training for QAD services on how the non-intrusive Customization works. The training material should cover some of the most used Customization techniques. Training material should be constructed in such a way that it can be used by services to explain to partners and customers how to implement NI Customization.
Requirements for Customization 2
Application changes
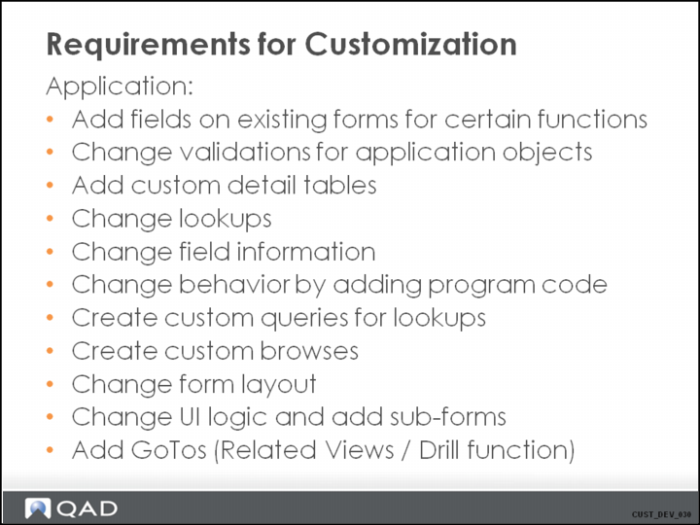
[A1] Add fields on existing functions
It should be possible to add new custom fields to existing functions in the application. This means that an extra field can be added to the screen for a certain object (such as a GL account). For this, a developer needs to be able to write logic to retrieve and save the value for this field.
Typically, this type of field is stored in a customer-managed shadow table for the standard table. You cannot add fields directly in the standard tables.
The developer also needs to be able to specify other metadata for the custom fields (such as format, control type, label, lookup query, possible values).
This type of Customization is separate from that already provided by the user-defined fields.
[A2] Change validations
It should be possible to change validations associated with a certain application function. This should include field-level validations (like simple checking whether the value is in a certain range) and more complex inter-field and inter-table validations.
This also covers adding validations for user-defined fields.
This also covers adding validations for new custom fields.
[A3] Add custom detail tables
It should be possible to add a custom table to represent detailed information on a certain object, and give access to the table on the screen. With this, the Customization developer needs to be able to write logic to retrieve, store, and validate this data.
The developer also needs to be able to specify other metadata for the fields in the new table (such as format, label, lookup query, possible values).
[A4] Change lookups
It should be possible to extend the lookup queries with extra fields, so that custom fields can be shown on lookup grids.
In addition to adding custom fields in the query result grid, it should be possible to use these fields as filters.
[A5] Change field information
A Customization developer needs to be able to change certain metadata about fields in the standard application, such as format, label and lookup query. Care should be taken that all labels are translatable, using the same standard built-in mechanism.
[A6] Change behavior by adding program code
It should be possible to change the application behavior by adding Progress 4GL code on the business layer. Typically, a customer should be able to add code when an object is initialized or validated, and also when an object is deleted. They should also be able to add code in well-defined places in the program flow typical to CB objects.
[A7] Create own queries for lookups
A Customization developer should be able to create his own queries that can be used for lookups. This is required in combination with new custom fields / tables. For these new fields he must be able to specify the lookup query.
[A8] Create own browses
A Customization developer should be able to create new browses as replacements for the standard component browse. For example, if the browse for Supplier Invoice Approve needs to be modified, the Customization developer should be able to create an own query, and point to this for the Supplier Invoice Approve activity.
[A9] Form changes
It should be possible to add more controls to the forms without writing C# code. It should be possible to add a grid, a tab page (on an existing tab control) and a tab control.
[A10] Change UI logic and add sub-forms
It should be possible to write extensions to the UI logic. The Customization developer should be able to add code on certain events, should be able to add code before or after the normal code on execution of predefined infrastructure methods.
It should also be possible to add extra forms for an existing application activity. These can be activated when certain events occur.
[A11] Add GoTos
A Customization developer should be able to add related views to an existing object form. This includes creating their own queries, and adding them to the list of related views for a certain component. This should follow the same mechanism as the standard GoTo function. They should be available from the browse and the object form.
BL Customizations
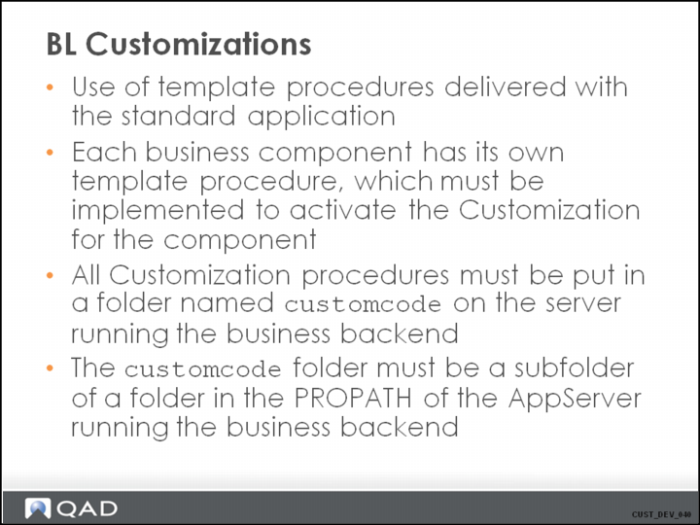
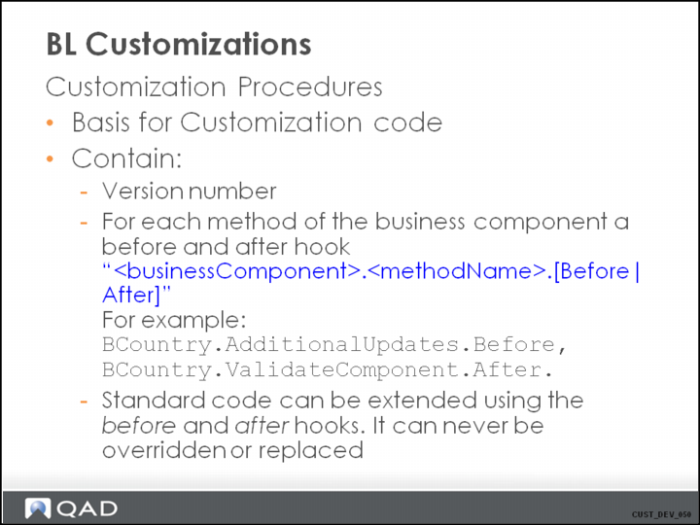
The standard application comes with a Customization controller.
This piece in the application looks for procedures that contain customized code in a subfolder named “customcode”. It is started at startup of every AppServer agent for the Financials business layer.
BL Customizations 2
The name of the method and the business component can be used to navigate the HTML documentation to find the right documentation and source code for the standard implementation of the method.
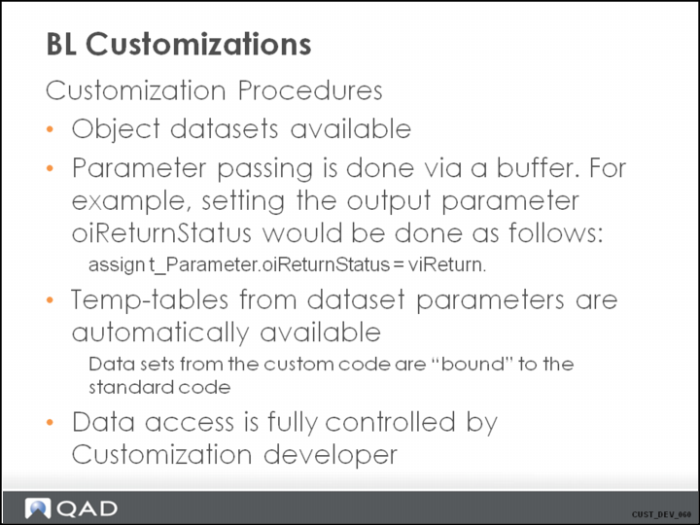
Each method in a business component has by default at least one output parameter called oiReturnStatus. The value of this is negative if an error occurred, it is greater than 0 if a warning occurred, and it is 0 in case of execution of the method without any errors/warnings.
The following applies to the oiReturnStatus:
• If the standard code already set the oiReturnStatus value to a negative value, then the “after” hook will not be executed.
• If the code in the “before” hook sets the oiReturnStatus value to a negative value, the standard code will not be executed, and the method stops execution and returns.
• The exception on the above rule is the central validation method “ValidateComponent”. The is because, for component validation, we want as much information as possible information returned on invalid data.
BL Customizations 3
Data access in the standard component logic is always implemented using the persistence layer as Data Access layer. For the Customization we don’t want to apply this rule because the interface to the persistence layer is not straightforward. For the standard code development within the QAD development teams, the Component Builder tool automatically generates the necessary calls to the persistence layer, which is not possible for the Customization code.
Attention!
Since everything stays persistent in memory, care should be taken for record scopes. For example if you write code to update a table in the PostSave.After event, since the transaction is not finished, an exclusive lock on a record is downgraded to a share lock. To avoid problems, it is best to use a locally defined buffer (defined inside the internal procedure) for doing any database update. Or use the “release” statement as soon as the record is updated, and you don’t need it anymore in the remaining flow.
BL Customizations 4
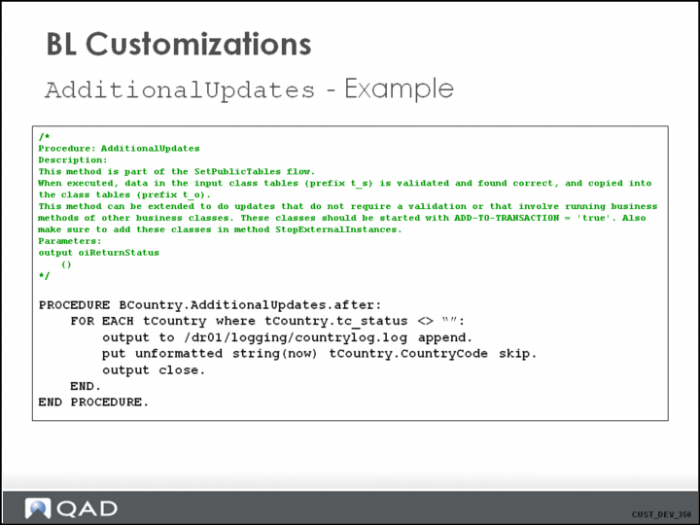
Accessing the object dataset is through the temp-tables that make up the object dataset. In this example, we use the table tCountry. The newly created buffer is available, so no find/for each is required.
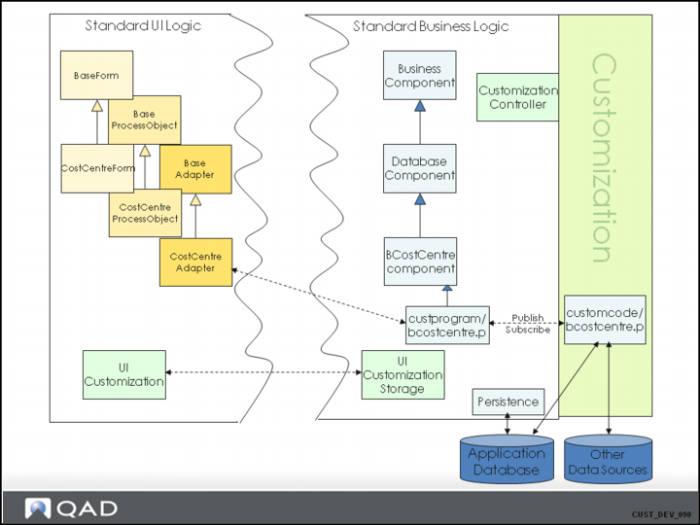
Customization Diagram
Customization Diagram 2
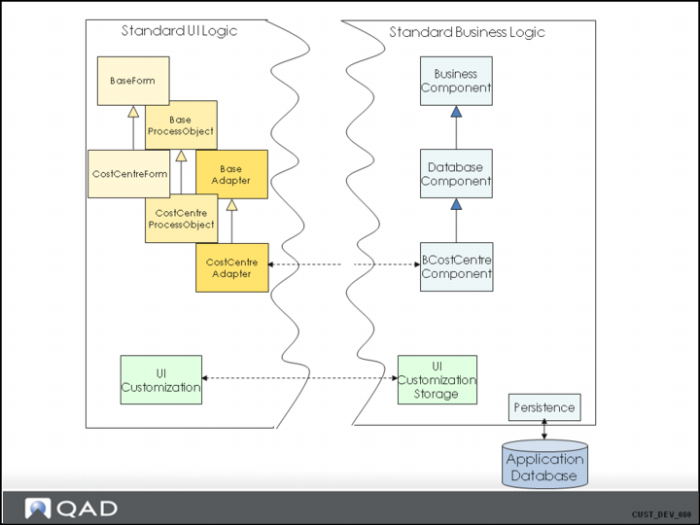
The Customization controller component is started by the componentpool session super-procedure. At startup (typically startup of the AppServer agent), it identifies all available Customizations by searching in the PROPATH for a folder named “customcode”. It keeps in memory which components are customized (for which components custom code is found).
componentpool uses this information to automatically start the Customization code together with the other component code.
The Customization is started, and publish-subscribe is activated by running custprogram/<compcode>.p, and ensuring this procedure gets the super-procedure stack of the normal component code and the component code itself as its own super-procedure stack.
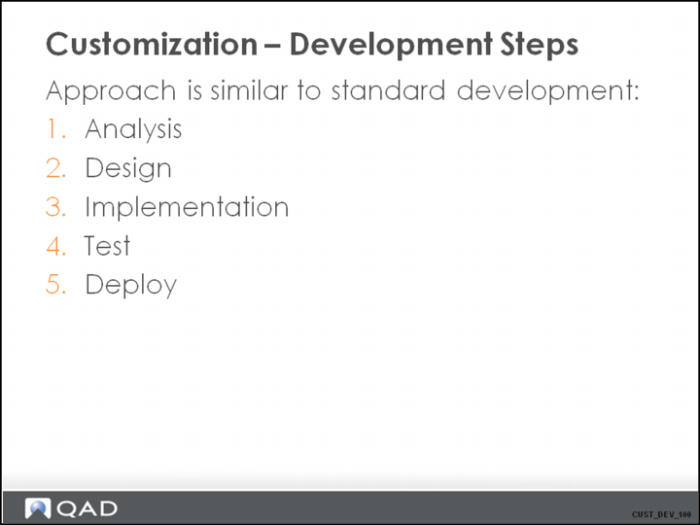
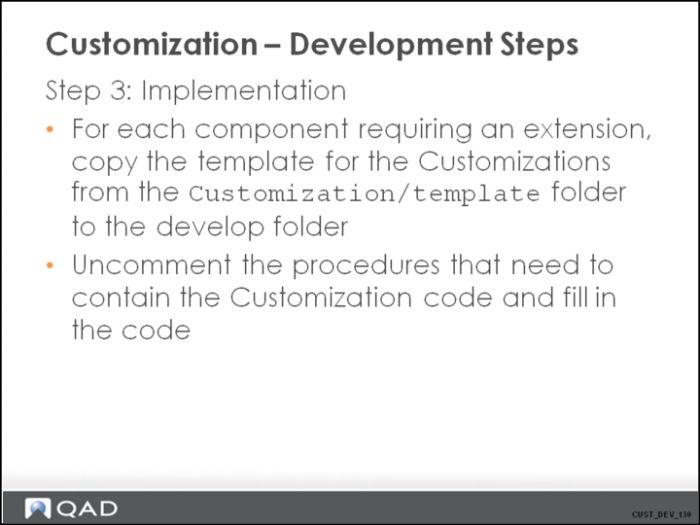
Customization - Development Steps
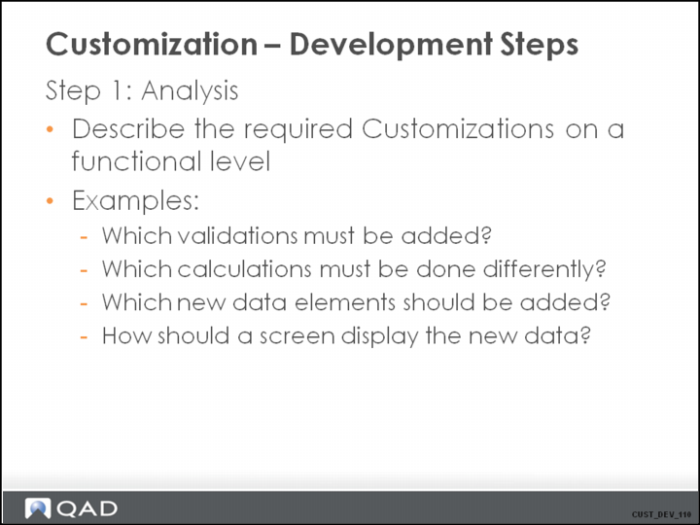
Customization - Development Steps 2
In this step, you should look at the function in the application you want to customize, and describe exactly what you intend to change.
This can be a very high-level description and does not need to go into technical details. At this stage, the person making the analysis is purely focused on functionality and not on whether the Customization is feasible with non-intrusive Customization or requires intrusive Customization.
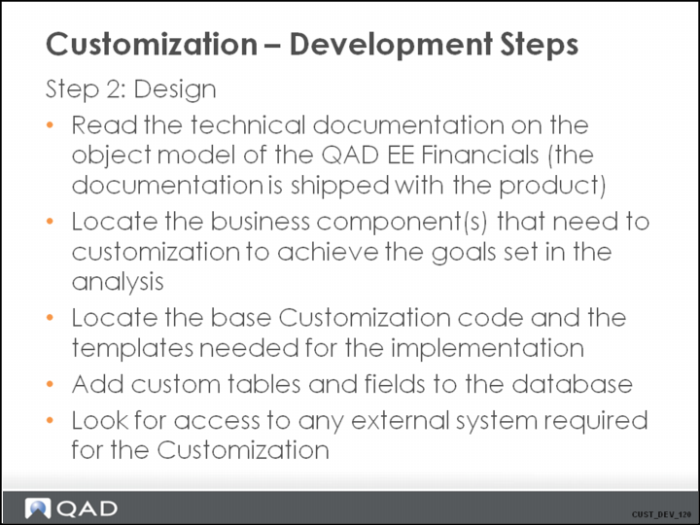
Customization - Development Steps 3
In this step, the designer uses the functional description to further detail the work required to implement the Customization. In this phase, the requested function is considered in terms of the technical possibilities of non-intrusive Customization. If the requested functionality can be implemented, the actions mentioned above provide the right starting point for the developer to implement the Customization.
The design step is the most difficult. This requires comprehensive knowledge of the application, the data model, the application structure and the patterns. In complex cases, QAD services might need to be involved to explain how the function works and how a certain Customization can be achieved.
Customization - Development Steps 4
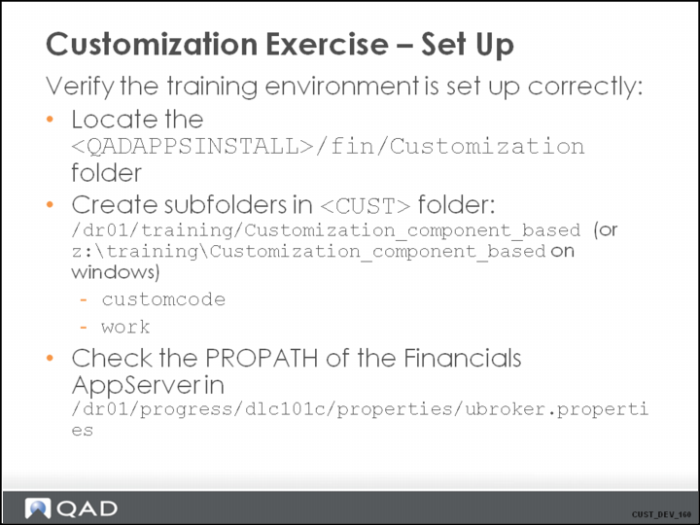
The Customization in the training environment is located at: /dr01/qadapps/qea/fin/Customization.
BL Customizations
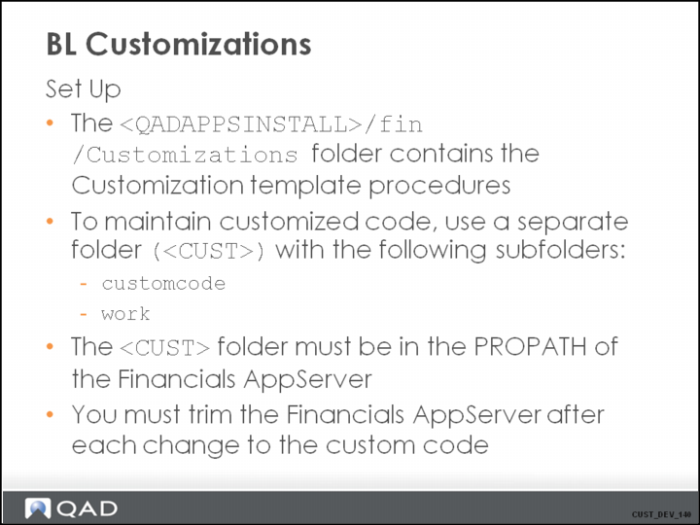
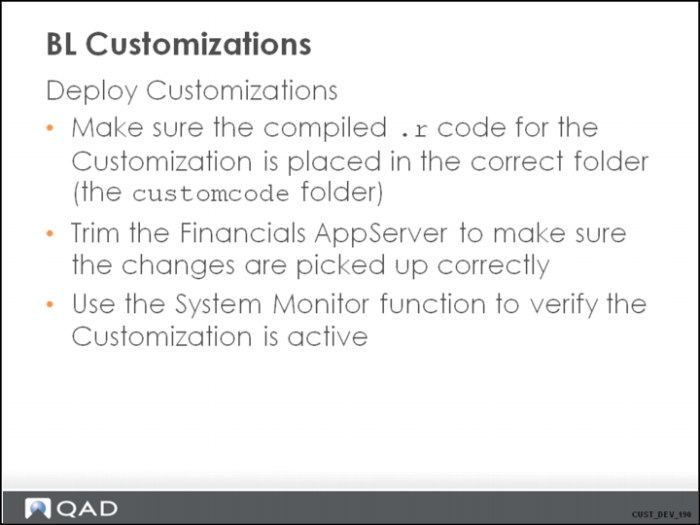
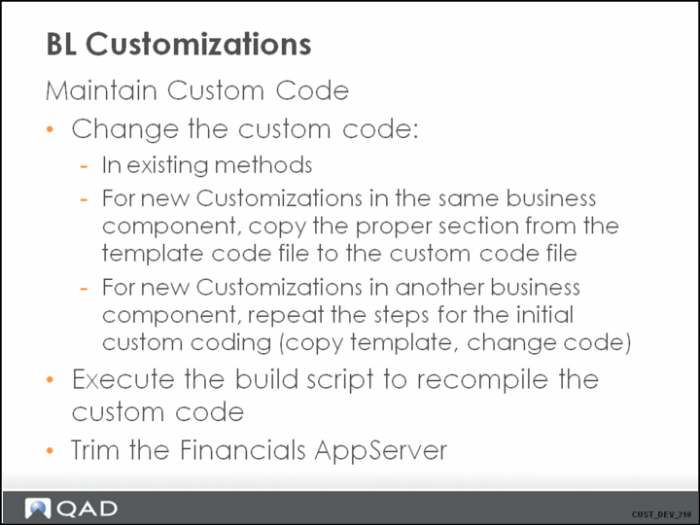
In the new separate folder <CUST>, the customcode subfolder must contain only the compiled Customization procedures.
The Financials AppServer needs to be restarted after the PROPATH is set.
The changes to Customization procedures will be in effect only after you trim the Financials AppServer.
Trimming the Financials AppServer can be done using the following commands from the Linux prompt (command below assumes the DLC variable is set properly, and the PATH is pointing to the $DLC/bin folder, it trims 10 AppServer agents) :
asbman -name qadfinlive -trim 10
You can also trim the Financials AppServer using the “Status” tab on the “System Admin” page in the training environment. Simply click on the “..qadfinlive.” label. This will trim 10 AppServer agents.
BL Customizations 2
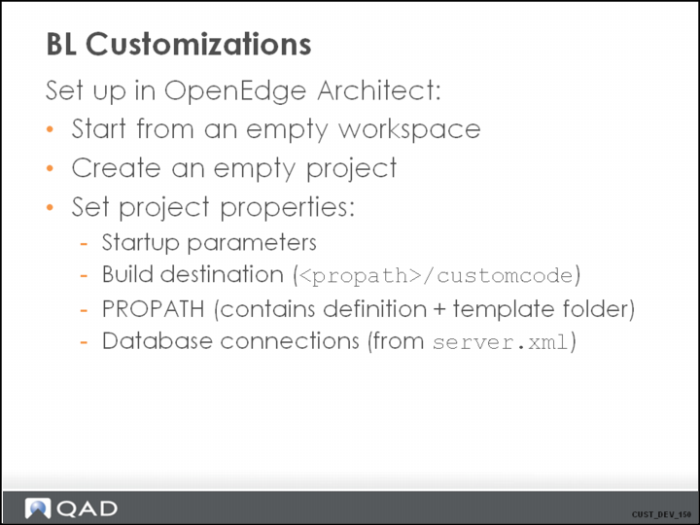
Startup parameters
-s 512 -mmax 4000 -inp 32000 -tok 20000 -TB 30 -TM 30 -Bt 3000 -errorstack -cpinternal utf-8 -cpstream utf-8 -cpcoll ICU-UCA -cpcase basic
Build destination
Z:\training\Customization_component_based\customcode
PROPATH (PROPATH for compilation does not match the PROPATH for runtime)
Z:\qadapps\qea\fin\Customization
Database connections
physical name = qaddb traindb
logical name = qaddb traindb
host = qaddemo qaddemo
service = 7744 7845
Customization Exercise - Set Up
BL Customizations
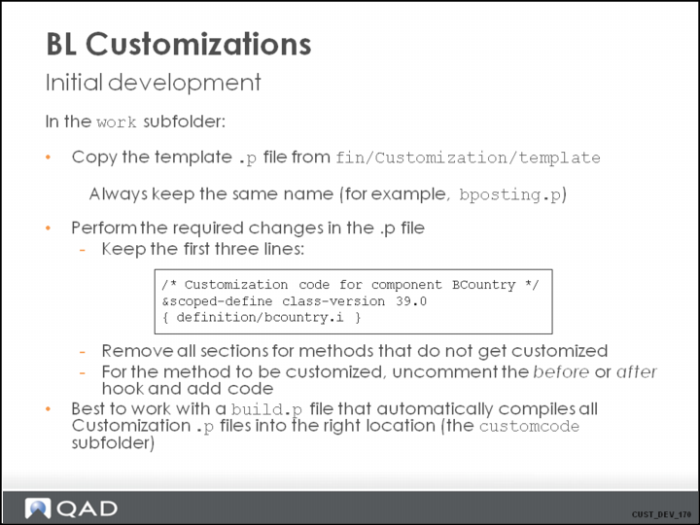
The reason why we remove all unused methods from the copied procedure is to make comparing this file with the template after an upgrade easier.
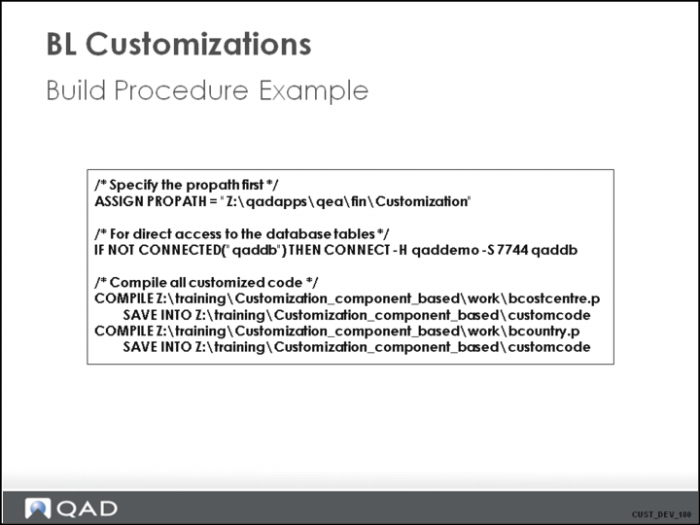
The build file should contain following blocks of code:
1. Set the PROPATH. The PROPATH should point to the current folder (“work”) and the parent folder of the folder where the template was copied from (fin/Customization).
2. Connect the database if the custom code contains direct table access (for each / find / query) and if the database is not connected yet.
3. Compile statements for all custom code for the different components.
For example:
compile bcountry.p save into ../customcode.
compile bposting.p save into ../customcode.
Note: OpenEdge Architect will compile code automatically, so there is no need for a build.p anymore.
BL Customizations 2
The section with the connection to the database is optional. It is only required when direct table access is done straight from the custom code.
In the above example, it connects to the central qad applications database. If another database would be used, you need to realize that also at runtime the connection needs to be made. To specify this connection, you need to update the central server.xml file.
BL Customizations 3
When activating a new Customization or making sure changes in existing Customization code are picked up, the Financials AppServer needs to be trimmed. This is necessary because the business layer caches component code in memory. It keeps procedures running persistently for best performance. By trimming the AppServer, all active AppServer agents are restarted. This triggers the Customization controller to look in the customcode folder again, and make sure the right Customization code is started the next time a business component gets instantiated.
BL Customizations 4
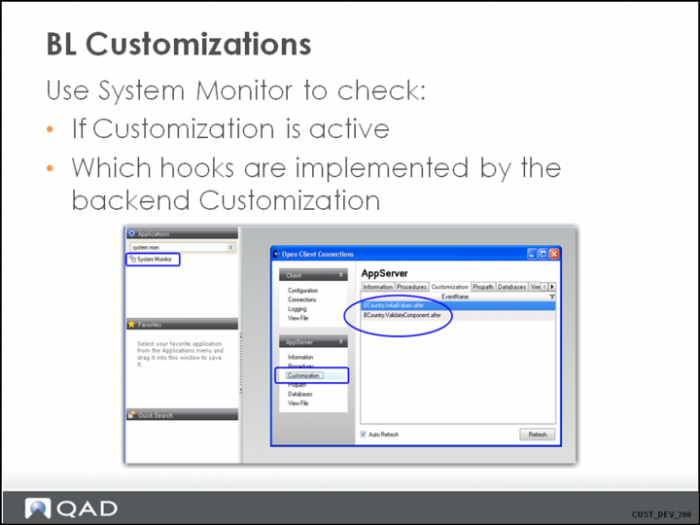
The system monitor reveals a lot of information about the business layer running on the back-end AppServer.
One of the interesting pieces of information is the list of customized hooks on the business layer. You can retrieve this by selecting “Customization” on the AppServer section.
BL Customizations 5
The Customization developer has the ability to add code using customcode, but it is not possible to override standard logic.
BL Customizations 6
BL Customizations 7
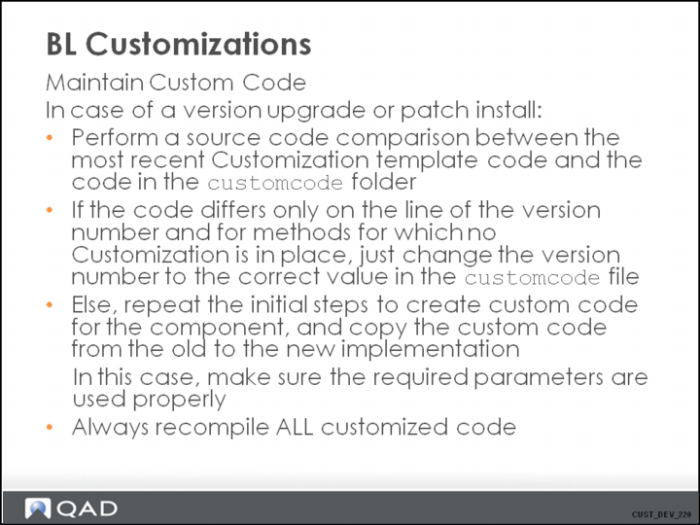
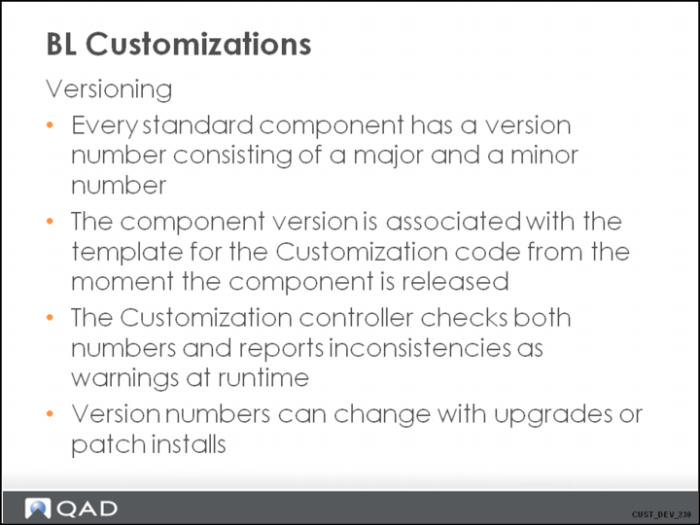
The mechanism built into the application ensures that every time a Customization is started, the version is checked against the version of the standard component code that is currently used in memory. In a normal situation, this is not an issue. The system reports (in the form of a warning) as soon as there is a version mismatch. This is not only at runtime, but also at compile time. Compiler pre-processed code checks these numbers. So, if you try to compile a Customization that was originally copied from the Customization folder for an older version of the component, the compiler shows the exact version numbers and indicates there is a conflict. However, this does not stop compilation, but we advise you to review the code before updating the version number and recompiling.
It should be noted that after every upgrade / patch install, the customer must recompile the custom code. The PROPATH must point to the standard components, which may have a different version number. When everything compiles correctly, there is no error, and no further action is needed.
If the compiler displays the version conflict warnings, it is possible that there is still no issue, and that changes in the standard code do not impact the correct working of the custom code. In this case, the proposed procedure is to compare the custom code with the latest version of the template for the same component (using file-compare). Go through the differences and check only what has changed for the customized method(s). In effect, this is a basic check of the parameters of the method. In most cases, the changes do not impact custom code, and you should update the version number specified in the custom code (&scoped-define class-version) to the correct version, and recompile.
Note:
The component major version number indicates public interface changes (each time parameters in public methods change, the major version is incremented by 1). The component minor version number indicates internal changes in the component (which can be code changes, but also parameter changes to non-public methods). When one of the two numbers change, you must go through the process described above.
BL Customizations 8
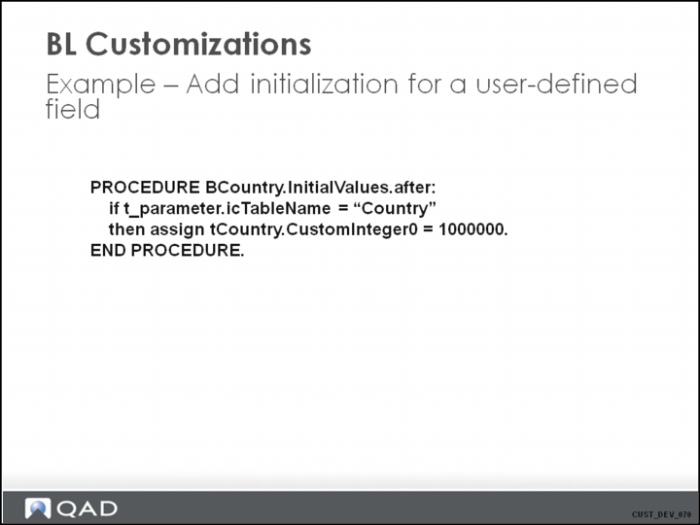
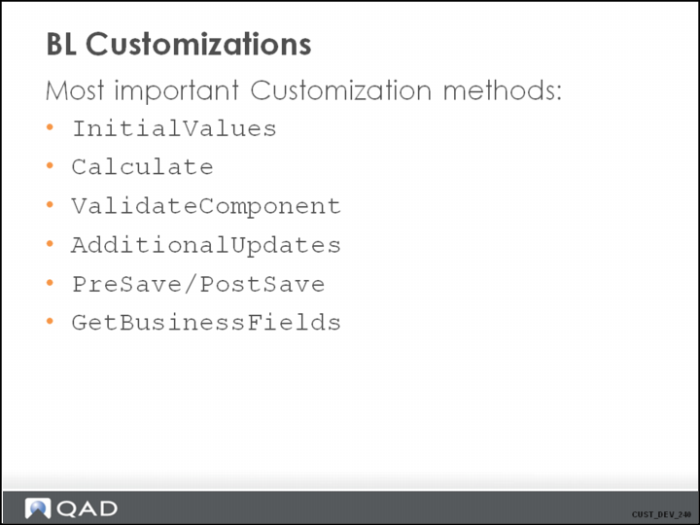
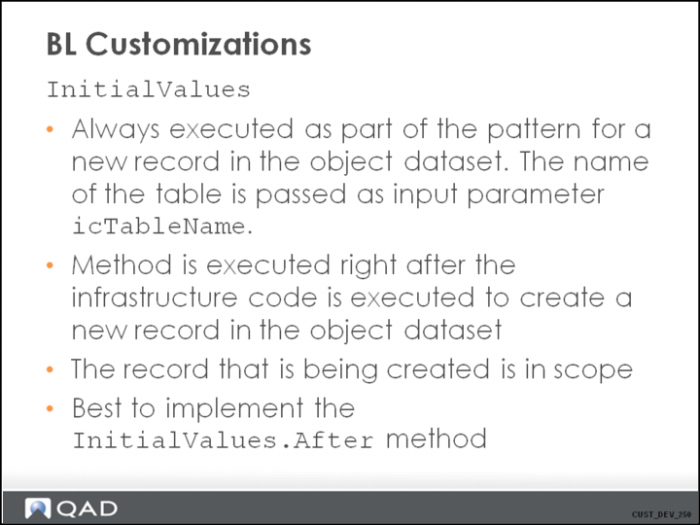
BL Customizations - InitialValues
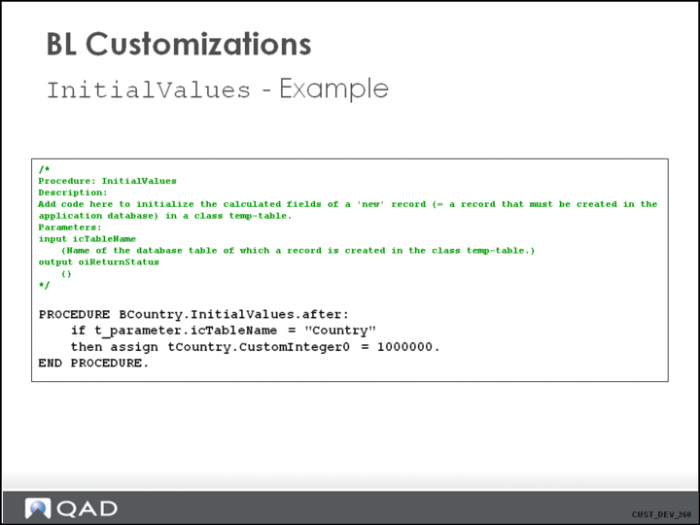
The InitialValues() method is executed after the infrastructure code filled in the fixed fields tc_rowid, tc_parentrowid and tc_status. In the standard code also the identifier field is filled in. For example tCountry.Country_ID. An internal sequence is used to determine the value.
Note:
Developers will never use a direct create statement on class tables. Instead, they will run method AddDetailLine. This method runs method InitialValues for initializing the newly created record.
When adding a record in a class table in custom code, we also recommended that you use this method.
BL Customizations - InitialValues 2
Hands-on Exercise (3)
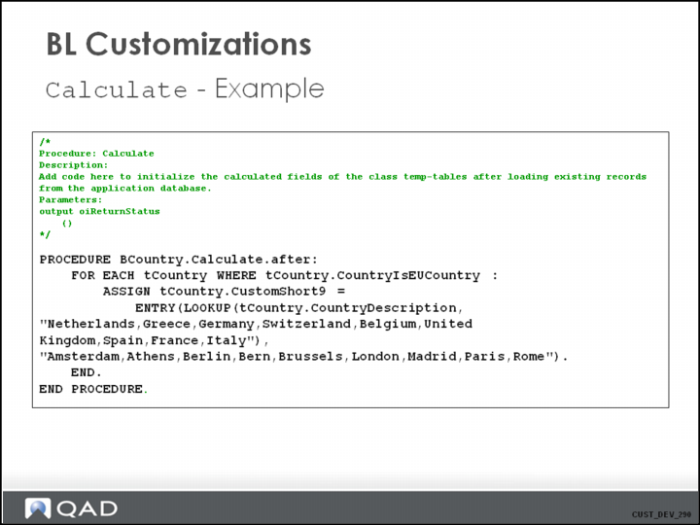
BL Customizations - Calculate
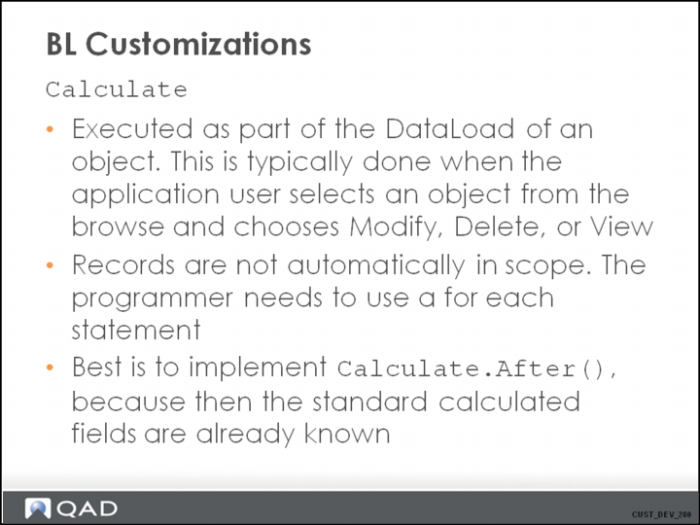
Each time a Financials object is loaded for modification, the application goes through the DataLoad pattern. The first thing that happens is reading the data from the database. Right after that, the Calculate method is executed. The intention of this method is to “calculate” the data for the calculated fields in the object dataset.
Typically, a Customization developer could use this method to get data from external systems and force it in the official object dataset of the object that is being loaded.
Because multiple objects, multiple main table records, multiple child table records can be loaded during the dataload, the programmer needs to use for each statements to loop over the records in the object dataset.
BL Customizations - Calculate 2
Hands-on Exercise (4)
BL Customizations - ValidateComponent
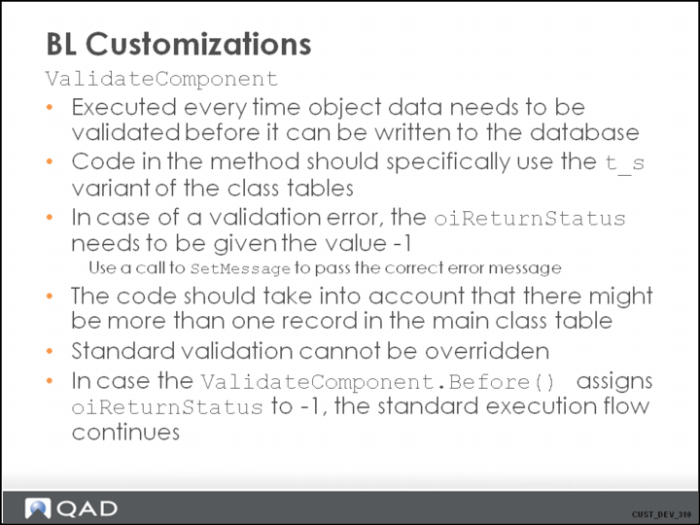
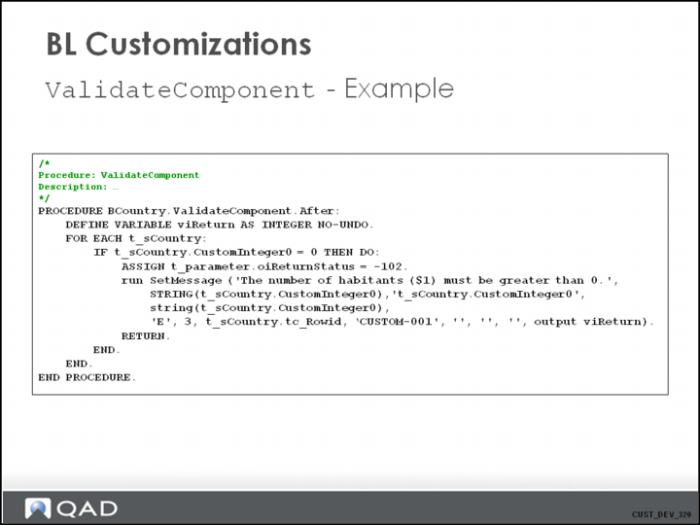
ValidateComponent is the central validation method for each component. It is typically intended to contain all object-wide validation. Besides the ValidateComponent, very specific field-level validations might also be in place.
This method is typically executed when data is sent from the UI client to the server. The first step the BL takes is to validate the data. The data that is not yet validated is available in the “S” object dataset (this means records in the t_s temp-tables). For example, a developer needs to use the data in t_sCountry if he/she wants to validate incoming changed data for a country object.
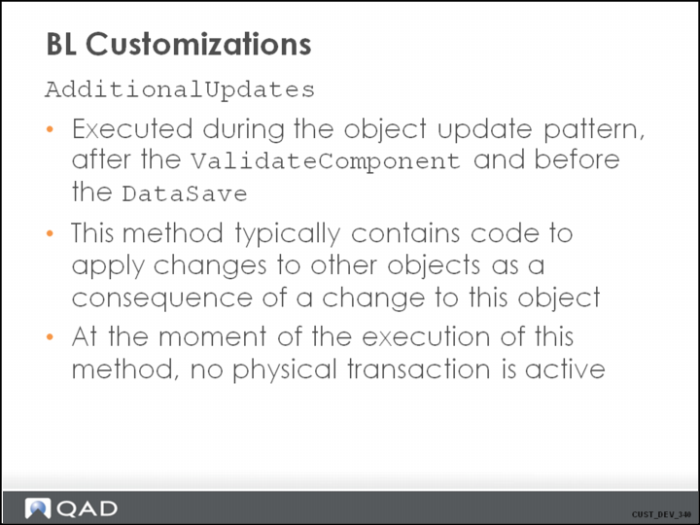
After the data has been validated, the system updates the data in the official object dataset (O buffers) with the validated changed data, executes AdditionalUpdates, and performs a DataSave.
ValidateComponent needs to validate everything. So, if data for more than one object is loaded in the object dataset, the code should validate everything. This means the code should have a for-each statement to go over all records in the class tables.
BL Customizations - ValidateComponent 2
Hands-on Exercise (5)
BL Customizations - AdditionalUpdates
BL Customizations - Additional Updates 2
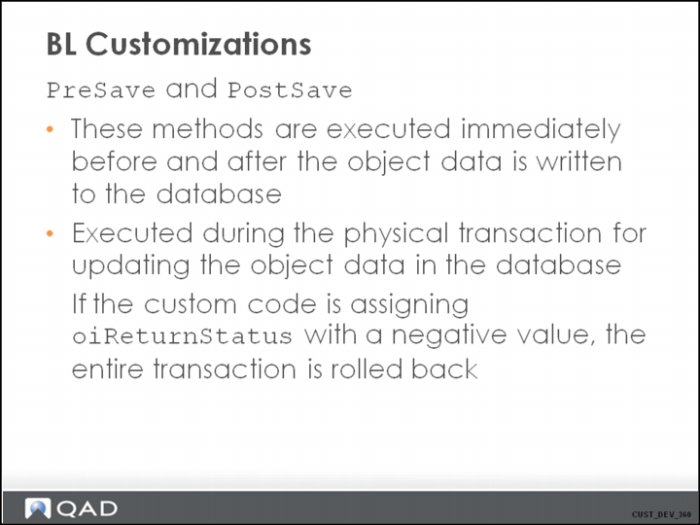
BL Customizations - PreSave and PostSave
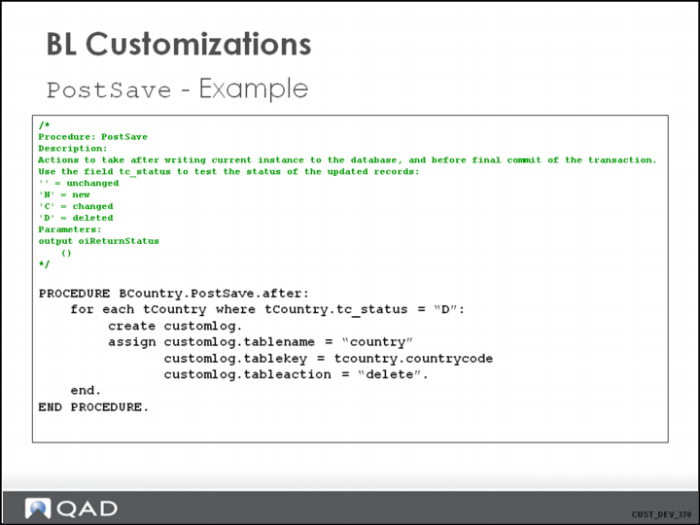
These methods are typically used to update records in the database and the update needs to be in the same physical transaction. An example is the update of custom tables in the database when the tCustomTable* tables are used in the object dataset.
BL Customizations - PostSave
Hands-on Exercise (6)
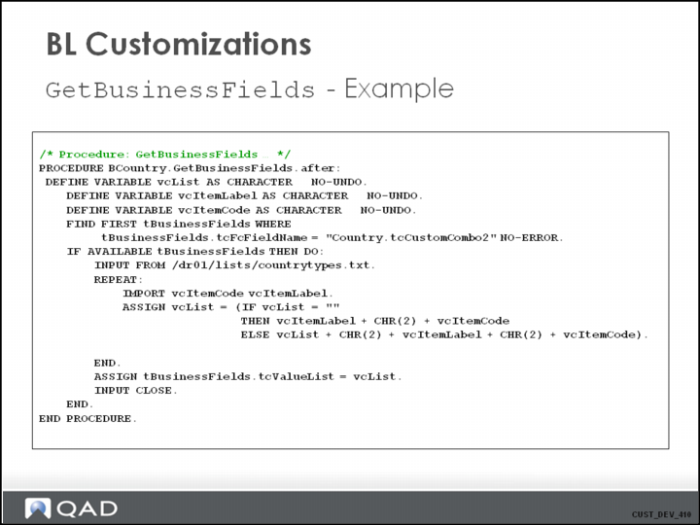
BL Customizations - GetBusinessFields
BL Customizations - Business Fields Mechanism
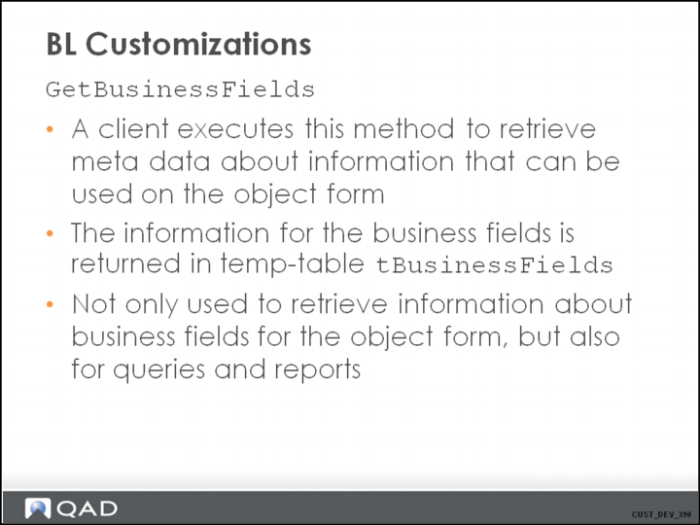
All of the information represented on UI forms is managed using the concept of business fields. All of the information on data represented by fields that are available on the UI is provided by the business logic. The UI only uses this information to represent and reformat the fields. Typically, the information provided is the format, the label, the lookup query, the control type, and the list of possible values.
This information is provided by the backend through the method GetBusinessFields. Typically, the UI calls session.GetBusinessFields(), which gets a “reference” as input.
The reference is typically a business object name like for example, "BJournalEntry", "BCreditor". This reference can also point to a query.
GetBusinessFields returns the "metadata" for the query. This metadata consists of a description of the filter fields of the query and the columns in the query resultset.
session.GetBusinessFields() is a wrapper that calls the component-specific GetBusinessFields() method. It is really this method that contains the code that is executed to retrieve the business field information.
For business components, the standard component code uses generated code from the datamodel (for the normal fields). This is combined with code generated based on the extended information of the object dataset (for example, calculated fields). For queries, the code is generated using information about the query parameters, the joined tables in the query, and the output dataset.
For a business component, all business fields are of type "B", meaning a real business field.
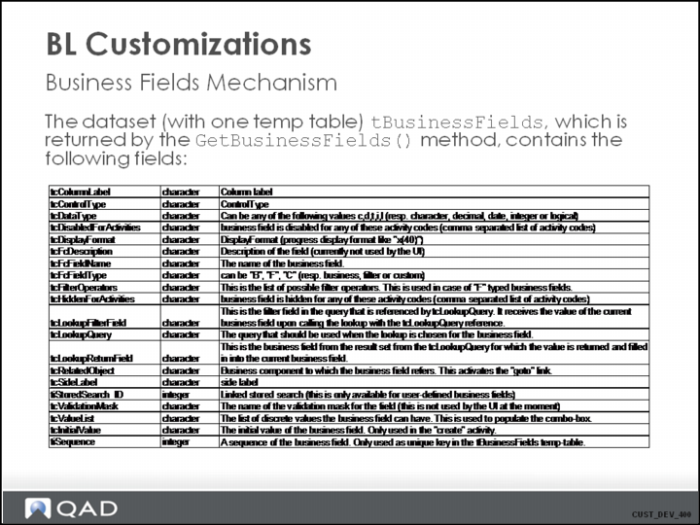
For a query, GetBusinessFields() is called from within the browse or lookup. There are three clear types of business field returned. Type "F" fields are the filter business fields. These fields are used in the browse / lookup in the filter area. Type "B" fields are the fields that are available in the result set of the query, so these fields can be used on the result grid of the browse / lookup. Type "C" fields are the custom fields (or user-defined fields) available in the result set of the query.
It should be clear that the Customization developer can change the UIs, or at least the way in which fields are shown on the UI, by changing the behavior of the GetBusinessFields() method.
tcControlType can be any of these values: NumericDecimal / NumericInt / Bool / DateTime / TextBox / ComboBox
tcValueList is a chr(2) separated list of a display value and an internal value
so, <label1> chr(2) <value1> chr(2) <label2> chr(2) <value2> chr(2) …
BL Customizations - GetBusinessFields
Hands-on Exercise (7)
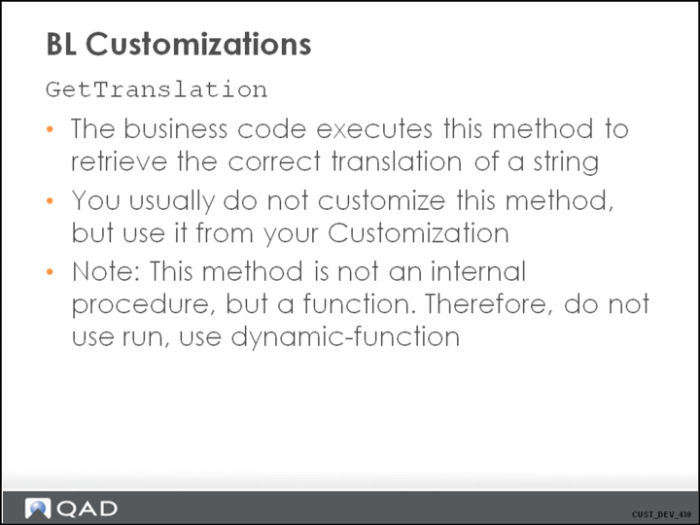
BL Customizations - GetTranslation
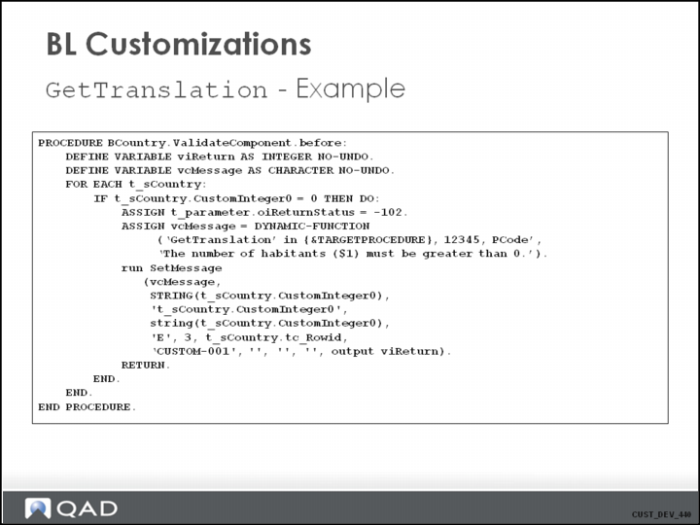
BL Customizations - GetTranslation 2
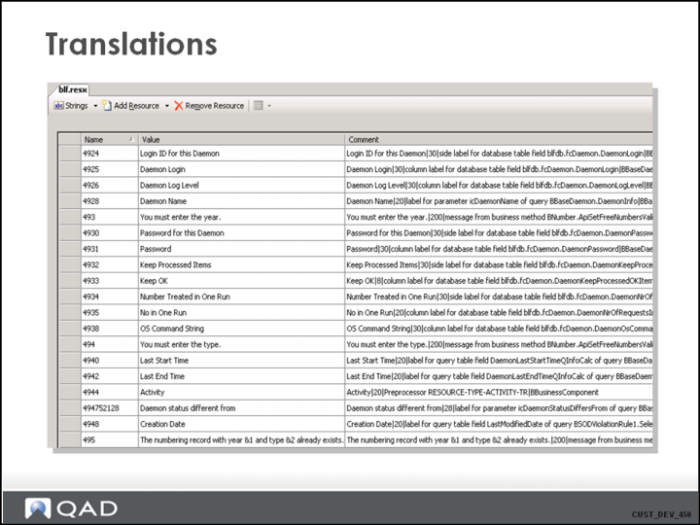
Translations
Translatable strings are maintained in a resource file. A resource file is an XML formatted text file. One resource file is created per project.
Inside a resource file, each string is identified by a unique number. Each resource file is then translated into each required language and renamed as <project>.<language>.resx like f.e. qadfin.fr.resx.
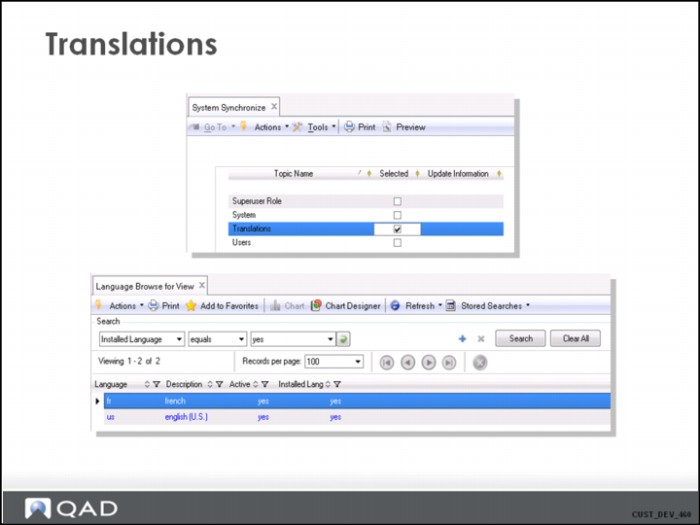
Translations 2
Translation resource files are loaded in the system synchronize function. Translations are loaded for all installed language codes.
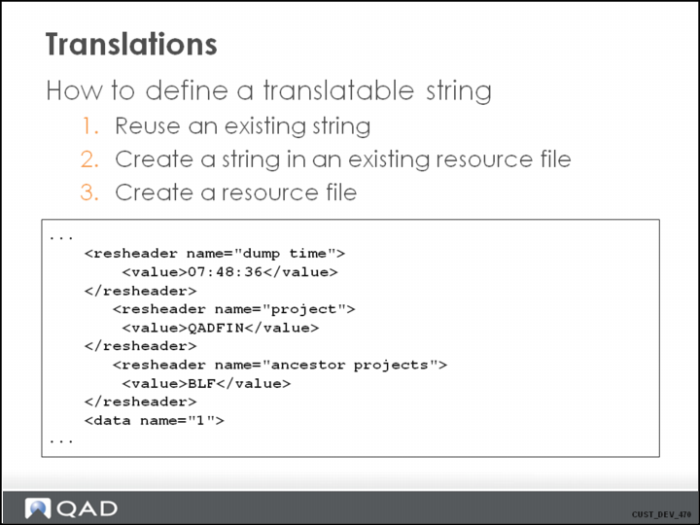
Translations 3
When modifying an existing resource file, you must redo your changes whenever a new version of the application is installed. Creating a resource file is upgrade-safe. You can use any editor you like to maintain resource files, like Visual Studio, or even NotePad. When creating a resource file, you can make a copy of an existing resource file to start from there. Make sure the project codes are set correctly. The project must match the resource file name. Ancestor project must be “QADFIN’” (as your resource file will be replacing the QADFIN resource file).
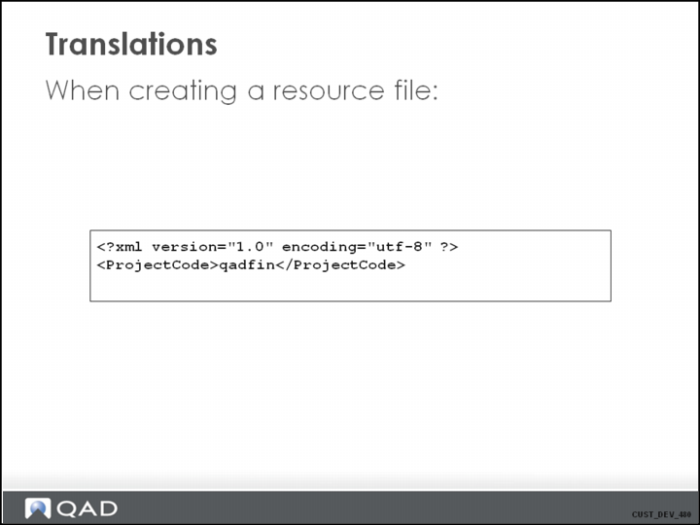
Translations 4
The application must know where to find your resource file. This is indicated in the file xml/projectcode.xml.
Hands-on Exercise (8)