Importing Documents
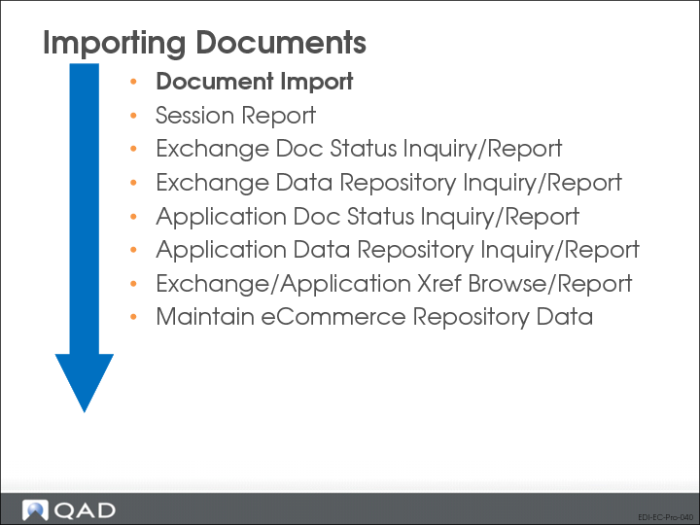
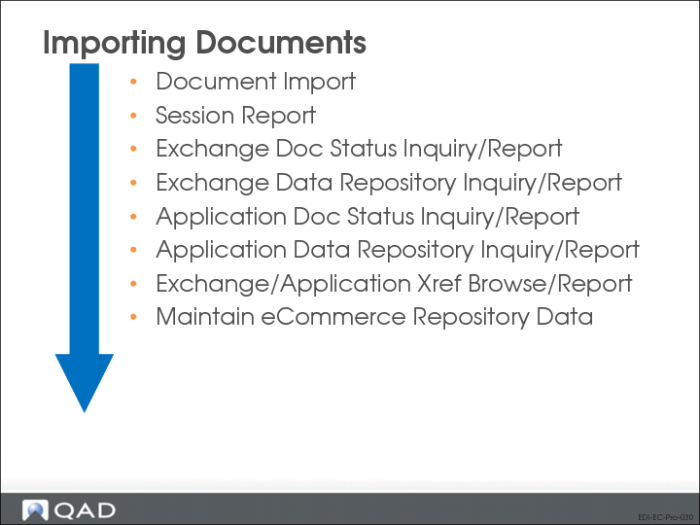
This illustration is a suggested processing sequence for importing documents with EDI eCommerce.
Document Import (35.1)
Use Document Import to start the process of loading SNF files from the EC subsystem, transforming them into formats usable by QAD Enterprise Applications, and transferring them into the QAD Enterprise Applications database using a gateway program.
The system generates a report on imported files to the device specified in Output. You can choose to run this process later using the Batch ID field.
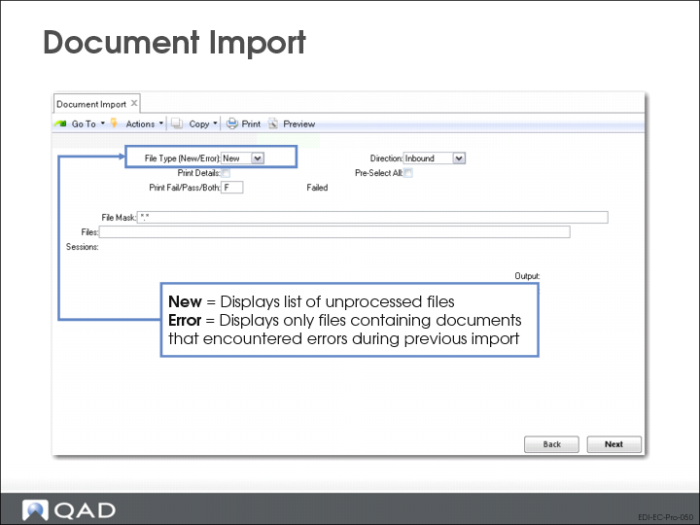
File Type (New/Error)
Specify the type of files to be listed in the Select File(s) frame.
• Enter New to display a list of unprocessed files located in either the Inbound Directory or the Outbound Scan Directory specified in eCommerce Control (35.13.24), depending on the setting of Direction.
• Enter Error to display only files containing documents that encountered errors during previous imports. These files are located in either the Error File Directory or the Outbound Error Directory specified in eCommerce Control, depending on the setting of Direction.
Direction
Specify the source of the files the system will select for import:
Inbound: The program selects files from the directory specified in the Inbound Directory field in eCommerce Control. It then imports EDI documents to the exchange repository based on a standards-neutral format (SNF) by transforming them using specified maps, placing them in the application document repository, and loading them into the database.
Outbound: The system selects files from the directory specified in the Outbound Scan Directory field in eCommerce Control. Instead of using exchange records based on an SNF, the system imports these files directly into the application document repository for processing.
For example, you would specify this directory as the source of files that are provided by an external system and are to be transformed and exported using EDI eCommerce without creating business documents.
Print Details
Enter Yes to include detailed error and warning messages on the report generated when this program executes. If you enter No, the report is limited to higher-level summary information.
Pre-Select All
Enter Yes to have all files selected—that is, marked with an asterisk (*)—when displayed on the Select File(s) list. If this field is No, the files still display, but none are initially selected.
Print Fail/Pass/Both
Specify the status of documents to be included in the output report of this program.
Failed (the default): The report is limited to documents that failed to process.
Passed: The report is limited to documents that processed correctly.
Both: The report includes all documents regardless of status.
Input Directory
Enter the directory path to the location of the files to be processed. This must be a valid directory.
Initially, the field defaults from eCommerce Control. If you change it, the system associates the value you enter with your user ID. Next time you run this program, the field defaults to the same value you entered previously.
File Mask
Specify one or more patterns, including wildcards (*), for the system to use in selecting files for processing. For example, if you enter *.GEN, the system selects all files with an extension of GEN. Separate multiple entries with commas.
Files
Enter the names of the files to be processed, including extensions. Separate multiple file names with commas. The system validates your input.
Do not enter the full path to these files. The system automatically looks in either the Inbound Directory or the Outbound Scan Directory specified in eCommerce Control, depending on the setting of Direction.
You can also leave Files blank and choose Go to display a list of files—either new files or previously imported files that encountered errors during load processing, depending on how File Type (New/Error) is set. Select or deselect files from the list as required. Selected files are marked with an asterisk (*).
After selecting files from the list, choose Go. Selected files display in the Files field.
Sessions
These system-assigned numbers group all the files imported during a particular session. Use them to track the status of the documents you have imported and to identify any errors that occurred during processing.
Additionally, the system assigns a sequence number to each file selected. This number is used to group the documents within the file. If any documents cannot be loaded, the system writes them to an error file that uses the process session number as a file name.