Configurable Screens Setup
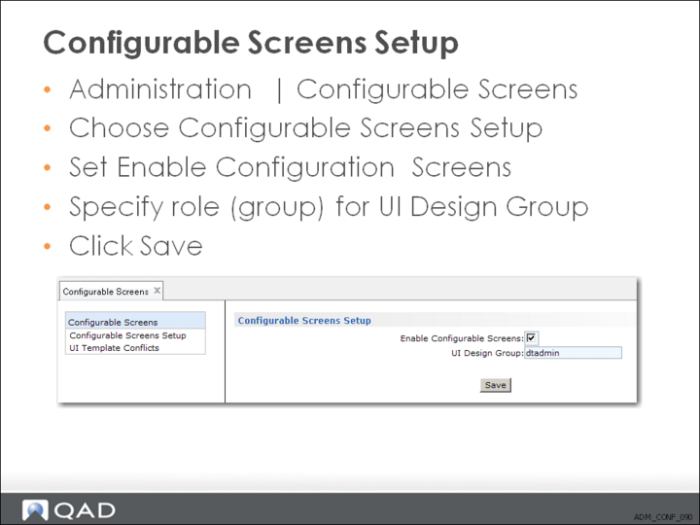
To set up configurable screens:
1 Choose Administration, Configurable Screens.
2 Select Configurable Screens Setup.
Enable Configurable Screens
Select this field to enable the function for members of the UI Design Group. If you do not select the field, the function is disabled for all users.
UI Design Group
Enter the name of a role that is authorized to create and modify screen templates. Only users assigned to this group can create configurable screen templates. In QAD EE, you can create a specific role for Configurable Screens using Role Create (36.3.6.1).
In QAD SE, enter the name of a group created in User Group Maintenance.
Click Save to apply this setting.
Creating Template
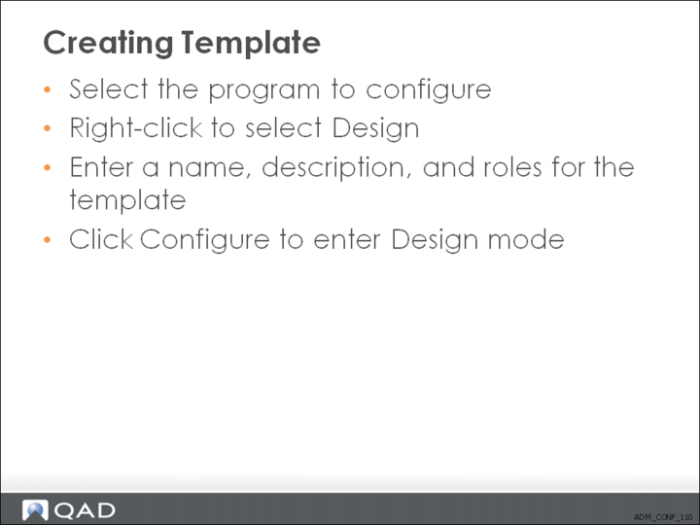
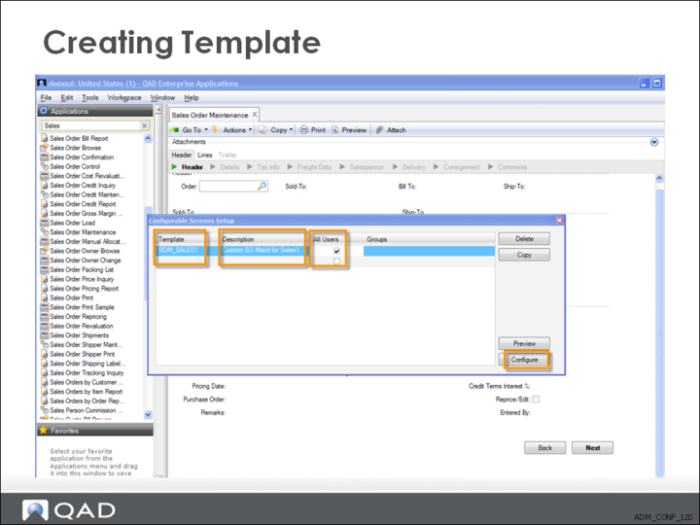
Right-click the program name in the Applications area, and select Design to display the setup screen.
You can assign this template to all users, or select a specific role.
Templates are defined per program. When you select Design for a program, the existing templates for this program are listed, and you can use Delete to remove unwanted templates, or Copy to copy an existing template. When you copy a template, the copy is re-named by adding a 1 to the template name.
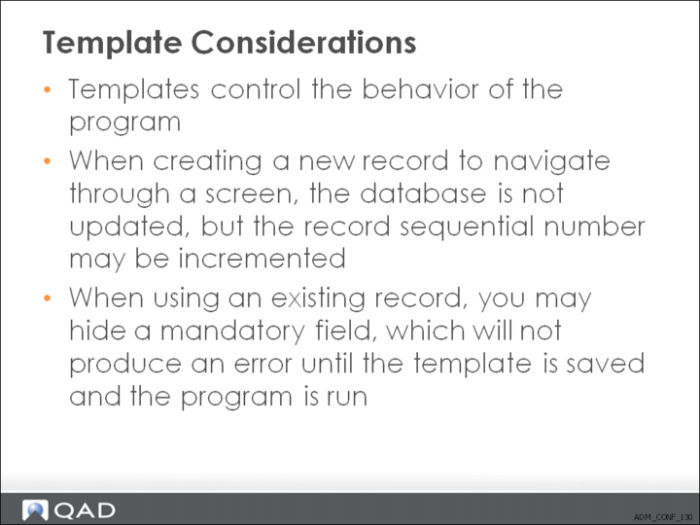
Template Considerations
Each template defines how fields display, whether they are required and enabled, if default values are supplied, and any automatic navigation from frame to frame.
To move through the sequence of frames in a program, you must either create a new record or modify an existing one. In cases where new records are assigned sequential numbers, it may be better not to create new records. Although the records are not saved, number sequences are incremented.
If you hide a required field and test with an existing record that has a field value, no error is generated. Later when a user attempts to create a new record, template errors may occur because a field that needs input cannot be updated.
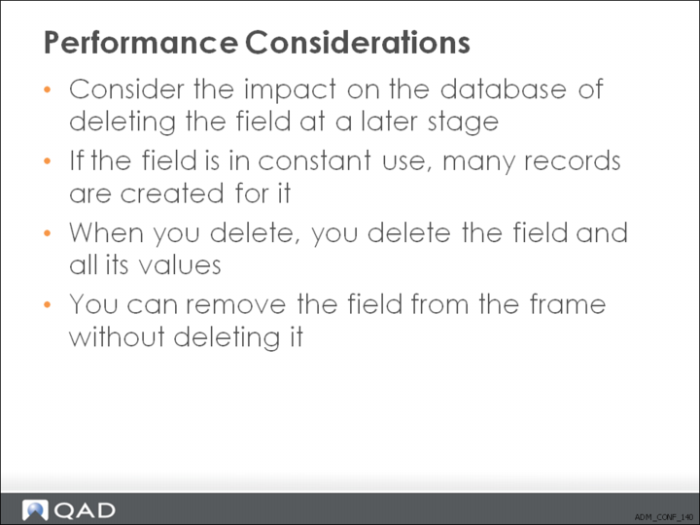
Performance Considerations
When you create your own field and frame, you add the field to the schema, and as the program is used, users add values to it. When you delete, you delete the field and all its stored values from the database. Use the Disable or remove options to remove a field from the screen without deleting it from the database.
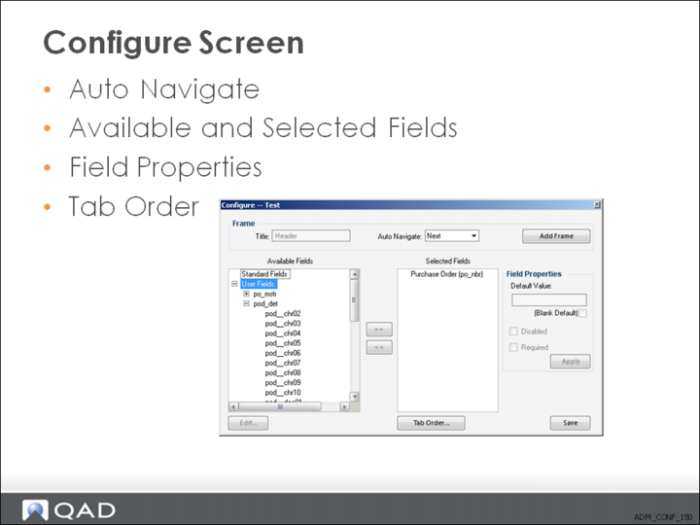
Configure Screen
You can click the Save button at any time to save your changes and leave configuration mode. Your changes are also saved each time you click Next or Back to access a new frame.
Auto-Navigate
Use Auto-Navigate to control navigation between frames. You can use the Next and Back options to skip entire frames. To skip an entire frame without generating an error, the proper defaults must exist for all required fields. Next and Back have a similar effect; use them to skip the display of a frame. Which one you use depends on the normal screen navigation.
Available Fields
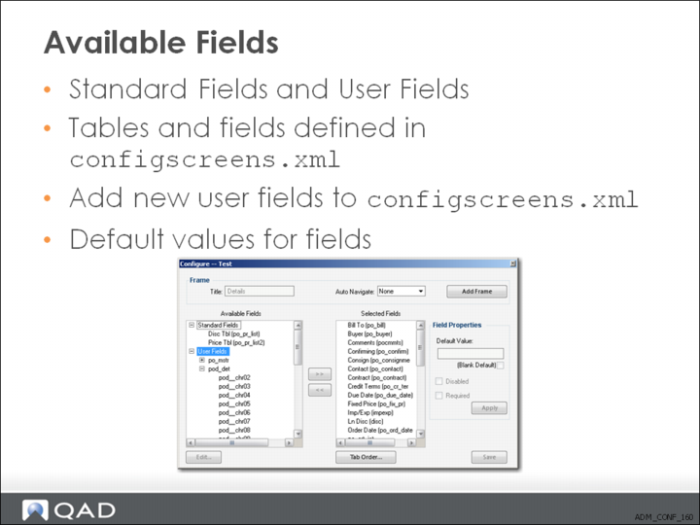
This area displays the user-defined fields you can add to the current frame or to a new frame. These fields are defined for each program in the configscreens.xml file.
Selected Fields
This area displays the fields selected for use on the current frame.
Tab Order
The tabbing order is the sequence in which you access fields using the Tab key. Click to display the tabbing order of fields in the current Frame. Use the Up and Down buttons to change the order, if required.
Available Fields
Standard Fields
These are existing data fields for the program. The Standard fields area only displays fields that have been hidden from the screen as part of a previous customization.
User Fields
These are the default user customization fields that are defined for all tables.
Adding New Fields and Tables to Programs
When you design a program, the user fields available to add to the screen are displayed in the Available Fields area. You can add these to existing frames, or create a new frame to contain one or more of these fields.
By default, only specific tables and fields are displayed for a particular program. These tables and fields are defined in the configscreens.xml file.
Default Values
You can add a default value to existing or new fields, which is displayed in red on the screen. A drop-down list of default values (None, True, or False) is displayed beside logical-type fields. Defaults you specify for a template override any other defaulting logic associated with a field and are only applied to new records; when a record is being edited, no field values are overridden.
Field Properties
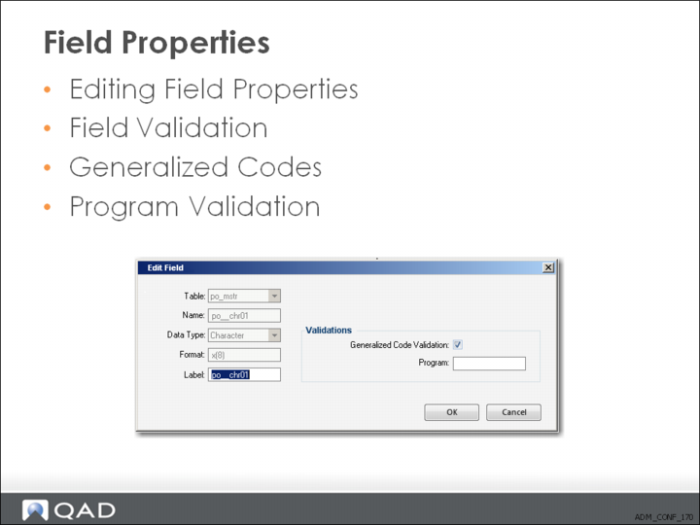
The Edit Field screen displays read-only properties for the selected field, and lets you modify the field label and validation.
Note: The Edit Field screen is not available for Standard Fields.
Table
This read-only field displays the database table for which this field is defined.
Name
This read-only field displays the field name.
Data Type
This field displays the field type: character, date, logical, decimal, user 1, or user 2
Format
This read-only field displays the field data format, for example, the maximum number of characters for a character field.
Label
This field displays the field label. Note that the system will translate the value you put in the Label field if the value is a label term. Otherwise, the system will just use the value for the label.
Generalized Code Validation
Check this field to ensure that the values for this field are based on the valued specified in Generalized Code Maintenance (36.2.13). You can use Generalized Codes Validation Rpt (36.2.15) to view a list of database fields that have schema validation assigned.
Note: When adding values in Generalized Codes Maintenance, you must specify the full table and field name. For example, if specifying values for the field pt_chr01, you enter the table and field name pt_mstr.pt.chr01.
Program
Use this field to enter the name of a user-defined Progress program that validates the field.
You can use the program template gpvalidate.p to create your own Progress programs. This template is stored in the QADInstallDir/qadui/com/qad/shell/interface directory and contains instructions for usage. Copy the template and rename it appropriately.