Scheduled Orders
Supplier Scheduled Order Maintenance
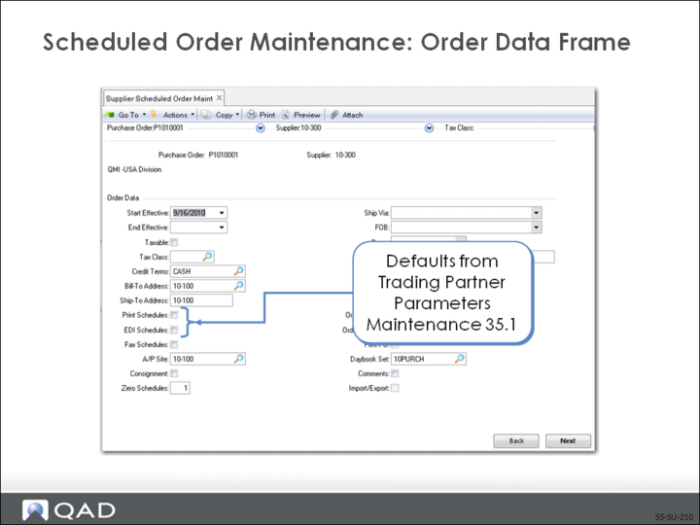
Use Supplier Scheduled Order Maintenance (5.5.1.13) to create and maintain scheduled orders. A scheduled order is like a purchase order in that it communicates demand to a supplier and receipts are processed against it. The difference is that each line item has multiple due dates and order quantities.
Note: A scheduled order does not have delivery dates or times.
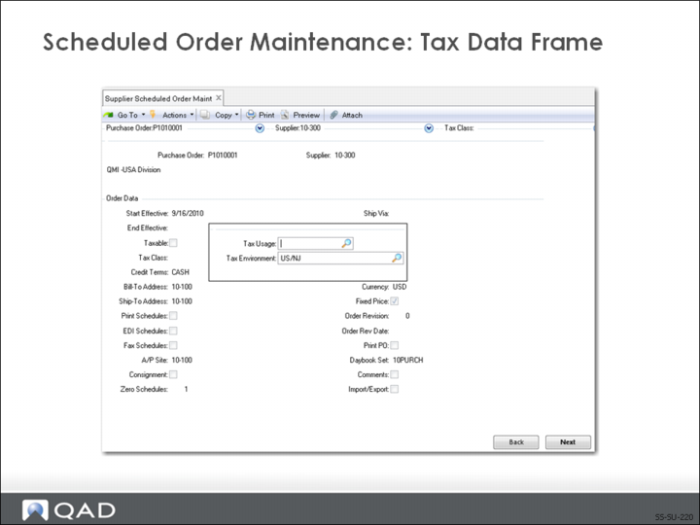
Tax Data Frame
Use this frame to enter the tax information for the order.
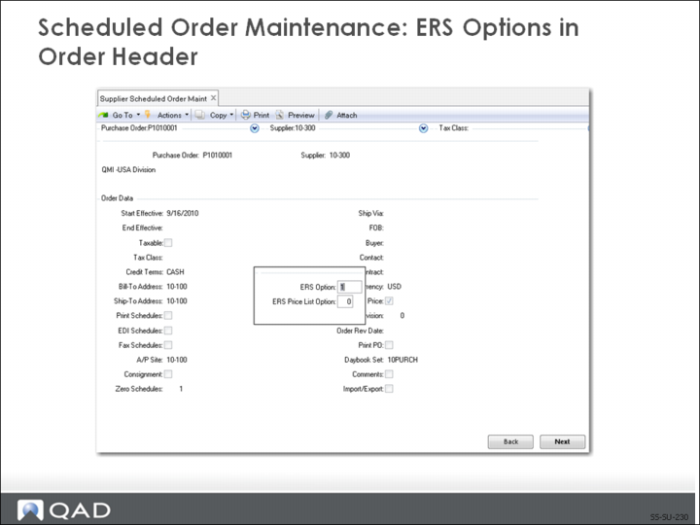
ERS Options in Order Header
If ERS processing is activated by setting ERS Processing to Yes in ERS Control (28.10.24), the ERS options in the order header frame display after the tax data frame.
ERS processing does not take place until the shipper is received.
Note: If ERS Maintenance (28.10.1) settings affecting an existing scheduled order are changed, you must manually update the scheduled order based on the new settings.
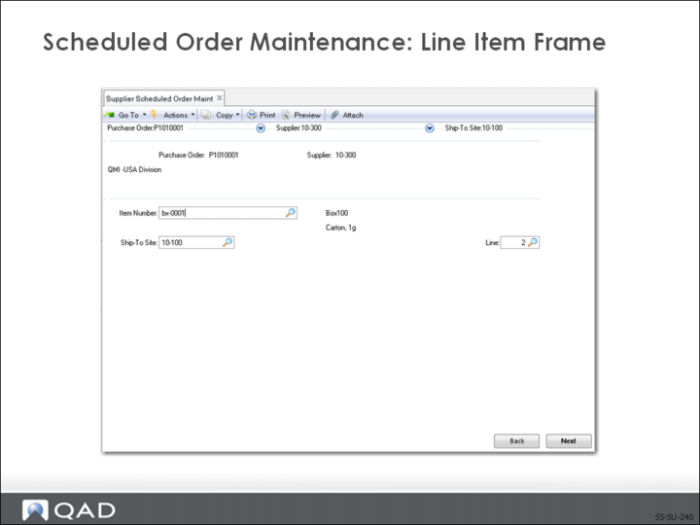
Line Item Frame
The next frame in Supplier Scheduled Order Maintenance is the Line Item frame. This is where you identify what is being purchased (ordered) from the supplier and where it is to be delivered.
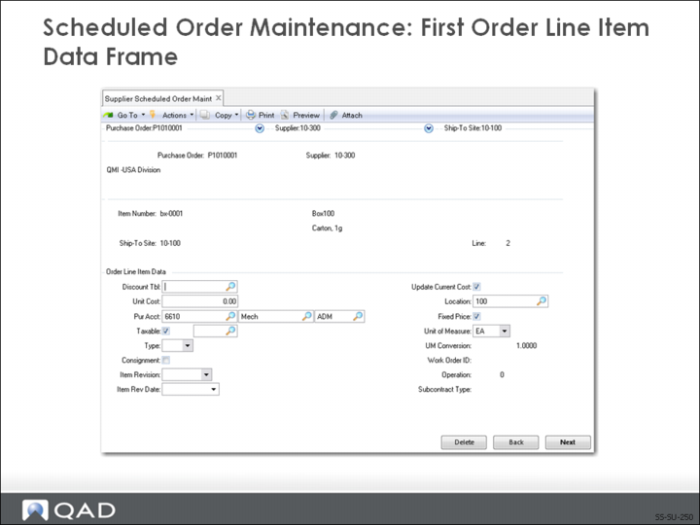
First Order Line Item Data Frame
This frame contains the line item’s pricing and inventory information.
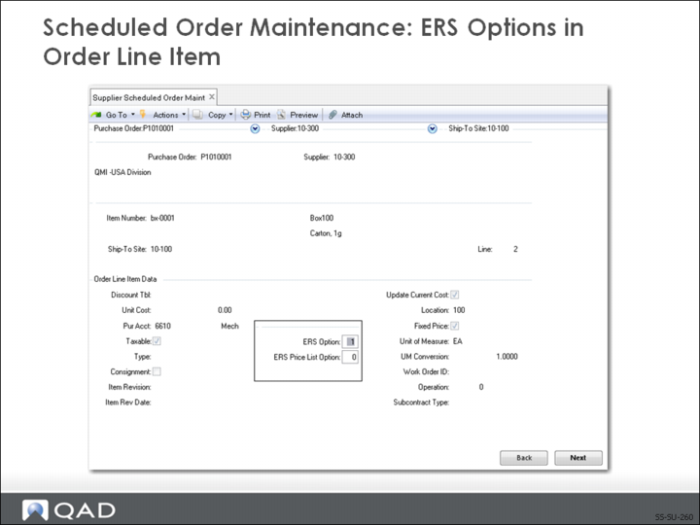
ERS Options in Order Line Item
If ERS processing is activated by setting ERS Processing to Yes in ERS Control (28.10.24), the ERS options at the order line frame displays after the first Order Line Item Data frame.
ERS processing does not take place until the shipper is received.
Note: If ERS Maintenance (28.10.1) settings affecting an existing scheduled order are changed, you must manually update the scheduled order based on the new settings.
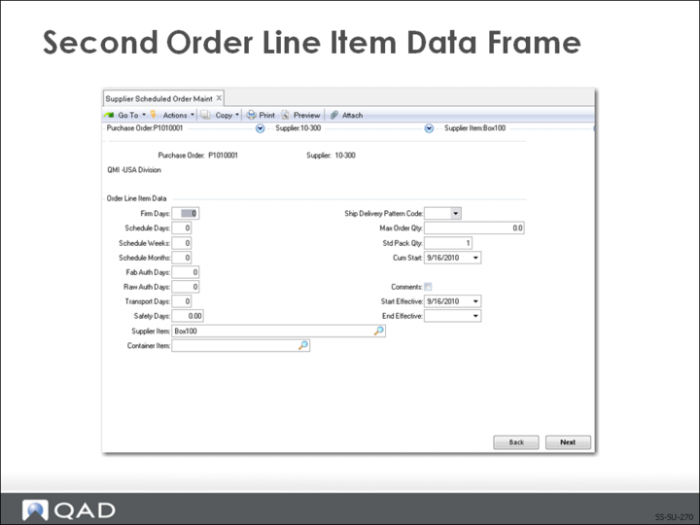
Second Order Line Item Data Frame
This frame contains information used to record data that impacts the requirements and schedules generated for the line items.
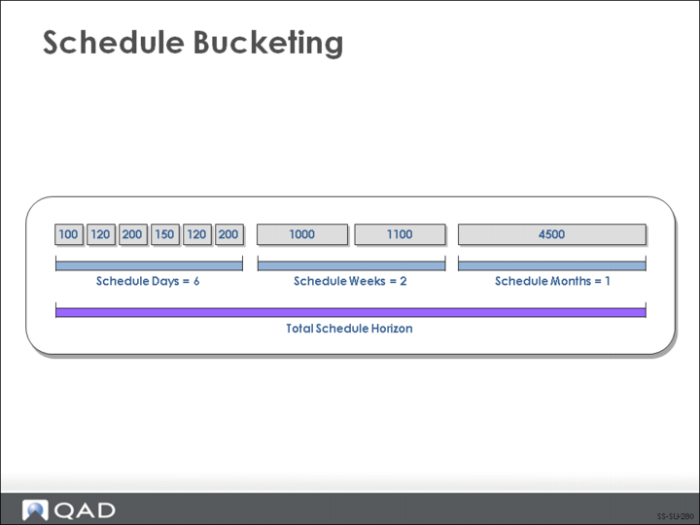
Schedule Bucketing
A spreadsheet used to show resource loadings by time period—typically using monthly buckets.
Exercise: Creating Demand and Scheduled Orders
Note: The data used in these exercises may not be the same as the data shown in the screen captures in this lesson. In an exercise, if a field is not listed, you can accept the default value or leave it blank.
You are going to create a forecast for item number bx-0001 using the default site previously given to you. Then you are going to run MRP to create the demand (that is, create the work orders).
1 Starting with next week, enter a 12-week forecast, using 100 of item bx-0001 per week.
Use Forecast Maintenance (22.1)
2 Run selective MRP for your item number and site, accepting the defaults.
Send the output to your printer. If you do not have a printer, set the output to a file with a name such as “mrp.”
Use Selective Materials Plan (23.3)
3 Review the MRP results. You should have some planned work orders (designated WO) on the supply side.
Use Planned Order Browse (23.9), MRP Summary Inquiry (23.13), or MRP Detail Inquiry (23.16)
You are now ready to create the scheduled order for supplier 10S1003.
1 You are going to set up the order data for this supplier schedule. Let the system assign the purchase order number.
Record the purchase order number: ___________
Use Supplier Scheduled Order Maintenance (5.5.1.13)
2 Advance to the Order Data frame and accept all the default information.
Next, you are going to set up the order detail.
3 In the Item/Site frame, enter your item number, BX-0001 and ship-to site, 10-100. Let the system assign the line number.
When the system prompts you to copy data from another order line for this item, choose No.
4 In the first Order Line Item Data frame, accept the remaining default information.
5 In the second Order Line Item data frame, enter the following:
Field | Data |
Schedule Days | 14 |
Schedule Weeks | 6 |
Schedule Months | 6 |
Fab Auth Days | 30 |
Raw Auth Days | 60 |
Transport Days | 2 |
Ship Delivery Pattern Code | 10 (any day Mon-Fri) |
Note: Note the defaults of the Supplier Item and Cum Start fields.
6 View the scheduled order details. Use Supplier Scheduled Order Inquiry (5.5.1.14) or Scheduled Order Report (5.5.1.15). Set the output to Page.