Set Up Upgrade
The following screens have default settings. Review them to verify that they are correct before beginning the upgrade.
Note:
• Upgrading from Enterprise Edition 2010.1 to 2011 leaves behind source code from previous releases in the bbi and src directories. To prevent the system from referencing this code, rename the bbi and src directories before upgrading.
• Beginning with QAD 2011.1, databases are managed with the conmgr.properties file and Progress DBMAN tools. You therefore regenerate the database scripts during upgrades or conversions to QAD 2011.1 and above.
Before upgrading an environment, shut down all WebSpeed/AppServer brokers, telnet connections, and databases. The shutdown is necessary because the method that QDT uses to query database status was changed to accommodate the use of DBMAN in the database scripts.
Upgrade QAD Enterprise Edition to a New Release
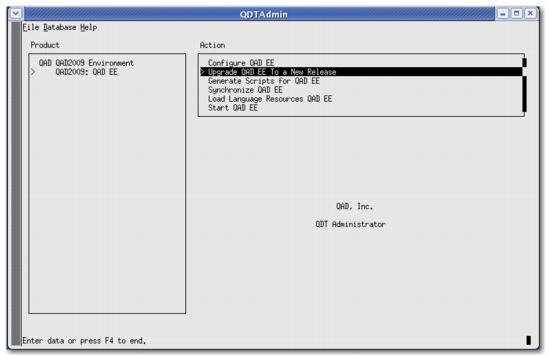
1 Navigate to the following screen within QDTAdmin. Press Enter on the left-hand menu item that corresponds to the environment name.
Select Environment for Upgrade
2 A submenu option named QAD EE displays. Press Tab on this menu item. This action brings your cursor over to the right-hand menu. Select Upgrade QAD EE to a New Release.
Upgrade Live Main Database
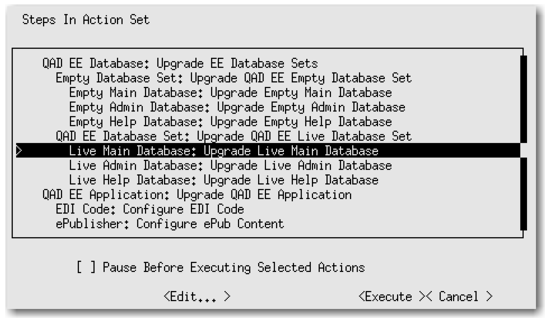
1 Select Live Main Database: Upgrade Live Main Database as shown in the following figure.
Live Main Database: Upgrade Live Main Database
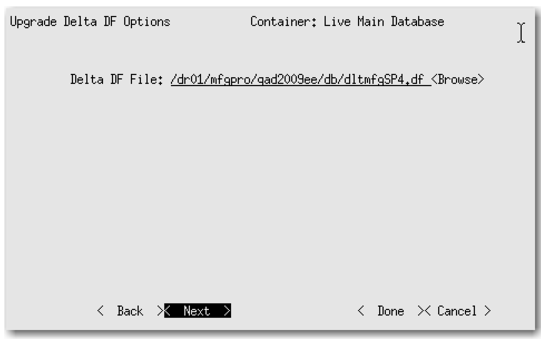
2 The following screen allows you to specify the path to the Delta DF file to use during the upgrade. The path is set automatically by default depending on the source version from which you are upgrading.
Specify the Delta DF File Path
Note: Do not change this path unless you are using a customized Delta DF file.
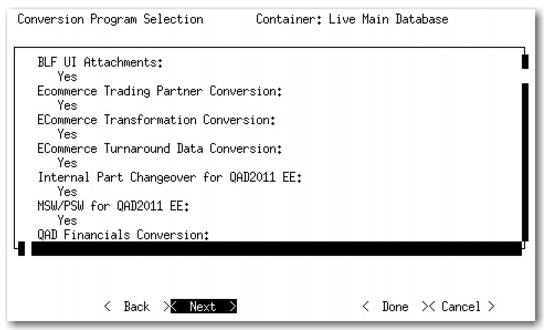
3 Tab to Next and press Enter. The following screen opens, which summarizes the conversion programs to execute.
Note: You cannot modify these settings.
Conversion Summary
4 Tab to Next and press Enter. The following screen opens.
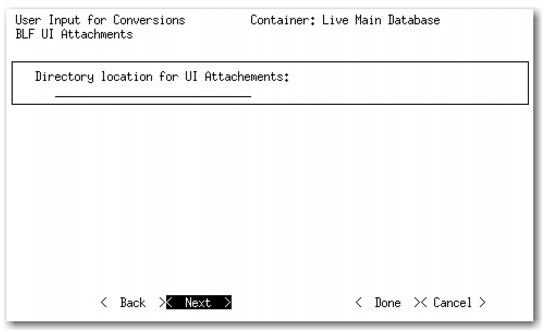
Specify the UI Attachments Directory
In the screen, specify the current directory where UI attachments are stored.
Note: The default is in the Home Server WebApp, under /configurations/qadui/storage/attachments. For example, <tomcat_install
_directory>/webapps/qadhome/configurations/qadui/storage/attachments.
If you specify any other valid directory, manually copy or move the attachments to the default directory after the upgrade finishes.
5 Tab to Next and press Enter. This returns to the main conversion option screen.
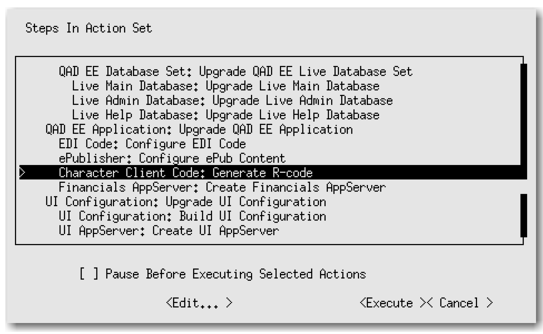
Character Client Code: Generate R-Code
1 Select Character Client Code: Generate R-Code and press Enter.
Character Client Code: Generate R-Code
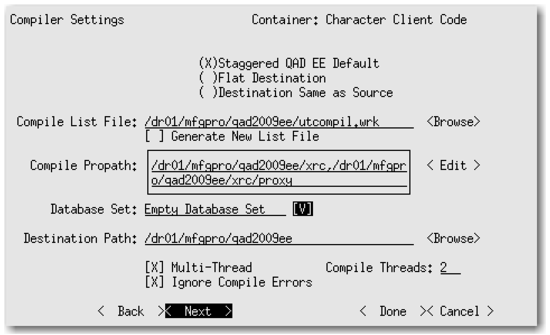
2 Change the Compiler Settings. Use the spacebar to navigate to the parameter to update. Change each of the following settings as desired:
Note: Ensure that the port value is correct for the connection method (telnet or ssh). These values may not be correct for earlier EE versions and should be updated as needed.
• Connection Method: ssh or telnet
• Port: 22 (ssh) or 23 (telnet)
• Multi-thread: Enabled
• Ignore Compile Errors: Enabled
• Compile Threads: Enter the number of CPU cores.
Use the spacebar to toggle Multi-thread and Ignore Compile Errors on and off. For the Compile Threads field, enter a number.
Compiler Settings
Note: If you changed the value of the Compile List File field on the Compiler Settings screen, a compile error can occur when upgrading from a previous Enterprise Edition version.
The compile list file (utcompil.wrk) ships with Enterprise Edition and lists the programs to compile during product installation. During an upgrade, the compile list for the existing installation is replaced with a new list that is used to compile the new release.
If you have changed the compile list file name and path in the Compile List File field on the Compile Settings screen, the compile process uses whatever file was specified and not the required new list. Use of the wrong list can cause a compile error that prevents QDT from completing the upgrade. It can also prevent new programs contained in the release from compiling. It is not reported as an error during the compile and causes errors at run time.
If you have changed the Compile List File on the Compile Settings screen, change it back to the default value of <env_home>/utcompil.wrk, where <env_home> is the root directory of the environment being upgraded (the directory with us, qra, xrc, and other directories).
3 Tab to Next and press Enter. This returns to the main conversion option screen.
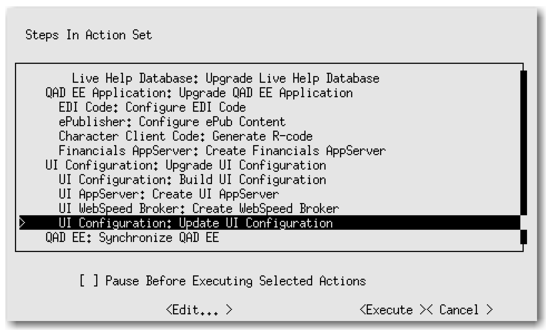
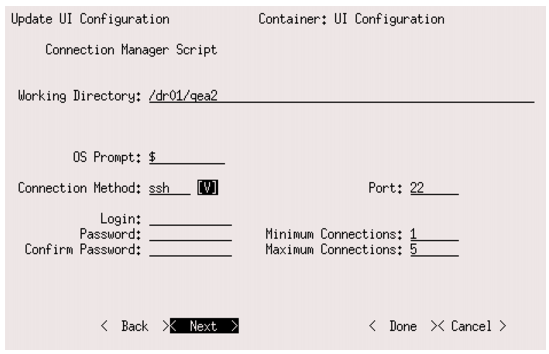
Update UI Configuration
1 Select UI Configuration: Update UI Configuration.
UI Configuration: Update UI Configuration
2 In the UI configuration screen, make the following changes:
• Working Directory: <defaulted-in for your specific environment>
• Login: mfg
• Password: <mfg_user’s_password>
• Confirm Password: <mfg_user’s_password>
Note:
• The MFG login is the O/S login ID and password.
• The password fields do not show key entries.
Update UI Configuration Script
3 Tab to Next and press Enter. This returns to the main conversion option screen.