Start the Enterprise Edition Installer
You can run the Enterprise Edition installer in silent mode (without prompts) or interactive mode (with prompts). The installer defaults to interactive mode.
To show the help for the installer, enter:
./install.py --help
For Windows installations, you must run a command prompt as an administrator and execute the installer from this elevated session.
The following procedure describes installation using interactive mode.
1 Start the installer:
./install.py
./install.py -install-conf:FILE|URL
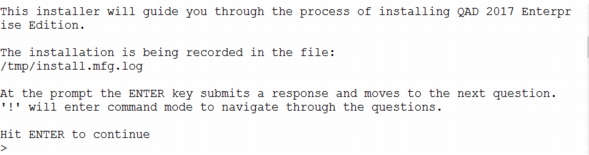
2 The Enterprise Edition installer starts. Press Enter to proceed with the installation.
Note: The installer has a command mode that allows you to go back to previous questions, proceed to the next question, quit the installation, or return to interactive mode. You can move to command mode at any prompt by entering an exclamation point, !.
Installer Welcome
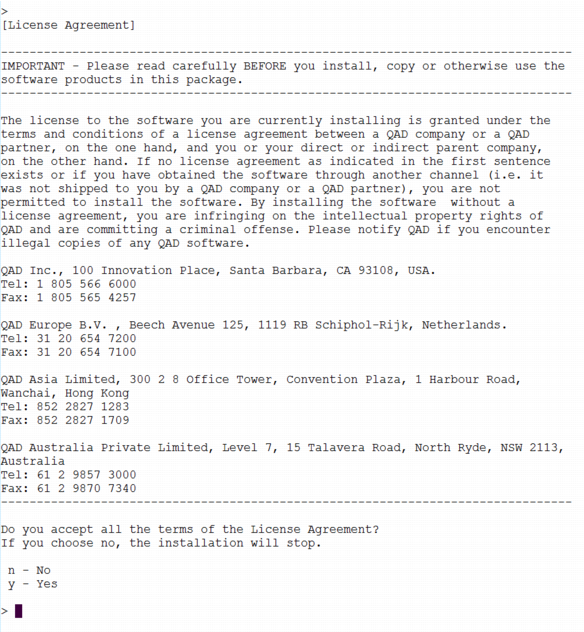
3 Read and accept the software license agreement to proceed. If you do not accept the license agreement, the installation stops.
License Agreement
4 Enter the Enterprise Edition install location.
Enterprise Edition Install Location
5 Specify the Progress OpenEdge location.
Progress OpenEdge Location
6 Specify the Java location.
Java Location
7 Enter the Python interpreter location.
Python
8 Specify the OS account that should be used by application components that start terminal sessions. For more information, see
Operating System Account.
OS Account
9 Enter the password for the OS account.
OS Account Password
10 Enter the list of languages for your installation. You must enter at least one language before you can continue. English is “us.”
Available Languages in Enterprise Edition
Language | Option |
Chinese (simplified) | ch |
Chinese (traditional) | tw |
Czech | cz |
Dutch | du |
English | us |
French | fr |
German | ge |
Italian | it |
Japanese | jp |
Korean | ko |
Polish | pl |
Portuguese | po |
Spanish (Castilian) | cs |
Spanish (Latin) | ls |
Optional Languages to Install
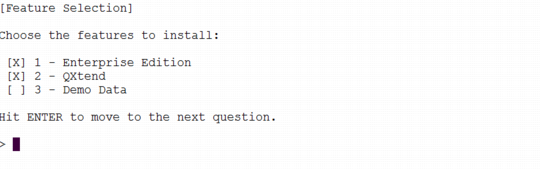
11 Select the features to install. An X next to a feature indicates that it will be included in the installation. To add or remove an X, type the number that corresponds to the feature and press Enter.
Note: Demo Data is sample data you can install for use in a test environment. An installation with Demo Data takes considerably longer than an installation without the additional data.
Features
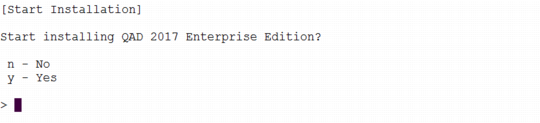
12 The installer prompts you to start Enterprise Edition installation. Enter y to begin the install.
Start Enterprise Edition Installation?
13 The installation begins. Status messages appear that show the progress of the installation.
Note: Some install actions take several minutes to complete.
14 Wait for the install to finish.
Note: The installation could take more than 60 minutes. You can follow the installation’s progress on your screen or review the installation log file. See
Log File for more information.
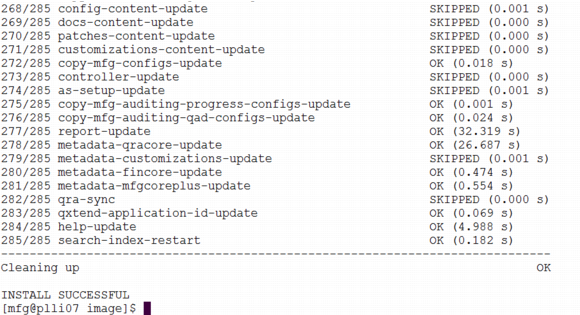
15 The installation ends with either INSTALL SUCCESSFUL or INSTALL FAILED. If your install fails, see
Install Failed for details.
Enterprise Edition Installation Successful
l