Installation
The Reporting Service is installed with an installer hosted by the QAD Applications Home Server.
1 You can display the location of the QAD Applications Home Server from the QAD Applications Client by choosing Help|View Configuration in the client and entering homeserver in the search text box.
QAD Applications Home Server
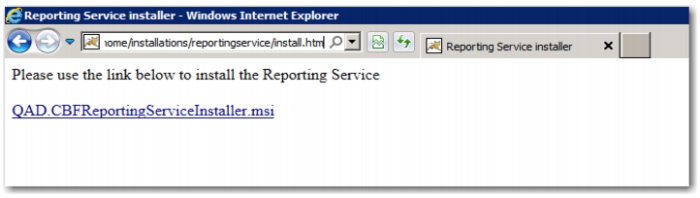
2 Go to the Windows server where you want to install the QAD Reporting Service. Use Internet Explorer to connect to the setup. Navigate to:
<home_server>/installations/reportingservice/install.htm
3 Click the Install button.
QAD Reporting Service Installation
4 You may see one of the following security dialog boxes, depending on how Internet Explorer is configured.
Internet Explorer Security Warning
Internet Explorer Security Warning
If you see either dialog box, click Run to continue.
5 The QAD Reporting Service Setup Wizard begins.
QAD Reporting Service Setup Wizard
6 Click Next.
Select Installation Folder Screen
7 Enter an installation folder or accept the default location. Click Next.
Configure Reporting Service Screen
8 Enter the configuration parameters listed in the following table. Then click Next.
Reporting Service Configuration Settings
Parameter | Description |
Home Server URL | The URL to the QAD Applications Home Server. |
Environment | The name of the Home Server environment for which this instance provides reporting services. The environment name displays in the title of the QAD Applications Client. It is the value to the left of the colon (:). |
SMTP Server | The IP address or host name of the server supporting the Simple Mail Transfer Protocol on port 25. |
Configure Reporting Service Screen
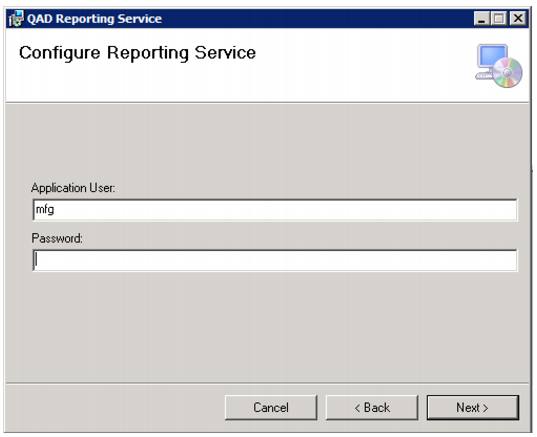
9 Enter the configuration parameters listed in the following table. Then click Next.
Reporting Service Configuration Settings
Parameter | Description |
Application User | The QAD user account the service uses to connect to other QAD services. |
Password | The password associated with the application user account. |
Confirm Installation Screen
10 Click Next to begin the installation.
User Account Control Screen
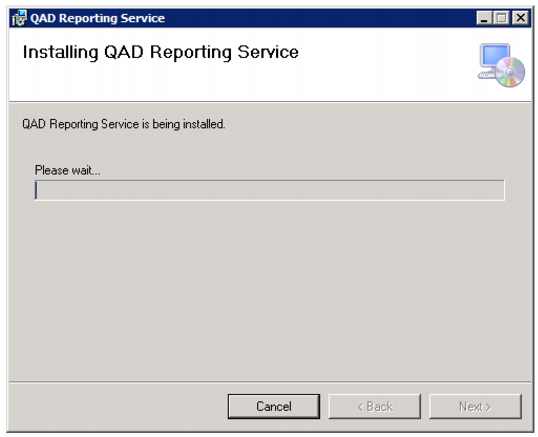
11 Click Yes to continue with the installation. You can monitor the installation with the progress bar on the Installing QAD Reporting Service screen.
Installation Progress Screen
12 Click Close.
Installation Complete Screen
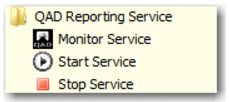
The installer configures the Reporting Service as a Windows Service named “QAD Reporting Service” running on TCP/IP port 4331 and creates shortcuts to start, stop, and monitor the service.
Reporting Service Shortcuts