Role Menu
QAD-provided role menus cannot be modified or deleted but can be copied to create new role menus for roles. The new role menus can be edited and updated with additional folders, pages, and permissions. Role menus are selected through the Channel Islands menu bar and users see a role menu for each role to which they have been assigned that has a defined role menu.
Create a New Role Menu
Before you can create a new role menu, the system must have a role that is not yet associated with a role menu. To create a new role in the QAD .NET UI, see
Set Up Roles.
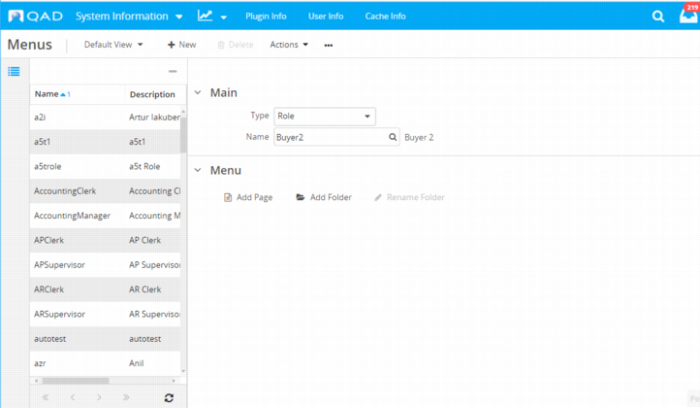
1 Select New.
2 Select Role from the Type drop-down menu.
3 In the Name lookup, select the role to which to assign this role menu.
4 Save the role menu.
5 Add Pages and Folders to the new role menu. These folders and pages become the drop-down menus available in the menu bar for this role.
a Pages are the system’s menu items.
b Folders organize pages. Enter a new folder name or choose a label from the options in the system. If you select from the system-provided labels, the folder names will translate for users assigned different language codes.
6 Save the populated role menu.
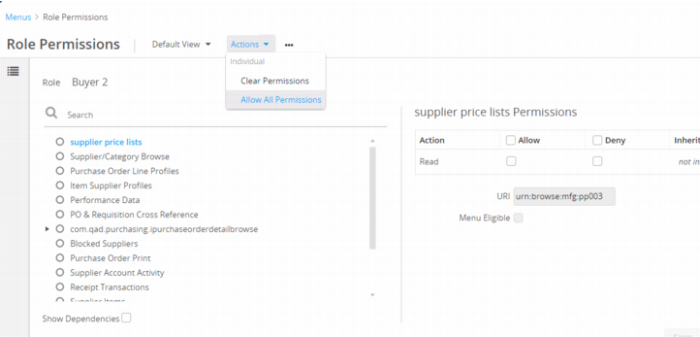
7 Select Permissions at the bottom of the screen. The Role Permissions modal dialog displays the resources that make up the role menu you created. These resources need to be secured for the role to have access to all required areas of Channel Islands.
Allow All Permissions
8 Select Allow All Permissions from the Actions menu.
9 All of the secured resources should now have a green circle next to them. Select Save in the lower right corner of the Role Permissions window.
Copy an Existing Role Menu to Create a New Role Menu
Before you can copy a role menu to create a new role menu, the system must have a role that is not yet associated with a role menu. To create a new role in the QAD .NET UI, see
Set Up Roles.
1 On the Menus browse, highlight the role menu you want to copy.
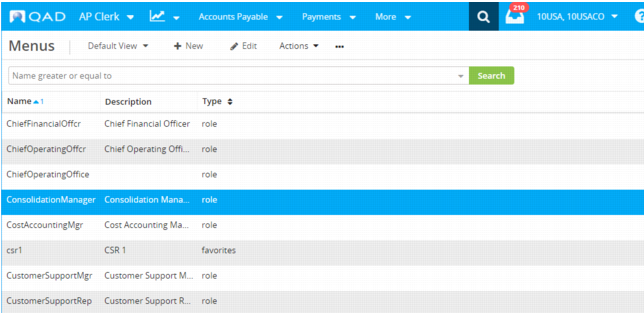
Menus
2 Select Copy from the Actions menu.
3 Select Role from the Type drop-down menu.
4 In the Name lookup, select the role that will be assigned this role menu.
Copy a Role Menu
5 Select Save. Then select Permissions at the bottom of the screen. The Role Permissions modal dialog displays the resources that make up the role menu you copied. These resources need to be secured for the new role to have access to all required areas of Channel Islands.
Allow All Permissions
6 Select Allow All Permissions from the Actions menu.
7 All of the secured resources should now have a green circle next to them. Select Save in the lower right corner of the Role Permissions window.