Processing Product Change Requests
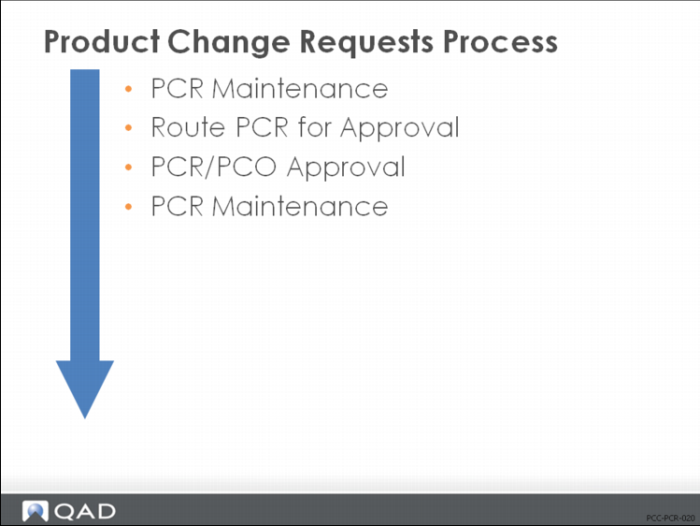
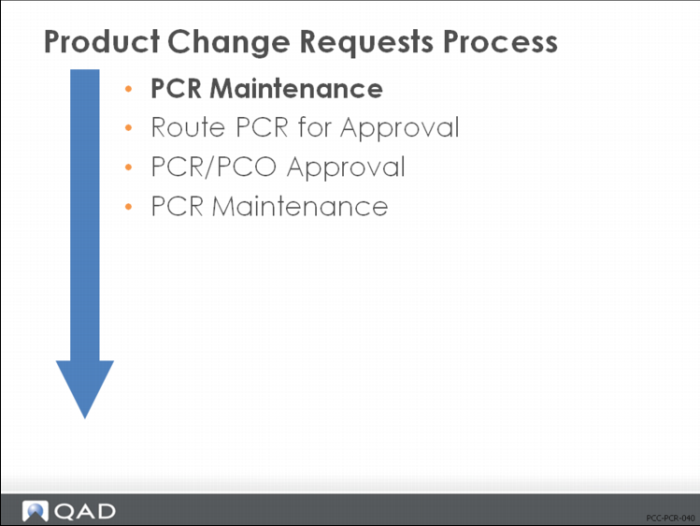
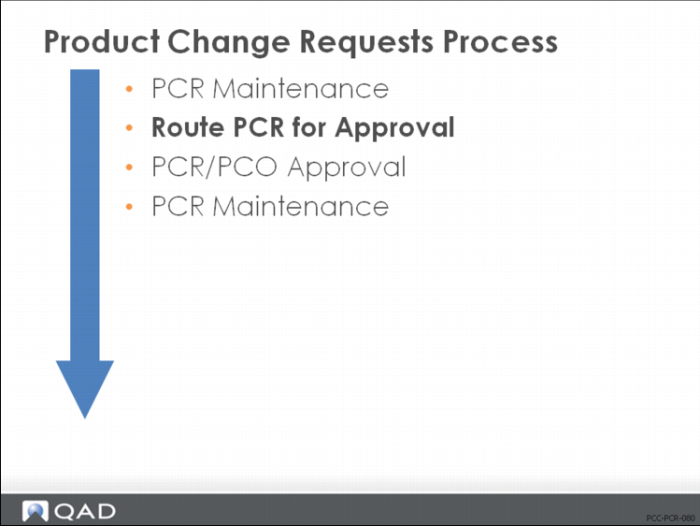
Product Change Requests Process
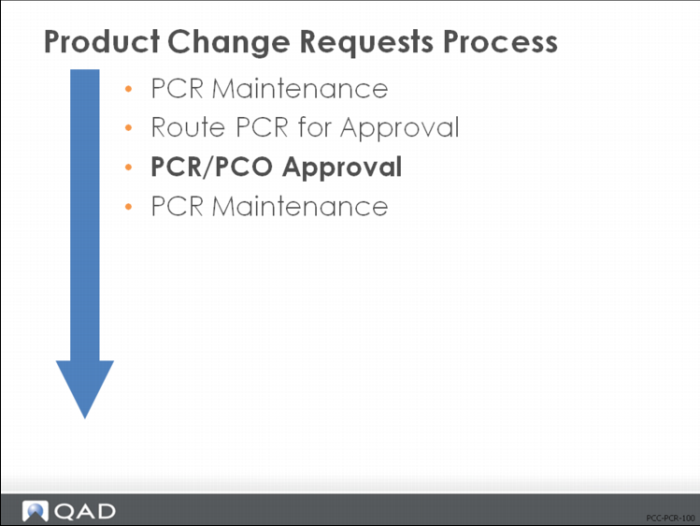
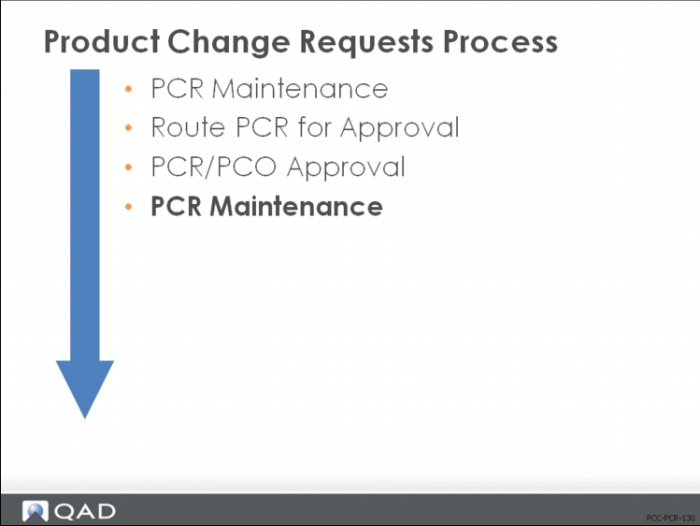
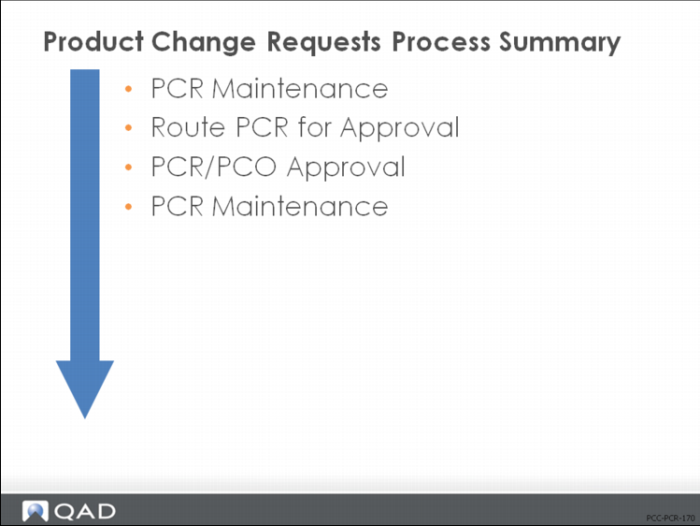
This illustration is a suggested process sequence of master files for the Product Change Requests, which is based on information that flows from one master file to another and prerequisites that need to be accomplished.
What is the procedure? | Who is responsible? |
Create/Maintain PCR | Document Control |
Route PCR | Document Control |
Approve PCR | Approval Group |
Close PCR to PCO | Document Control |
Create Maintain PCR
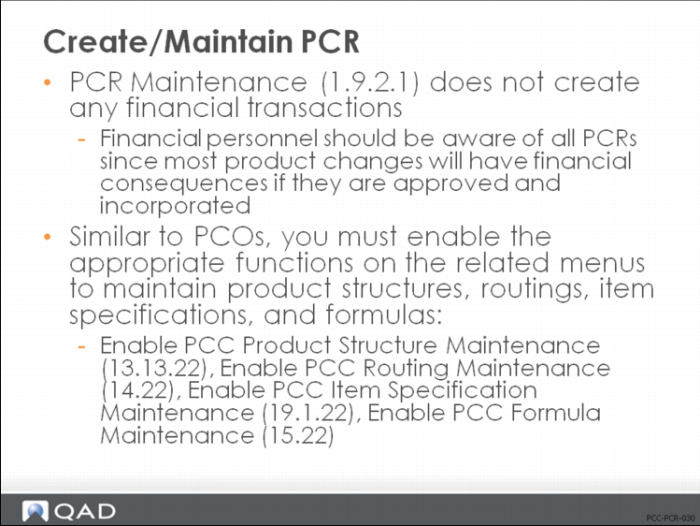
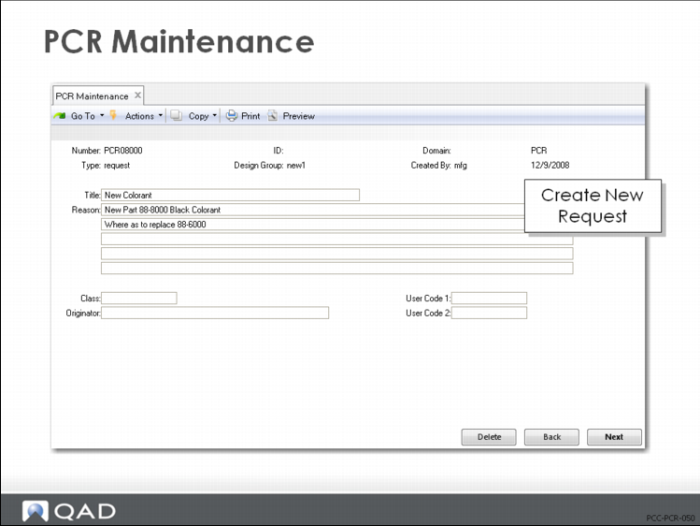
PCR Maintenance
• Design and build Product Change Requests (PCRs)
• All of the functions required to create product changes are contained in this program
• Submitted PCRs can be modified using PCO Maintenance, but a warning displays
• Closed PCRs can be accessed, but the only menu option available is Trailer Maintenance
• CIM load is not used to load data into PCR Maintenance
• Use PCR/PCO Import/Export (1.9.13)
PCR Maintenance (1.9.2.1)
• PCRs are unique for each Number, ID, and Database combination
• ID and Database are typically used to split up large or complex engineering changes into more than one PCR
• If you open a PCR with the same Number, but different ID or Database as another PCR, you will receive a warning that related PCRs exist
PCR Maintenance Options
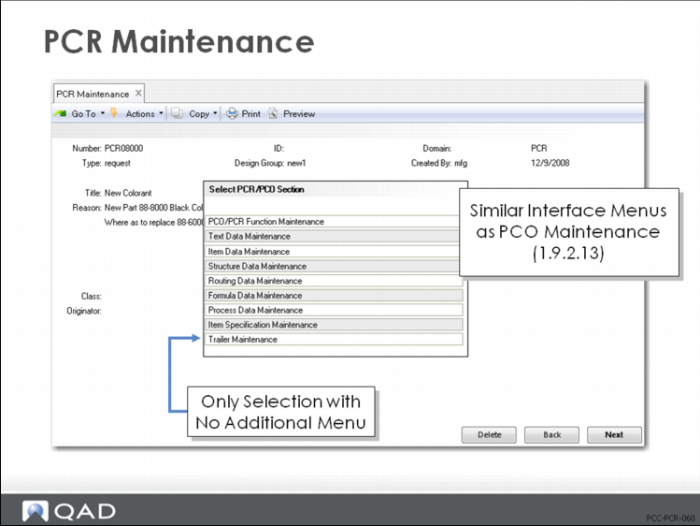
• Just like PCO Maintenance, pop-up menus allow you to select which kinds of changes to make
• Just like PCO Maintenance, a second pop-up menu gives you access to detail modification
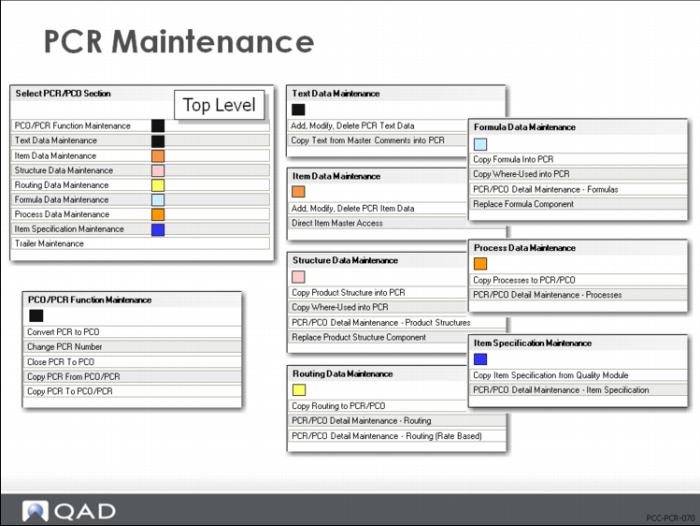
• Each menu item (except Trailer Maintenance) leads to another menu
• Trailer Maintenance is the only menu option that can be used for closed PCRs
PCR Maintenance Options Lower Levels
Exercise: Create PCR with Where-As Changes
You received a request to make black cases in place of your existing grey cases. To analyze the feasibility of this product change, you need a new colorant similar to 88-6000 Grey Colorant, and you need Where-As replacements to substitute the new colorant. In this exercise you create a PCR to evaluate and approve these changes before converting them to PCOs.
1 Let QAD SE assign the PCR number. The number will be assigned when you complete the Type and Design group fields and click Next.
Field | Data |
Assign Type | PCR |
Design Group | DESIGN |
a Notice the different numbering from the PCOs in the last chapter.
b Write down the PCR number assigned for later reference: ____________________
Hint: Use PCR Maintenance (1.9.2.1)
2 Title and Reason fields are optional. Leave them blank, or create a simple description for this PCR:
Field | Data |
Title | New Colorant |
Reason | New Item 88-8000 Black Colorant Where-as to Replace 88-6000 |
3 Click Next to continue past the header. Choose Item Data Maintenance, then select Add, Modify, Delete PCR Item Files.
a Add the item record for 88-6000 Grey Colorant to your PCR.
b End Product = Yes.
c Comments = Yes. Add a comment to instruct “Being replaced by Black Colorant.”
d Exit the PCR and print the record, or review the Detail Inquiry (1.9.2.8) and write down the Item Data information about 88-6000. You need it to create the new item 88-8000. Return to PCR Maintenance when you have the 88-6000 information.
4 Re-enter the PCR Maintenance function and choose Item Data Maintenance from the menu, then select Direct Item Master Access.
a Add a new item 88-8000 BLACK COLORANT. Be sure to use the same Product Line, Unit of Measure, Status Code, and all other Item Data codes as 88-6000. Refer back to your copied record for accuracy.
An alternative method to add the new item to the Item Master would be to use Item Master Copy (1.4.12) and copy the 88-6000 record to create the 88-8000.
5 Return and choose Item Data Maintenance, then Add, Modify, Delete PCR Files.
a In the last step you added the item to the Item Master but not to the PCR. Add the new item record for 88-8000 Black Colorant to the PCR. End product = Yes, Comments = No.
6 Return and choose Structure Data Maintenance. Then select Copy Where Used into PCR.
a Component Item = 88-6000.
b Select each product structure by clicking it with the mouse. An asterisk appears next to each parent item number. Click Next to save the records.
7 Select Structure Data Maintenance and then Replace Product Structure Component.
a Component Item = 88-6000.
b Replace with Item = 88-8000, Multiplier = 1.0 (a one-for-one replacement).
c Click Back to Continue and Please Confirm Update = Yes.
8 Choose Structure Data Maintenance and then PCR/PCO Detail Maintenance - Product Structures.
a Review the records created with this copy procedure. Arrow down to scroll through each record. You should see that the product structure records include the old item number 88-6000 with Deactivate = Yes and the new item number 88-8000 with Deactivate = No.
9 Save the record, click Next, without adding any information to the trailer.
10 Review your PCR to be certain your changes were all included. Note the double records for product structure changes using PCR/PCO Detail Inquiry (1.9.2.8).
Route PCR
• Similar to PCOs, the PCRs are selected for routing through the approval cycle.
• Used to place product change requests (PCRs) into the approval cycle
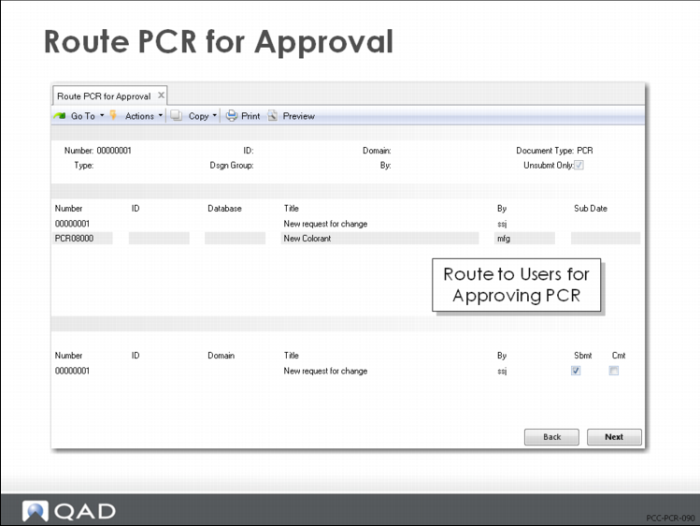
Route PCR for Approval (1.9.2.4)
• Based on the selection criteria in the first frame, a listing of PCRs appears in the second frame
• Use the arrow keys to scroll through the list and click Next to select an entry
• In the bottom frame change the submission status of the PCR and attach comments
• Once submitted, the PCR becomes visible to PCR/PCO Approval (1.9.6.1)
• Its status changes to Submit in PCR/PCO Status Browse (1.9.11) and a submission date is attached
See in this training guide: Print PCR/PCO.
• Submitted PCRs can be unsubmitted by running Route PCR for Approval with the Unsubmit Only = No, and then changing Sbmt from Yes to No
• If anyone has approved the PCR, it will not display for update
• The approval must be reversed in PCR/PCO Approval (1.9.6.1) before it can be unsubmitted
Exercise: Route PCR for Approval
1 Allow QAD SE to automatically select the PCR available for submittal.
a Doc Type = PCR and Unsubmt Only = Yes. Click Next to continue.
b Click Next to accept the PCR in the first frame. Sbmt = Yes in the second frame. Click Next.
Hint: Use Route PCR for Approval (1.9.2.4).
2 Review your PCR to see the status change. The Status should be = Submit.
Hint: Use PCR/PCO Status Browse (1.9.11).
Approve PCR
Similar to PCOs, PCRs are examined for approval, comments, rejection, or reapproval.
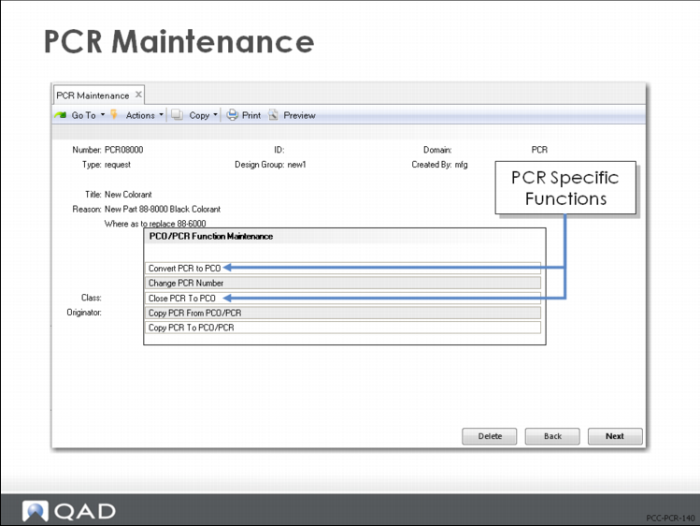
PCR Maintenance (1.9.2.1) is the same as PCO Maintenance (1.9.2.13) except for the Convert PCR to PCO and Close PCR to PCO functions, which are only options when you modify a PCR.
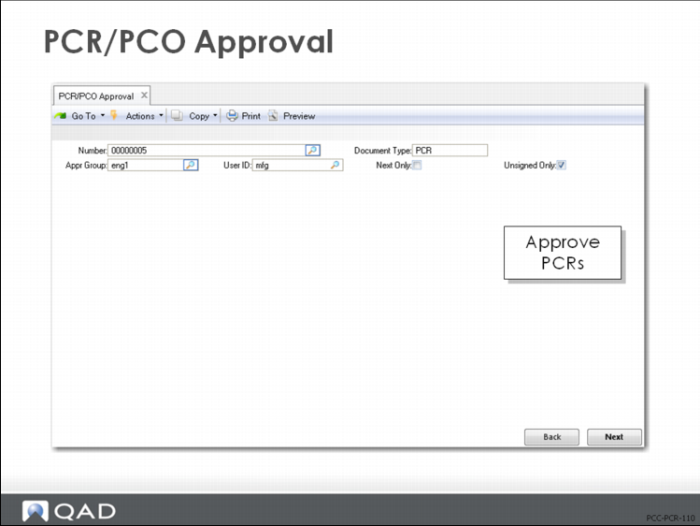
PCR/PCO Approval (1.9.6.1)
• Based on the selection criteria in the first frame, a listing of documents appears in the second frame
• If the Security = Yes in the PCC Control (1.9.24), you are prompted for a password before entering the second frame
• Use the arrow keys to scroll through the documents in the second frame and click Next to select an entry
• In the bottom frame, approve or reject the selected change document and attach comments to the PCR
• If you reject the PCR and you belong to a group that can reroute rejected changes, you are prompted to enter a reroute level
• If specified, all groups with a lower reroute number who previously approved the PCR have their approvals set = No
• An asterisk appears in the last column in the second frame to give visibility to any PCR that was rejected and rerouted
Close PCR to PCO
Exercise: Approve PCR
1 Allow QAD SE to automatically select the PCR available for approval.
a Doc Type = PCR, User ID = your login, and Unsigned Only = Yes. Click Next to continue.
b Click Next to accept the PCR in the first frame. Sbmt = Yes in the second frame. Click Next.
Hint: Use PCR/PCO Approval (1.9.6.1).
2 Review your PCR to see the status change. The Status should be = Approved.
Hint: Use PCR/PCO Status Browse (1.9.11).
PCR Maintenance
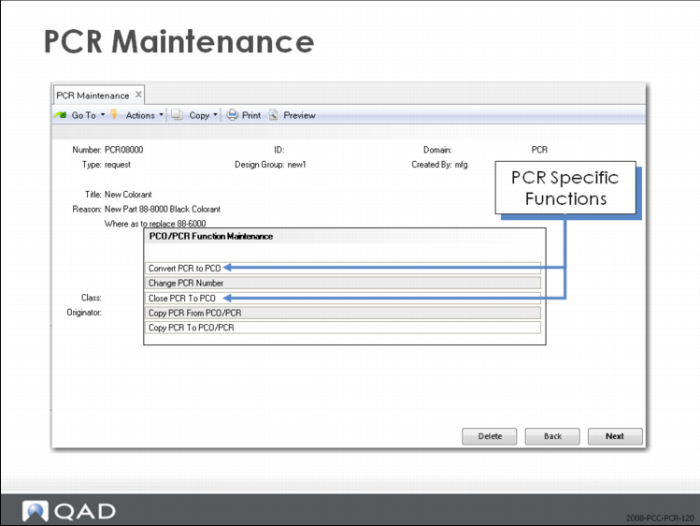
PCR Maintenance (1.9.2.1) is the same as PCO Maintenance (1.9.2.13) except for the Convert PCR to PCO and Close PCR to PCO functions, which are only options when you modify a PCR.
PCR Maintenance (1.9.2.1)
PCO/PCR Function Maintenance
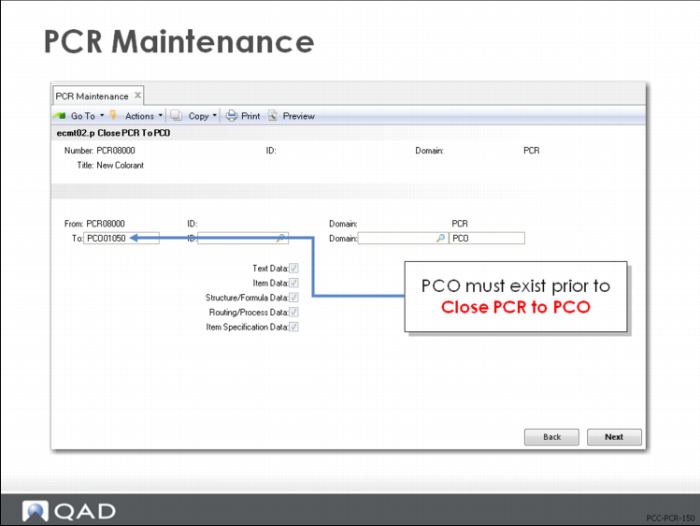
Close PCR to PCO
• Used to merge details from PCR to an existing PCO
• PCO must exist first before using this function; it cannot create a new PCO
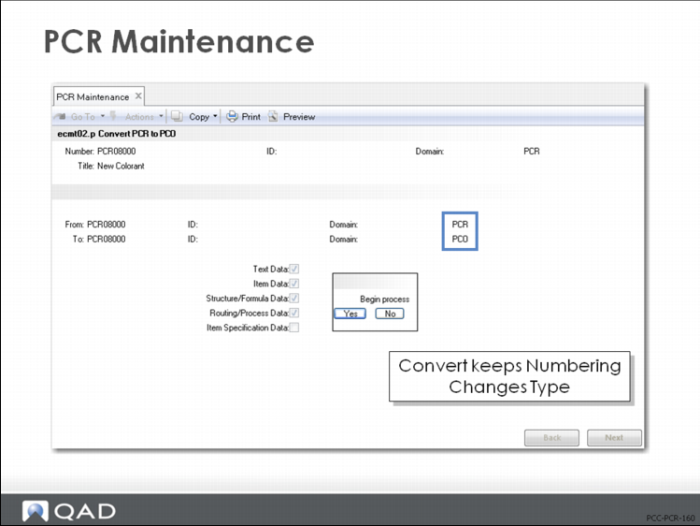
Convert PCR to PCO
Changes document types from PCR to PCO, but does not change the number, when you provide the new PCO type and design group.
Exercise: Close PCR to PCO
1 Your company requires a new PCO that will only contain the contents of this PCR.
a Create a new PCO. Allow QAD SE to automatically assign the next number. Type = PCO, Design Group = DESIGN.
Hint: Use PCO Maintenance (1.9.2.13).
b Write down the PCO number assigned for later reference: ____________________
c Finish the header of the new PCO and exit without adding any changes or trailer information.
Title New Colorant Applied
Reason PCR Changes Approved
Production Order for Black Colorant
2 Return to PCR Maintenance, select your Black Colorant PCR, and click Next until you move past the header.
Hint: Use PCR Maintenance (1.9.2.1).
3 Select PCO/PCR Function Maintenance. Then choose Close PCR to PCO.
a Assign the PCO number you recorded in the previous step. Verify that the To: document is a PCO document type.
b Affirm copying the PCR data to the PCO. Ignore the message Warning: Target Exists; Duplicated Records Will Not Copy. Assign Continue? = Yes.
c Further Detail changes to the PCR are not allowed. At this point you can modify the trailer of your PCR. For the purposes of these exercises, there are no trailer modifications.
4 Review your PCR and PCO Status. The old PCR should show Status = Closed. The new PCO should show Status = blank. The PCO is now ready for routing.
Hint: Use PCR/PCO Status Browse (1.9.11).
Summary