Return to Vendor
If you receive parts that need to be returned to the vendor, use the Return to Vendor action in the Purchase Order Action menu. The Return to Vendor action:
• Reduces the on-hand inventory quantity.
• Creates a general ledger transaction that credits the inventory accounts and debits the accounts payable liability accounts.
Follow these steps to return parts to the vendor:
1 Open the Purchase Order browse and select the purchase order.
2 Select Return to Vendor in the Purchase Order Action menu.
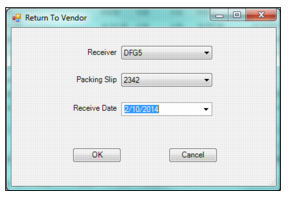
The Return to Vendor window opens, which allows you to find the items to be returned by selecting the receiver number, packing slip number, or the receive date.
3 Click OK to view all corresponding inventory transactions.
Note: If you select All from Receiver and Packing Slip drop-down lists and do not indicate a receive date, you can view all the inventory transactions for the PO.
Return to Vendor
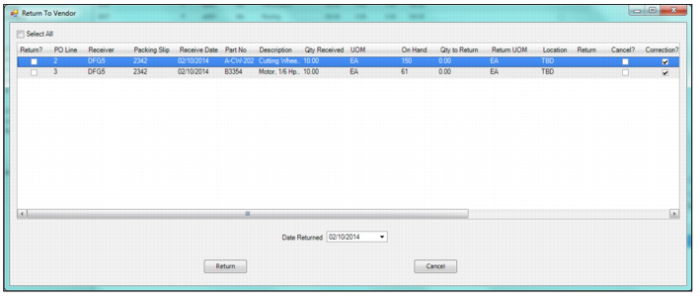
The Line Item Returns window opens showing the inventory transactions that match the selections in the previous Return to Vendor window.
4 Select the lines to return. To return all lines, select the Select All check box.
5 In the Quantity to Return field, enter the quantity of items to return.
Note: You cannot enter an amount exceeding what was received on this receiver. If this is an inventory part, you cannot enter an amount exceeding the quantity on hand.
6 In the Location field, select the location for the item being returned. The Location field defaults to the original receipt location.
7 In the Return field, use the lookup to select the reason for the return.
8 If necessary, select the Cancel? check box to cancel the balance of the outstanding orders so that the return quantity is not added to the open quantity on the line. If this is the only line on the PO and the PO was already closed, it remains closed.
By default, the Cancel? check box is not selected.
Note: If the PO is closed and you do not select this check box, EAM reopens the PO and requisition to re-receive the items that were returned.
9 In the Date Returned field, use the calendar lookup to select the return date. This field defaults to today’s date.
10 In the Comment field, enter any additional information regarding the return. This is a required field.
11 Click Return to process the return.
Select the Lines to Return
The system prompts you to print the vendor return form.
12 Click Yes to print the form; otherwise, click No.
The system returns you to the Purchase Order browse. The quantity returned or canceled is now reflected in the PO Items browse.