Customer Setup
Customer Setup Overview
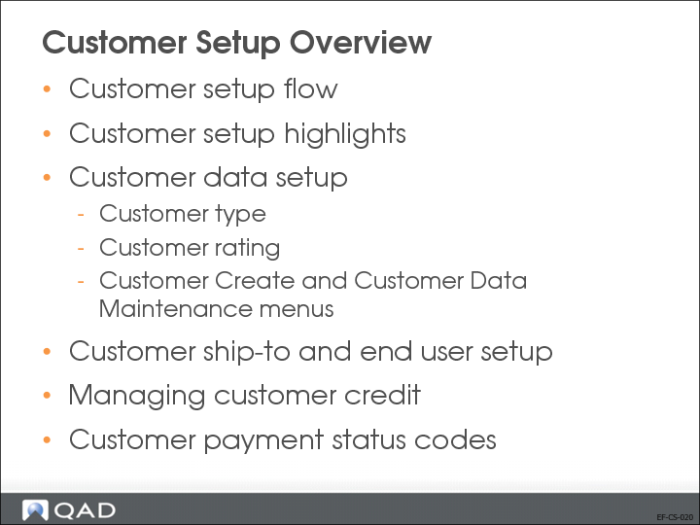
Your customers are the companies that purchase your goods and services. They are referenced on sales quotations, sales orders, invoices, and in accounts receivable. They are also used for service and support documents such as calls, contracts, and return material authorizations (RMAs).
Before setting up customers, you must first define customer type codes and credit rating codes, described next. Customer records also require GL account profiles—control accounts for invoices, control accounts for credit notes, customer bank accounts, and sales accounts.
After reviewing the setup flow, you will learn about each element in more detail. Lastly, we will explain how customer credit is managed in QAD Financials.
Customer Setup Flow
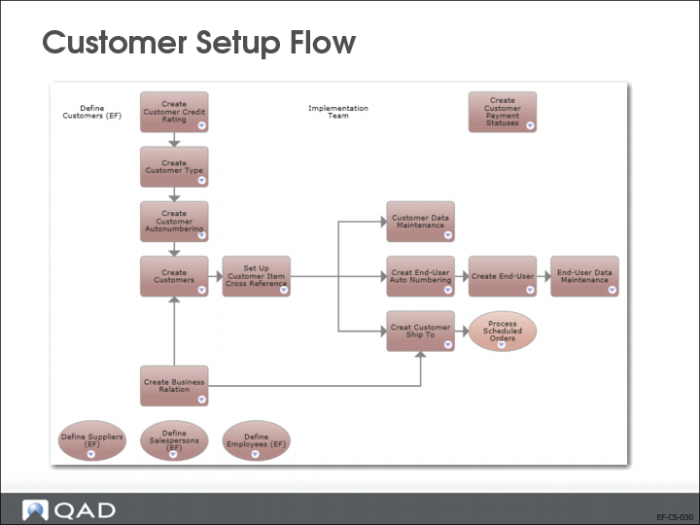
After a customer has been created and set up by an authorized role, additional operational data, such as the default inventory site for sales transactions, can be associated with the record in Customer Data Maintenance (2.1.1).
Some of the steps in this process flow are mandatory; others are optional.
Customer Setup Details
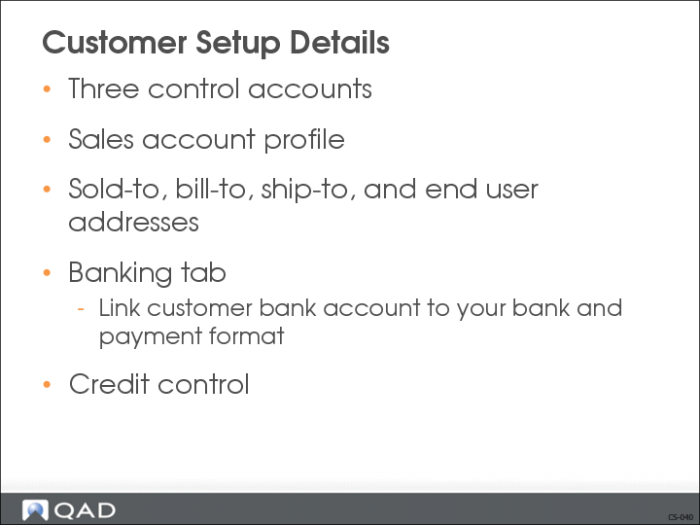
Before setting up customers, you must create customer type codes, credit rating codes, and GL profiles for the control accounts for invoices, credit notes, bank accounts, and sales accounts (for memo items).
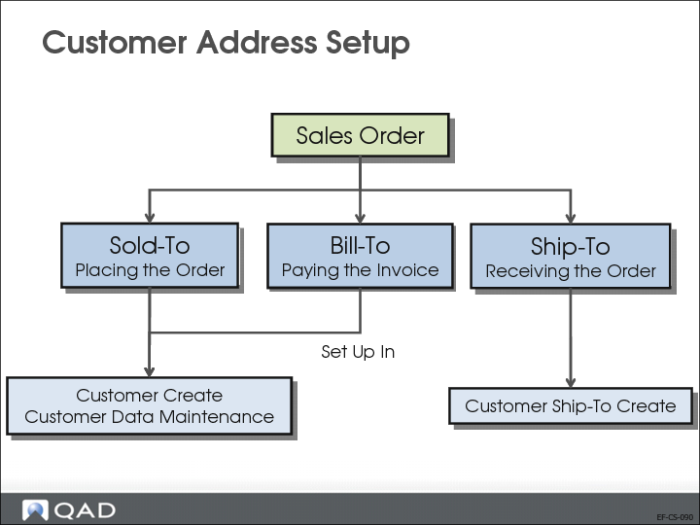
A sales order can reference up to three customer addresses: a sold-to address, a bill-to address, and a ship-to address. A customer can also be referenced as an end user address by service and support functions.
The Customer Credit Rating activities (27.20.5) let you rank customers by credit worthiness.
The system stores the customer and company bank account numbers on the Banking tab, together with the default payment formats for transactions.
Customer Data Setup
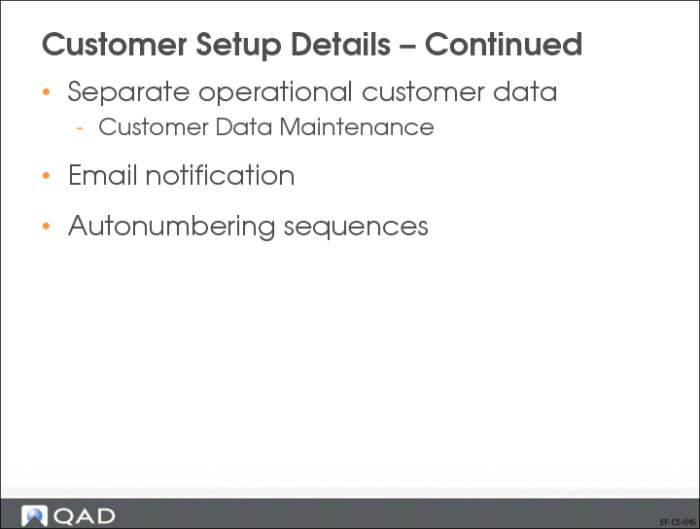
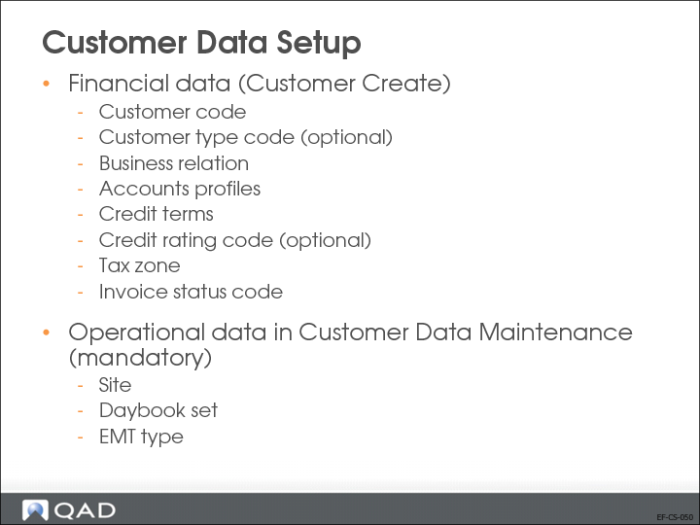
You set up most customer data in Customer Create (27.20.1.1) in Financials. However, some data specific to the operational functions, such as the site linked to the customer, daybook set, or EMT type, is set up in Customer Data Maintenance (2.1.1).
Credit rating and customer type codes are optional. However, if you want to use ratings or customer types, you must define these prior to creating a customer record. This restriction also applies to some mandatory data, such as account profiles, invoice status codes, and tax zones.
Customer Type
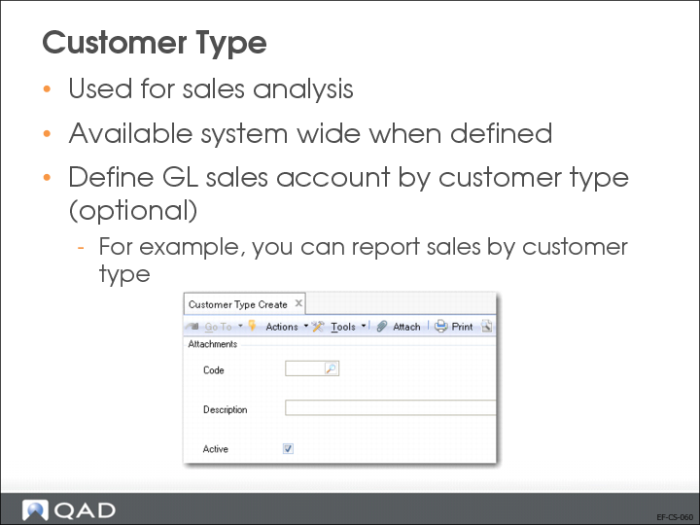
Use Customer Type activities (27.20.4) to create, modify, view, and delete codes for grouping customers. You can use the customer type to select groups of customers for reporting, in particular, for sales analysis reports.
Customer types are system-wide data, and apply to all domains and entities.
You can also define GL sales accounts by customer type, channel, product line, and site in Sales Account Maintenance (1.2.17). This lets you track sales and cost of sales amounts separately for different types of customers.
Customer Credit Rating Code
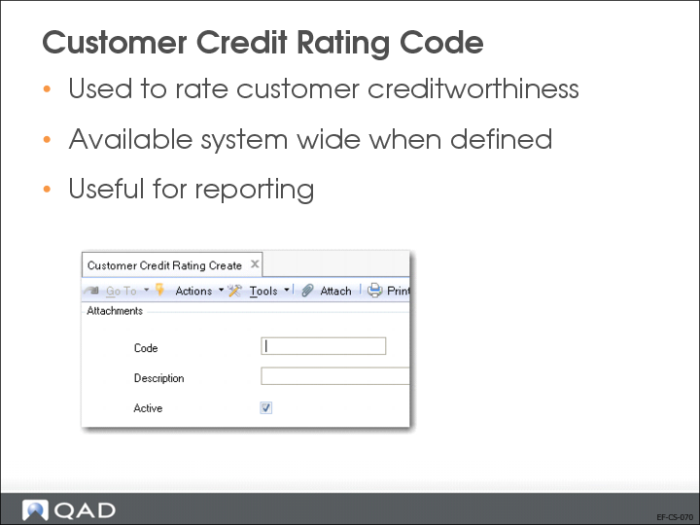
Use Customer Credit Rating activities (27.20.5) to create, modify, delete, and view codes for ranking customers by creditworthiness.
You can use customer credit rating codes to select groups of customers for reporting. Customer credit rating codes are system-wide data, and apply to all domains and entities.
Mandatory Customer Setup Components
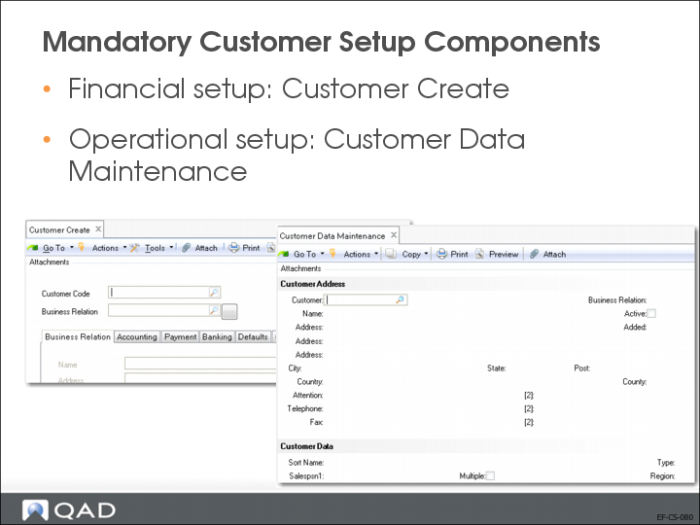
Use Customer activities (27.20.1) to create, view, modify, or delete customer records. You can link the customer code to an existing business relation or create a new business relation. You can only delete a customer record if it is not referenced in the system. However, you can mark a referenced record as inactive.
You can use Excel Integration (27.20.1.5) to export customer records to or load records from an Excel spreadsheet. You can also use Excel Integration to import customer bank accounts. See
Advanced Excel Integration and
User Guide: Introduction to QAD Enterprise Applications for more information.
After creating a customer in the Financials module, you must specify additional operational data in Customer Data Maintenance (2.1.1). An email is automatically sent to the members of the CustomerNotify role responsible for creating this data when a new customer is created.
Customer Address Setup
A sales order or sales quotation can reference up to three customer addresses. These addresses can reference the same or different business relations.
• Sold-to customer. The customer placing the order.
• Bill-to customer. The customer paying the invoice. A single bill-to is assigned when the customer is set up. If no bill-to is assigned, the sold-to customer code is used as the bill-to.
• Ship-to customer. The customer receiving the order. Ship-to customer IDs are set up in the Customer Ship-To function. Each customer can have multiple ship-to addresses.
Sales order header information, such as default credit terms and currency, is determined by the bill-to customer. Other fields default from the sold-to customer, unless a customer record was entered for the ship-to address for the order. These include language, taxable status, and other tax defaults.
During order entry, the bill-to address defaults from the sold-to, unless a different bill-to address is assigned to the sold-to customer. The ship-to address also defaults from the sold-to address. If alternate ship-to addresses are defined, they can be selected as needed.
Business Relation Addresses
h
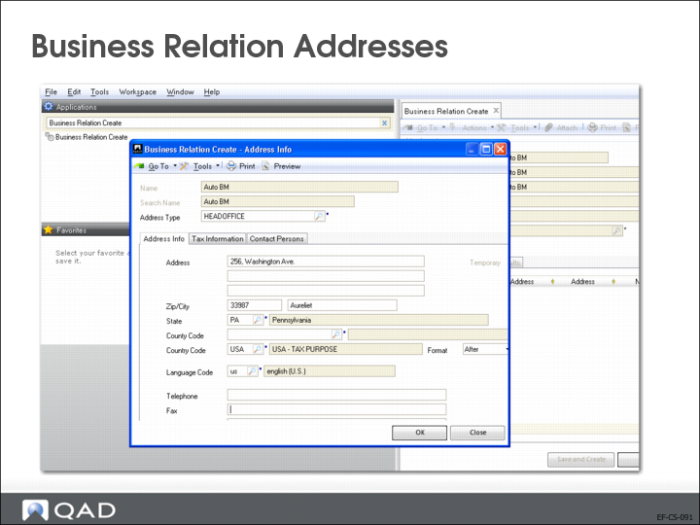
A business relation must have a single address of type headoffice. To add an address, right-click in the Address Information tab and choose Insert a New Row. The Business Relation Address Information screen displays.
1 Specify the full name for the address. The name defaults from the value specified for the business relation. It cannot be modified for the headoffice type. The name is useful since some address types in the business relation may operate under their own name. For example, a ship-to address for this business relation may have a unique name.
2 Choose an address type from the drop-down list. This field is mandatory. A set of address types is supplied with the system. You can create new address types using Address Type Create.
For each business relation, you must create an address with the headoffice address type. Other types of business relation addresses can be created as needed. A business relation can have multiple ship-to addresses.
The only address types that can be created directly in the business relation are headoffice, dock, reminder, and remittance; you cannot create or delete ship-to and end user addresses. You must use the Customer Ship-To and End User functions. This prevents ship-to and end user addresses from being created that are not linked to customer ship-to and end user records.
Customer Create
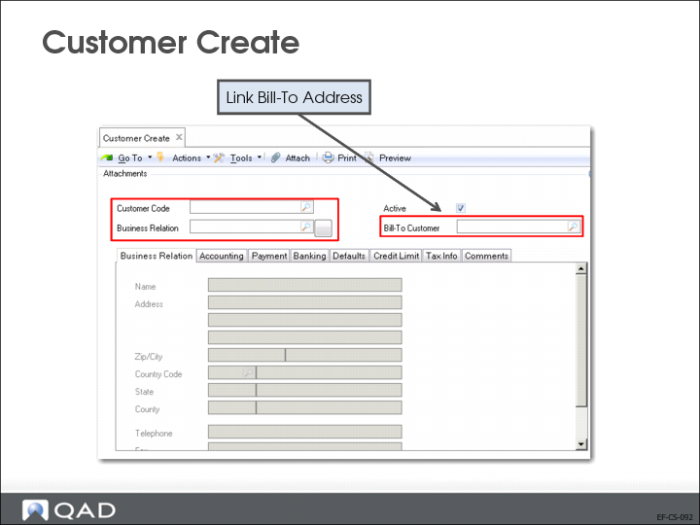
The Bill-To address is linked to a customer code in Customer Create (27.20.1.1). End User and Ship-To addresses are created and linked in separate menus.
Customer Ship-To Scenarios
It is common for affiliated addresses to operate under different names. For example, a customer ship-to address may have a name that is distinct from the customer address.
You can create temporary ship-to address records using the following operational programs:
• Sales Quote Maintenance (7.12.1)
• Sales Quote Copy from Order (7.12.5)
• Sales Quote Copy from Quote (7.12.6)
• Sales Order Maintenance (7.1.1)
• Pending Invoice Maintenance (7.13.1)
• S/RO Maintenance (7.23.1)
• RMA Maintenance (11.7.1.1).
• Material Order Maintenance (11.11.1)
You can only create temporary ship-to addresses using these programs if you also have permission to create records in Customer Ship-To Create.
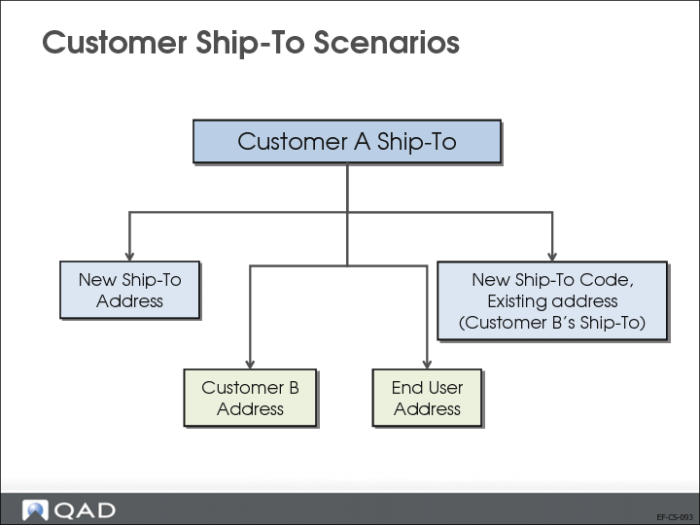
You can create customer ship-to addresses in multiple ways:
• Create an entirely new ship-to and specify the address, tax, and contact details in this function. To do this, clear all the link-to-address fields, and enter a code in the Ship-To Code field (or leave blank for a system-generated number). The new address is created as a ship-to address type for the customer’s business relation. Multiple ship-tos for the same customer can share the same address.
• Indicate that another customer—of the same or different business relation—is the ship-to address of a specified customer; in this case, the same code and address information is used. A customer can be the ship-to address of only one other customer, and the address used is the headoffice address.
You can create ship-to records for inactive customers.
• Indicate a customer’s end user is also a ship-to address. In this case also, the same code and address information is used.
• Specify a new ship-to code and associate it with an existing address with the ship-to type defined for the customer or the customer’s business relation (where two customers share the same business relation).
Example: Alverton has two associated ship-tos: one for deliveries and one for returns. The company uses a central receiving address, so deliveries and returns have a common ship-to address. If Alverton updates any of the address details, the same change can be applied to both ship-tos at the same time.
Important: When maintaining ship-to addresses in Customer Ship-To Modify, if you modify any of the key address fields (address lines 1 to 3, the City field, or the Zip field) to be the same as an existing address, the system displays an error message stating that you must use the Link to Ship-To option to assign the ship-to to an existing address.
Creating Ship-To Create
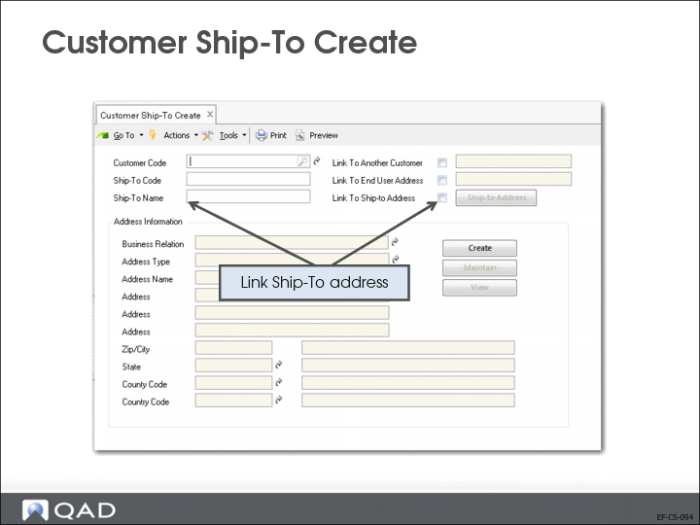
Use the Customer Ship-To activities (27.20.2) to create, view, modify, or delete customer ship-to records. You can use Customer Ship-To Create (27.20.2.1) in multiple ways, depending on the scenario, as described on the previous slide.
If you select Link to Another Customer or Link to End User, you can then select an existing customer from the lookup. The Ship-To Code field is filled with the value you specify for the customer or end user and the customer’s headoffice address is displayed in the Address Information fields. These addresses will be added as ship-to addresses in the business relation record for the customer specified in Customer Code.
The Maintain and Create buttons in the Address Information area are unavailable. You can use the View button to see tax and contact details.
Select the Link to Ship-to Address field if you want create a new code that shares address information with another existing ship-to address for the specified customer code. Click the Ship-To Address button to display all ship-to addresses for the customer. After you select the address you require from the lookup, you can modify details.
All fields in the Address Information frame are read only. Which buttons are active depends on your previous input:
Click View to view address details. When you specify another customer or end user as the ship-to, the address is display only.
Click Maintain to modify an existing ship-to type address. The Customer Ship-To Modify Address Information screen is the same as the business relation screen, and also contains tabs for contact information and tax information. This button is active when you select an address using the Link to Ship-to Address option.
Click Create to display the Customer Ship-To Create Address Information screen, which lets you create a new address to use as the ship-to address. This button is active when none of the link-to check boxes is selected.
When you create a new ship-to address using the Create activity or modify an address using the Modify activity, the customer’s business relation is updated with the new ship-to address details.