Supplier Setup
Overview
Supplier addresses, like customer addresses, determine default field values and affect how supplier transactions are processed in the system. Remit-to addresses are used when payments created in accounts payable must be sent to an address other than the supplier address. Each supplier can have only one remit-to address. You define remit-to addresses in the business relation with an address type of remittance.
Before setting up suppliers, you must first define payment formats, payment groups, bank account numbers, and supplier types. Payment formats and groups are discussed in
Setting Up Financial Foundations. We will discuss the other data required in the following pages.
Supplier Setup Flow
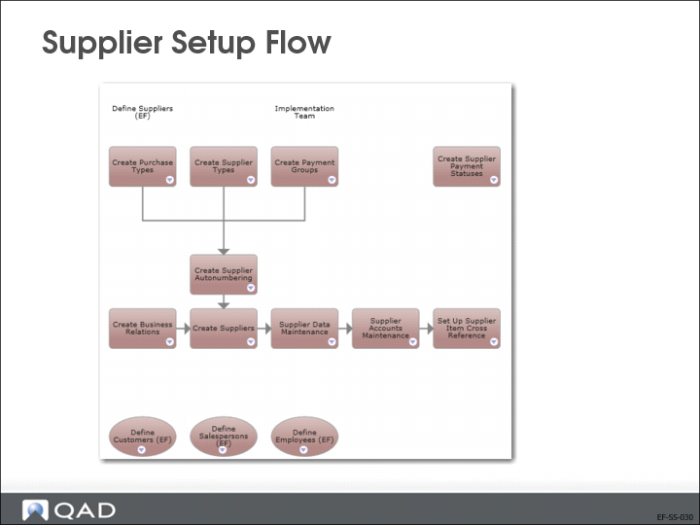
The process to set up suppliers consists of several steps, which are illustrated in the process map above.
Use the Supplier function (28.20.1) to set up codes that represent the companies you purchase goods and services from. Suppliers are used in purchasing, accounts payable, Service and Support Management, and other functions.
Review the supplier setup steps on the process map.
Supplier Setup Details
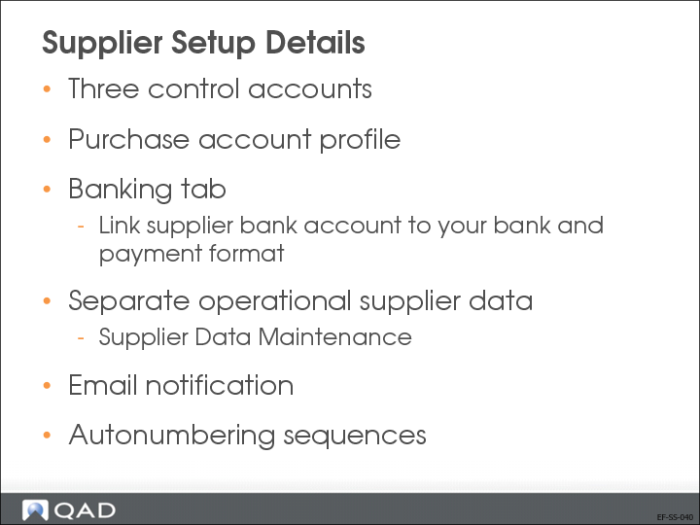
Before you set up suppliers, you must first define payment formats, payment groups, bank account numbers, and supplier types. These topics are described separately.
Control accounts must be available and set up for suppliers invoices, credit notes, and prepayments. Control accounts are linked as profiles on the supplier account record. The purchase account profile is required too, and is used in the purchase of non-inventory items. You must set up the accounts and profiles before you define suppliers.
The accounts and payment formats are stored on the Banking tab. These details are automatically retrieved for supplier payments and selections.
Mandatory Data for Supplier Setup
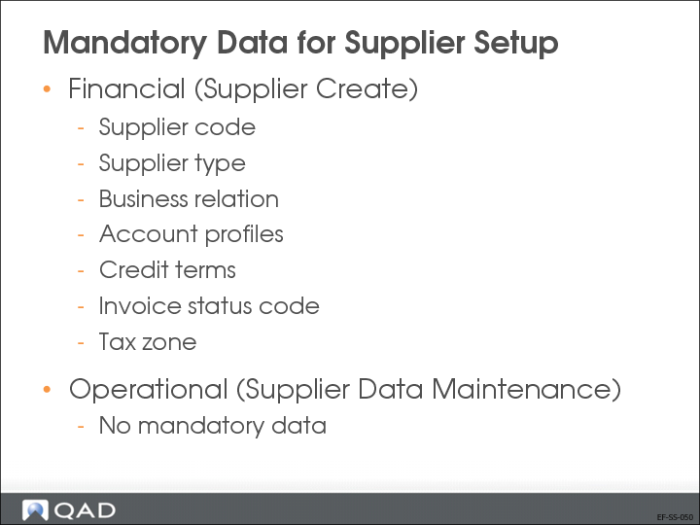
This section lists the financial data that is mandatory when creating a supplier record. There is no mandatory operational data for suppliers.
Supplier Type
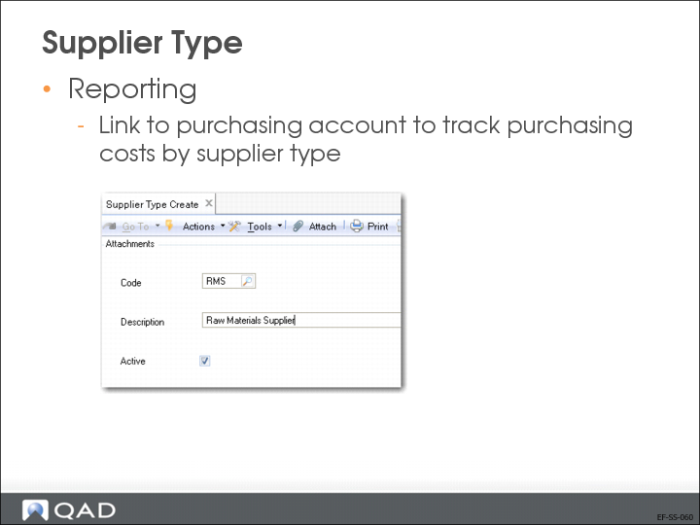
Use Supplier Type activities (28.20.2) to create, view, modify, and delete codes for grouping suppliers. You can use supplier types to select groups of suppliers for reporting.
You can define GL purchasing accounts by product line, site, and supplier type in Purchasing Account Maintenance (1.2.5). This lets you track purchase costs for different types of suppliers separately.
Supplier Setup
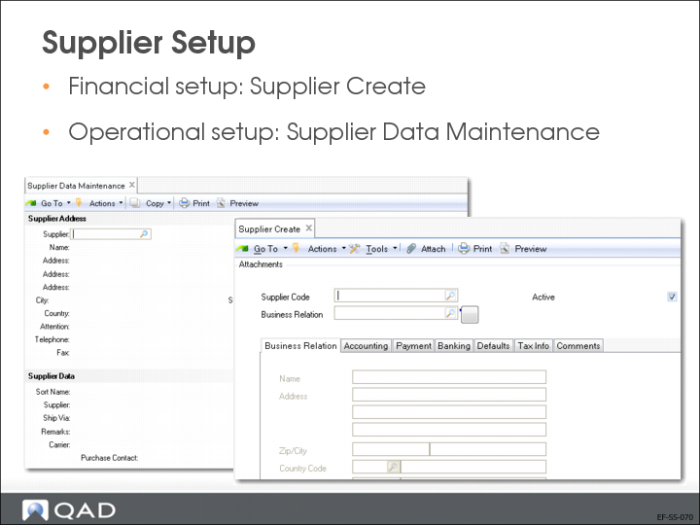
Use the Supplier Activities (28.20.1) to create, view, modify, or delete suppliers. You can link a supplier to an existing business relation, or create a new business relation, as required.
You can only delete a record if it is not referred to in the system. Otherwise, mark the record as inactive.
You can use Excel Integration (28.20.1.5) to export supplier records to or load records from an Excel spreadsheet, including bank accounts. See
UI Navigation and Browsing and
User Guide: QAD Financials for more details.
After creating a supplier in Supplier Create (28.10.1.1), specify additional operational data in Supplier Data Maintenance (2.3.1). When a new supplier is created, an email is automatically sent to the members of the SupplierNotify role responsible for creating this data.
US and EMEA Exercise: Invoice Status
In this exercise, you will set up invoice status codes required for AP processes.
Log in to entity 10USACO in the US and 22UKCO in EMEA.
1 Use Invoice Status Code Create (36.1.11.1) to create the following new invoice status codes:
Field | Value |
Invoice Status Code | To-Approve |
Description | To Approve |
Lock Payment | Yes |
Invoice Approved | No |
Allocation Status | Transient Allocation |
Field | Value |
Invoice Status Code | RM-Blocked |
Description | Receiver Matching, Payment Blocked |
Lock Payment | Yes |
Invoice Approved | Yes |
Allocation Status | Allocation |
Receiver Matching | Yes |