Installing QDT
QDT is installed from an ISO file downloaded from the QAD Download Center or the QAD physical product media.
If you received separate physical media containing an updated QDT version, install QDT from that media. Otherwise, install QDT from the downloaded ISO file or the physical product media.
To install QDT:
1 Open an X-terminal window.
2 Shut down any anti-virus programs running on your system.
3 Verify the Progress OpenEdge Admin and NameServers are up and available. They must be up and available even if they are not initially providing App or WebSpeed servers and brokers.
4 Verify that the Tomcat server container is installed, but is not running (this requirement applies to installation and configuration).
5 If you are installing from QAD physical product media, go to step
6. Otherwise, download the ISO file from the QAD Download Center and unzip it using the appropriate utility (see
Unzip Utilities).
6 Mount the downloaded ISO file, QAD physical product media, or separate physical media containing an updated version of QDT.
7 Access the install directory within the newly mounted location.
8 Launch the QDT installation by going to the /install directory and using the ./install.ksh script for Linux/UNIX or install.exe for Windows.
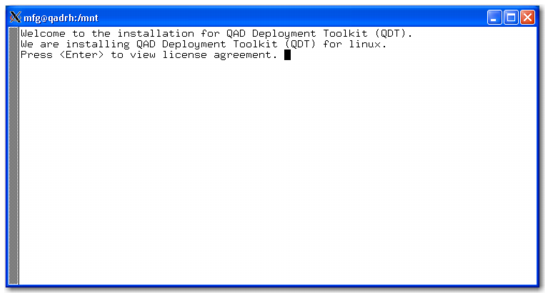
The QDT welcome message appears.
Installation Window for a Linux or UNIX Installation
9 Press Enter to view the license agreement. Press the space bar or press q to skip the agreement and continue the installation.
10 The installer prompts you to accept the agreement. Select y to continue or n to exit the installation.
11 The installer prompts you to enter the QDT install location. The default is c:\qdt on Windows and /usr/local/qdt on Linux and UNIX. Accept the default location or specify a different directory. Note this directory for further reference.
12 The installer prompts you to enter the location for creation of the log directory. Accept the default location or specify a different directory. Note this directory for further reference.
13 If the logs directory does not exist, you are prompted to create it.
14 The installer prompts you for the QDT XML files install location. Accept the default location or specify a different directory. Note this directory for further reference.
15 If the xml directory does not exist, you are prompted to create it.
16 On Windows, the installer prompts you for a folder name for the QDT shortcut. The default is QAD Deployment Toolkit. Accept the default location or specify a different directory. Press Enter.
17 The installer prompts you to continue with the install. To proceed, press Enter.
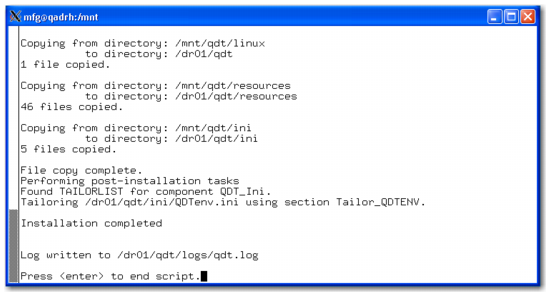
The installation begins. Installation status messages are displayed.
18 Wait for the installer to say that the installation completed.
Installation Summary
19 Go to the logs directory and review the log files for installation errors.
The IAerr.txt and IAlog.txt files should be empty if the install was successful. In qdt.log, look for lines that begin with five asterisks or two asterisks (***** or **). Five asterisks indicate QDT errors; two asterisks indicate Progress errors.
20 Correct any errors and attempt the QDT installation again. Otherwise, proceed to
Starting QDT.
Starting QDT
To start QDT, do the following:
Windows
Select Start|All Programs|QAD Deployment Toolkit|Start QDT.
Linux and UNIX
2 Go to <qdt_install_directory> and run the ./qadinst installation script.
To start QDT in Red Hat 6 environments, run the qadinst_RH6_64bit or qadinst_RH6_32bit executable.
To start QDT on HP, run qadinst.ksh.
To start QDT on AIX environments, you must first disable Concurrent I/O (CIO).