Initiating an Installation
Enterprise Edition installation is performed using the QAD Deployment Toolkit (QDT). See
QAD Deployment Toolkit Installation for details on installing and starting QDT.
To install QAD Enterprise Edition with default configuration information, do the following:
1 Start the Progress admin server using the same user name that was used to run QDT. This precaution allows QDT to start and stop databases without encountering permission problems.
2 If you installed an updated version of QDT from separate media, launch QDT, and select Edit | Installation Media Location. Use the directory tree to locate the root directory of the product installation media. Otherwise, proceed directly to step
3.
3 Launch QDT.
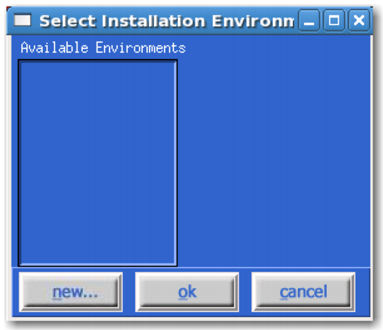
4 On the QDT main screen, click Install. The Select Installation Environment window displays.
Select Installation Environment Window
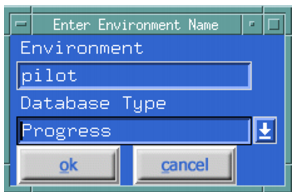
5 Click New to display the Enter Environment Name screen. Use the environment name to segregate multiple environments installed on a single machine (for example, production and test). Accept the default environment name or specify a new name. The default database type is Progress.
Enter Environment Name Screen
6 Click OK to close the screen and save the environment name.
7 Under Available Environments, select the appropriate environment name. Click OK to close the screen and select the installation environment.
8 The system reads the list of available product components from the installation media and displays the product component selection tree. Everything is selected by default.
Note: You must install the QAD EE User Interface, QAD EE Database, and QAD EE Application components at the same time during the initial Enterprise Edition installation. If you deselect any of these components now, you cannot select and install them later.
You can customize the installation destination (QAD EE folder) by selecting Edit following this step.
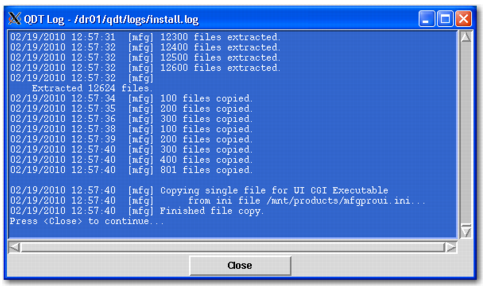
9 Click Install to continue. The installation launches. A window displays the install.log file, which allows you to follow the installation progress.
10 Review the install.log file for errors in the installation process.
11 When the installation completes successfully, click Close to exit.
Completed Install Process
12 Unmount the media.