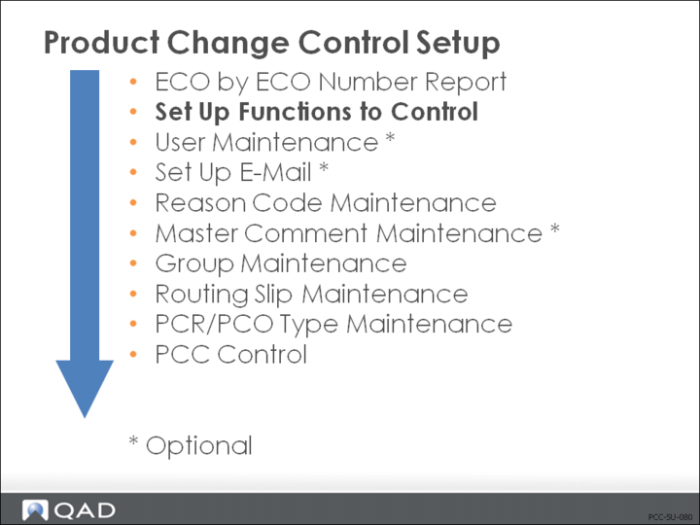
Set Up Functions to Control
Enable PCC Functions
We are covering three processes:
1 Structure Maintenance
2 Routing Maintenance
3 Item Spec Maintenance
Each process is activated separately.
Enabling PCC makes changes to your database that cannot be reversed.
If your manufacturing process uses Formulas, you need to activate Formula Maintenance (15.22) to create PCRs or PCOs for formula changes. Menu numbers (13.13.22), (14.22), and (19.1.22).
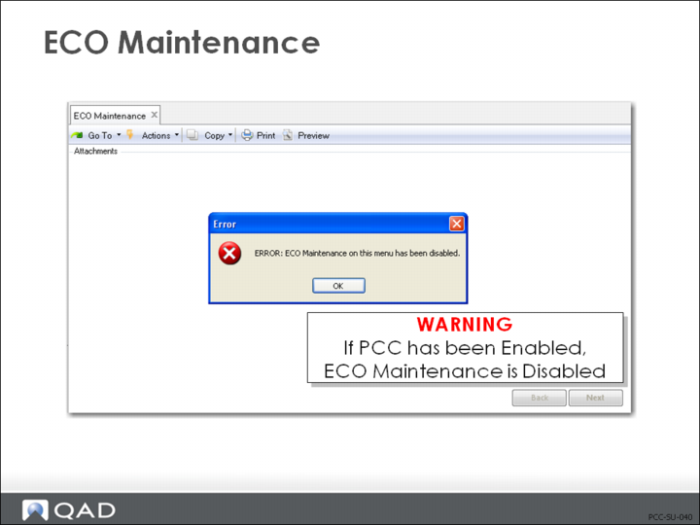
ECO Maintenance
Important: Once PCC has been enabled, you can no longer access ECO Maintenance.
Exercise: Set Up PCC Processes
In this exercise you ensure that PCC is enabled for several processes.
1 Use Enable PCC Product Structure Maintenance (13.13.22) to enable PCC product structure maintenance.
2 Use Enable PCC Routing Maintenance (14.22) to enable PCC routing maintenance.
3 Use Enable PCC Item Spec Maintenance (19.1.22) to enable PCC item spec maintenance.
4 Use Enable PCC Formula Maintenance (15.22) to enable both Formulas and Processes.
Note: Formula and Process changes are optional exercises. However, you must enable Formula Maintenance for PCC if you plan to do any of the optional formula or processing exercises in this training guide.
Exercise: Set Up a Cost Center
1 Use Cost Center Code Maintenance (25.3.20.1) to set up a Cost Center for a prototype Medical Ultrasound in the General Ledger.
Field | Data |
Cost Center | Pro |
Description | Prototype |
Active | Yes |
Exercise: Set Up Workspace/Account Control
1 Use Domain/Account Control (36.9.24); Uncheck Verify GL Accounts.
Exercise: Set Up Product Line Information
1 Use Product Line Maintenance (1.2.1) to set up the following product line information:
Field | Data |
Product Line | 11 |
Description | Prototype |
Taxable | No |
Tax Class | <blank> |
Default Cost Center | Pro |
Inventory Accounts
2 Click Next through all accounts, accept all defaults.
Exercise: Set Up Item Status Codes
Use Item Status Code Maintenance (1.1.5) to add a new item status code.
1 Use your down arrow to display existing item status codes.
a Advance your cursor to the next frame.
b Review the restricted transactions for the item status code.
2 Add a new item status code, Exper, with a description of Experimental.
3 Add the following Restricted Transaction Codes:
• ADD-PS
• ADD-SO
• ADD-WO
• ISS-SO
• ISS-WO
4 Save your changes.
5 Use Item Status Code Maintenance (1.1.5) to add another status code to the following restricted transactions for item status code Proto:
Field | Data |
Item Status | Proto |
Description | Prototype |
Restricted Transactions | ADD-SO |
| ISS-DO |
| ISS-SO |
Exercise: Set Up Site Data
1 Use Site Maintenance (1.1.13) to enter (Verify) site information for the Ultrasound Mfg Site.
Field | Data |
Site | 10-100 |
Description | Ultrasound Mfg Site |
Domain | 10USA |
Entity | 10USACO |
Default Inventory Status | Y-Y-N |
Automatic Locations | No |
EMT Supplier | <blank> |
External Supplier | No |
Transfer Variance Account | 6820 |
Exercise: Set Up Location Data
1 Use Location Maintenance (1.1.18) to set up (verify) stock locations at site 10-100.
Field | Data |
Site | 10-100 |
Location | 020 |
Description | Components |
2 Set up a location for finished goods inventory at site 10-100.
Field | Data |
Site | 10-100 |
Location | 010 |
Description | Finished Goods Inventory |
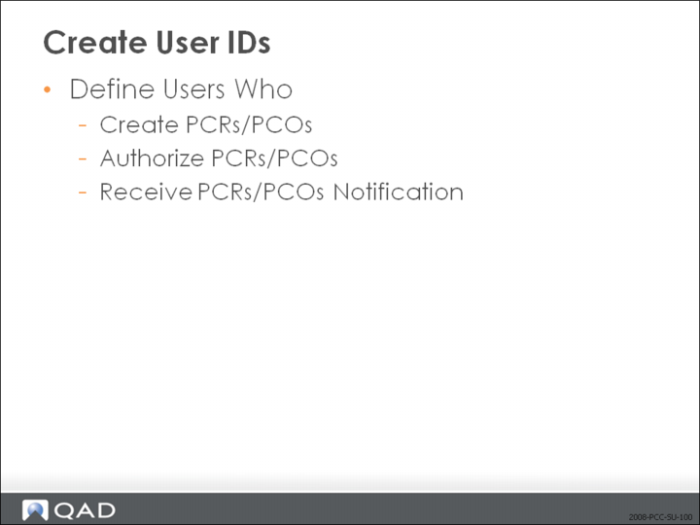
Create User IDs
Each member of a group must be defined as a user in QAD Enterprise Edition.
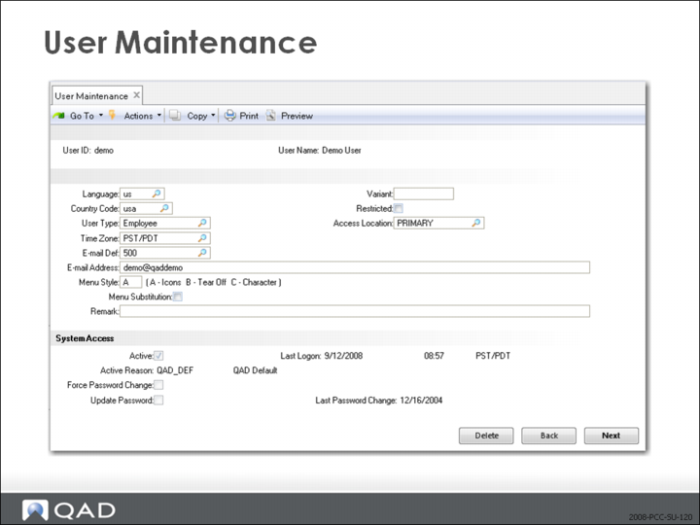
User Maintenance (36.3.1)
• Assign User ID and User Name
At this stage, validate that the user records exist and are correct. You'll add e-mail notification and assign users to groups later.