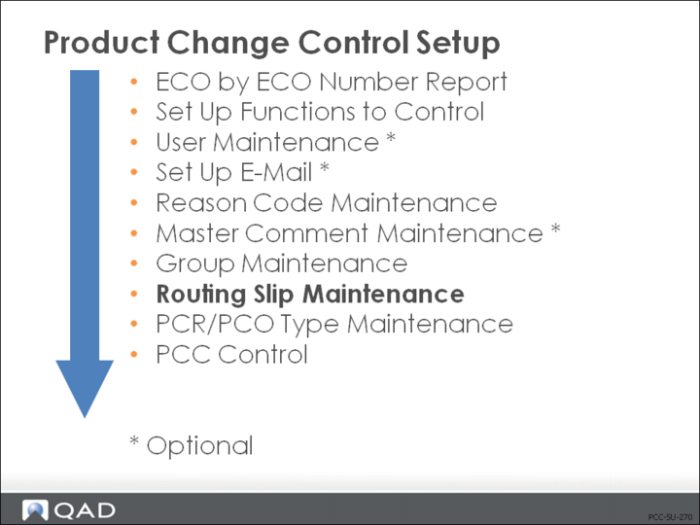
Routing Slip Maintenance
• The same routing slip can be used for both PCOs and PCRs.
• Create new routing slips in Routing Slip Maintenance (1.9.1.5).
• Copy from existing slips to a new slip in Routing Slip Copy (1.9.1.7).
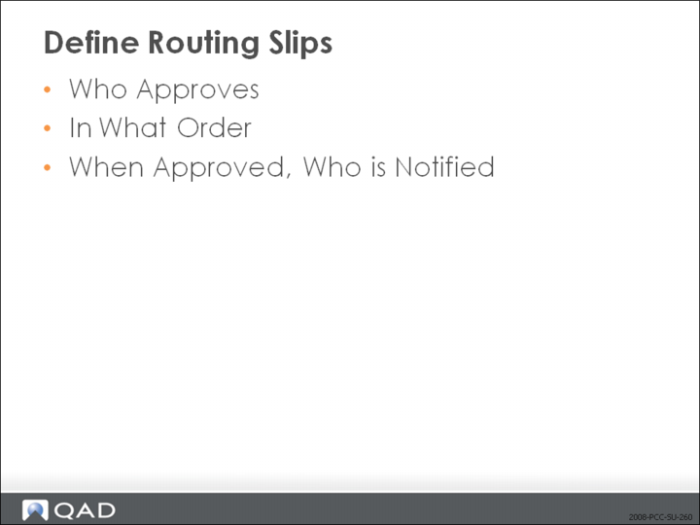
Define Routing Slips
• Identifies who needs to approve and who needs notification
• Routing details are PCC specific
• Provides a platform for obtaining ISO 9000 certification
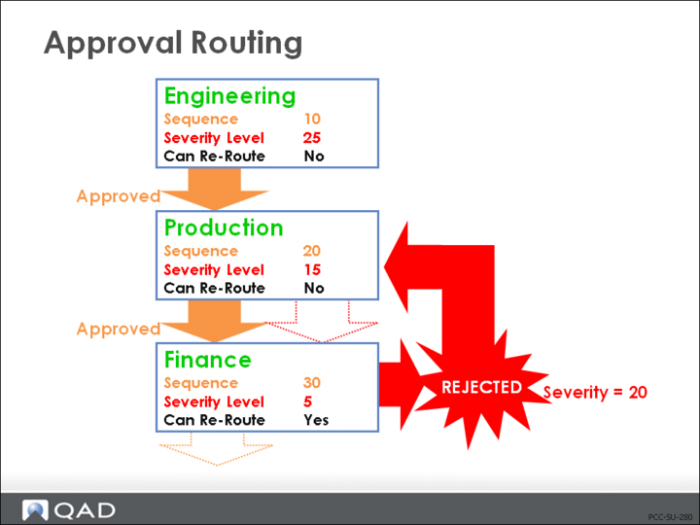
Approval Routing
• Sequence indicates order of approval
• Each group must have a different sequence number
• Can Re-Route indicates whether group can reroute PCR/PCO if rejected
• Severity Level determines whether a rejected/rerouted PCR/PCO is rerouted to this group
• In our example, the Finance group assigned rerouting severity = 20
• If the Severity is greater than or equal to the Severity Level assigned to a group, the group must reapprove
• If the Severity had been 25, it would have rerouted to the Engineering group
• Rerouting is not related to approval sequence
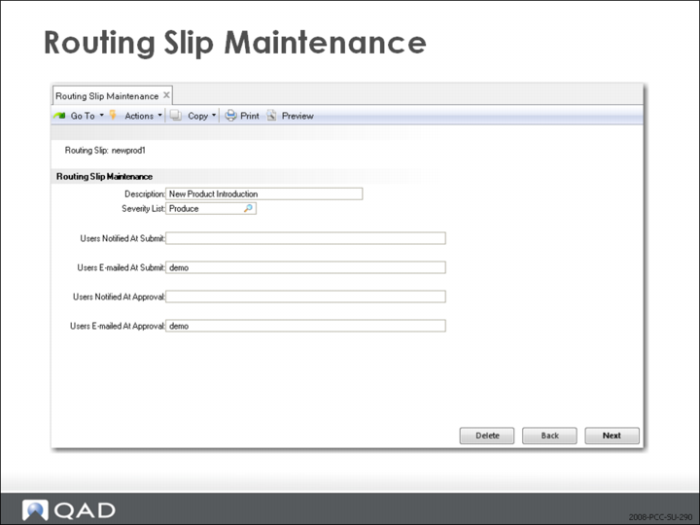
Routing Slip Maintenance (1.9.1.5)
• Specify unique routing slip name and a short description
• Identify the name of the severity list (a reason code)
• Should be numerical and hierarchical
• Assign users based on when they are involved in the process
• Users e-mailed are non-QAD EE users
• Check accuracy carefully because QAD EE cannot verify these addresses
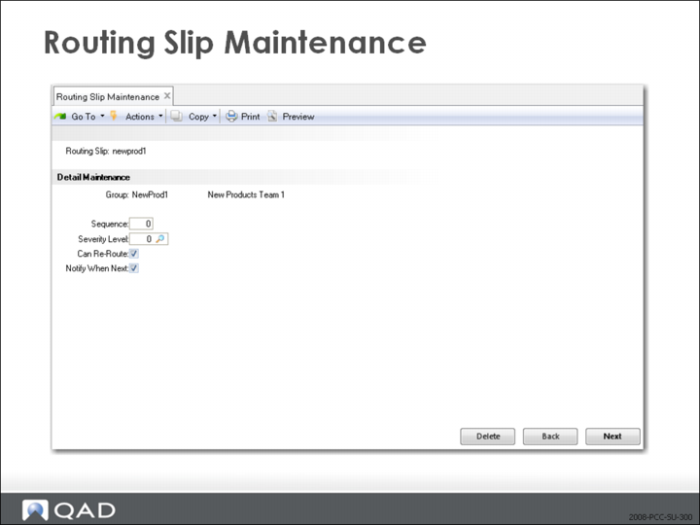
Detail Maintenance
• Sequence specifies sign-off order
• To provide for sequence additions, you can number them 10, 20, 30.
• Severity Level indicates at which level this group provides reapproval
• The higher the value, the less likely the group will have to reapprove rejected PCRs/PCOs
• Can Re-Route streamlines reject/reroute process if set = Yes
• If set = No, each rejected document must be reapproved by every group in the routing
• Notify Next sends notification to group members when they are next in the approval process
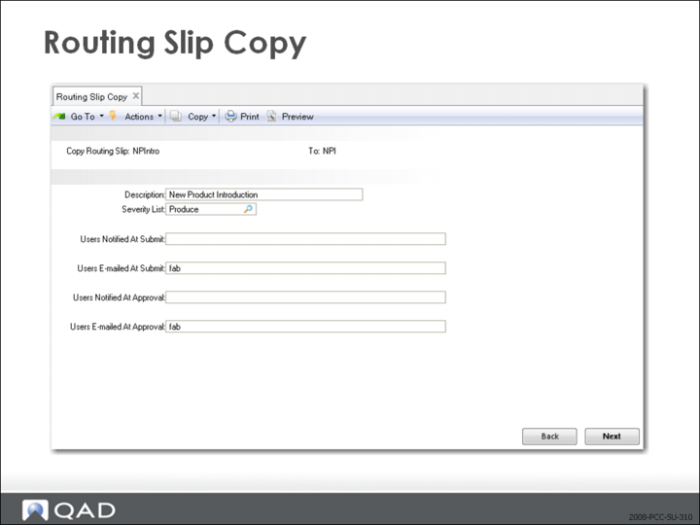
Routing Slip Copy (1.9.1.7)
• Allows you to create a new routing slip based on a previously created one
• Lists of users notified at submission and approval are copied
• Copy function will query if you want to copy routing detail
• Further editing is done in Routing Slip Maintenance (1.9.1.5)
Exercise: Set Up Routing and Quality Specification
1 Use Routing Maintenance (14.13.1) to set up routing by entering the following data for Routing Code 50001:
Operation | 10 | 20 |
Work Center | 1005 | 1050 |
Description | Assemble Probe Unit | Test Probe Unit |
Setup Time | 1.0 | 0.0 |
Run Time | 0.4 | 0.1 |
2 Use Item Specification Maintenance (19.1.13) to set up a specification for the test at operation 20 of the 50001 Probe Unit - 10 Mhz assembly.
Field | Data |
Item Number | 50001 |
Routing/Procedure | 50001 |
Operation | 20 |
Document | Probe-Test |
Number | 1 |
3 Use Routing Maintenance (14.13.1) to set up routing by entering the following data for Routing Code 01010P:
Operation | 10 | 20 | 30 |
Work Center | 1005 | 1050 | 1060 |
Description | Assemble Prototype | Test Prototype | Package Prototype |
Setup Time | 1.0 | 0.0 | 0.5 |
Run Time | 0.4 | 0.1 | 0.1 |
4 Use Item Specification Maintenance (19.1.13) to set up a specification for the test at operation 20 of the 01010P Medical Ultrasound Prototype assembly.
Field | Data |
Item Number | 01010P |
Routing/Procedure | 01010P |
Operation | 20 |
Document | CPU-Test |
Number | 1 |
Exercise: Set Up Routing Slips
1 Use Routing Slip Maintenance (1.9.1.5) to set up a routing slip for PCOs.
Enter the following:
Field | Data |
Routing Slip | PCO-R1 |
Description | PCO Routing Slip R1 |
Severity List | PCO |
2 Click Next, enter the following in Detail Maintenance.
Group | Eng/Apv | Mfg/Apv | Pln/Apv | Qual/Apv |
Sequence: | 0 | 0 | 0 | 0 |
Severity Level: | 10 | 30 | 20 | 10 |
3 Place check marks in the following boxes for all of the groups:
Check: | Can Re-Route |
Check: | Notify When Next |
Exercise: Set Up a PCR Routing List
Use Routing Slip Copy (1.9.1.7) to enter the following:
1 Copy Routing Slip: PCO-R1 To: PCR-R1.
2 Enter the following information in Routing Slip Maintenance (1.9.1.5):
Field | Data |
Routing Slip | PCR-R1 |
Description | PCR Routing Slip R1 |
Severity List | PCO |
3 Click Next and select Yes, to copy routing details.
4 Use Routing Slip Maintenance (1.9.1.5) to modify the PCR routing slip.
5 Select PCR-R1, advance to the Detail Maintenance frame.
6 With your cursor in the Group field, press the down arrow until Mfg/Apv appears in the field.
7 Click Enter, click Delete, (Confirm Delete).
8 Press the down arrow until Pln/Apv appears in the field.
9 Click Enter, click Delete, (Confirm Delete).
10 Use the up and down arrow keys to verify that only Eng/Apv and Qual/Apv remain. Leave all values the same.
11 Exit function.
Define Documents
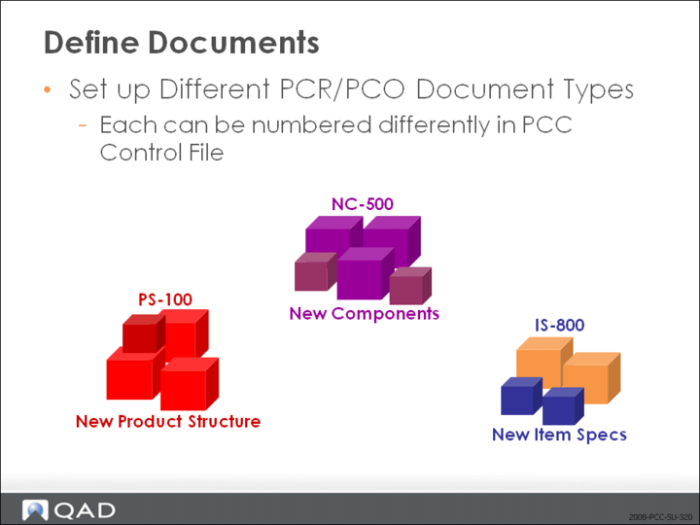
Valid document types are selected when creating a new PCR/PCO.