Creating and Printing Tags
Use Item Tag Create (3.16.1) to create item tags. Optionally, use Tag Print (3.16.6) to print the tags. Printing tags is optional because the RF device displays the information needed for counting in real time.
When creating tags in Item Tag Create, you create them from existing Inventory balance records. The tags are used to verify and correct quantity balances.
You can create and print tags either before or after the inventory balance freeze. You should create a tag for each inventory item/site, location, and lot/serial number. If you enter inventory transactions after item tag records are created but before inventory balances are frozen, there may be inventory detail records without corresponding item tags, and vice versa. Use the reports in the Inventory menu (3.16) to locate discrepancies.
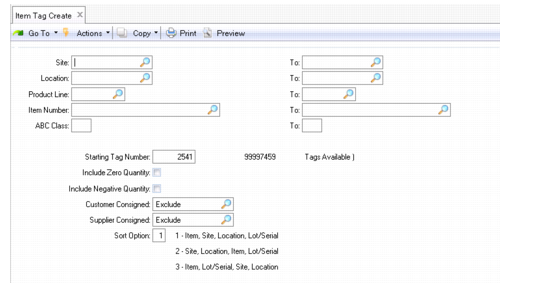
In Item Tag Create, you can select items by item number, site, product line, or ABC class. Enter no selection criteria to create tags for all items in your system.
Item Tag Create (3.16.1)
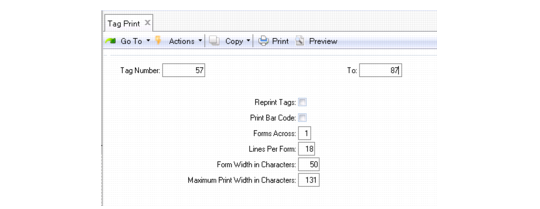
When using Tag Print, you can print on standard size forms, any number of forms across. The default form is set at 3-by-5-inch card stock.
After creating count tags, use Tag Print (3.16.6) to print both types of tags. You can print tags on most standard-size forms. Default forms are set to print on 3 x 5 inch card stock. You can optionally print the tag number in bar code format if your system is formatted to do so.
In the event of errors, delete incorrect tags using Tag Delete/Archive (3.16.23), then re-create and print new ones.
Tag Print
(3.16.6)