How QAD reduces cost
Pre-Formatted Worksheet
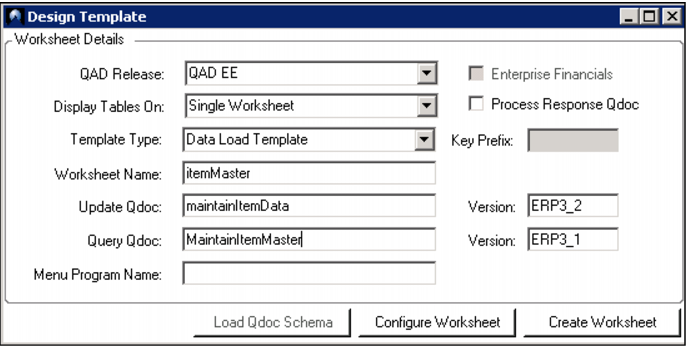
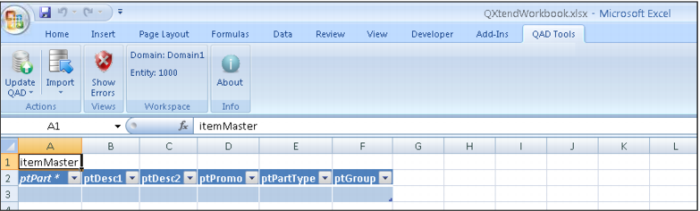
You begin by creating the Excel worksheet, starting with a pre-defined worksheet pre-formatted for use with Q-Xtend. Typically this step will be done by one of your technical people, but as you can see, the names are pretty self-explanatory. If you want to maintain item data, here it is – MaintainItemData. Just select this schema, check the fields you want to review and create the worksheet. That is all there is to it! No programming required.
Demo
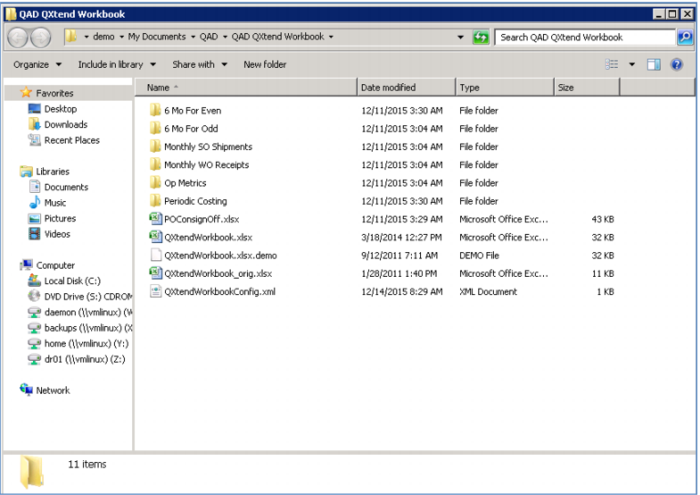
1. On Desktop, click QAD QXtend Workbook folder
2. Double-click QXtendWorkbook.xls
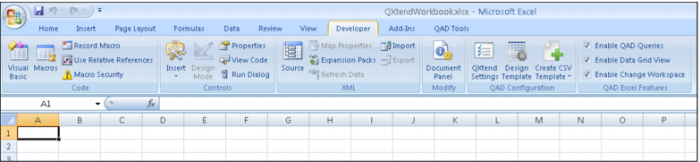
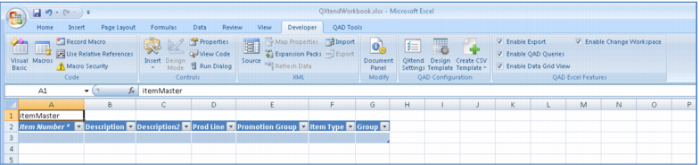
3. Click Developer tab
4. Click Design Template

icon
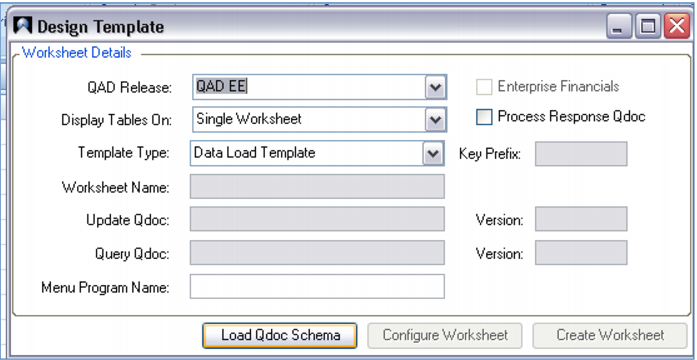
5. Enter QAD Release QAD EE, Template Type Data Load Template
6. Click Load Qdoc Schema
7. Click Desktop
8. Click QAD QXtend Workbook Schemas
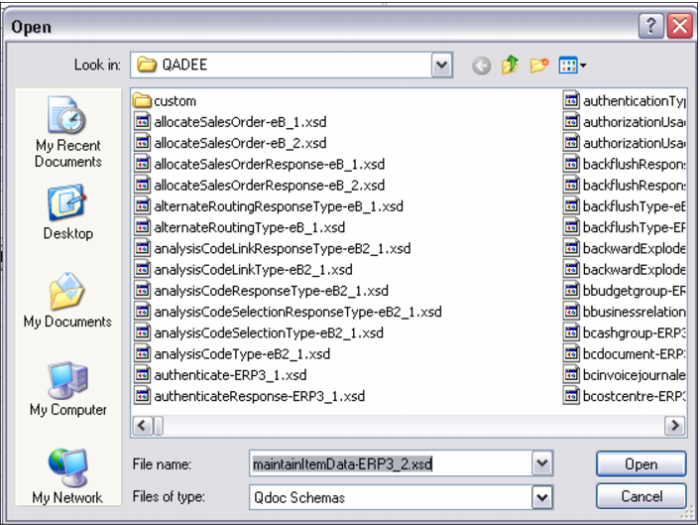
9. Enter MaintainItemData-ERP3_2.xsd
10. Click Open
11. Enter Query Qdoc MaintainItemMaster
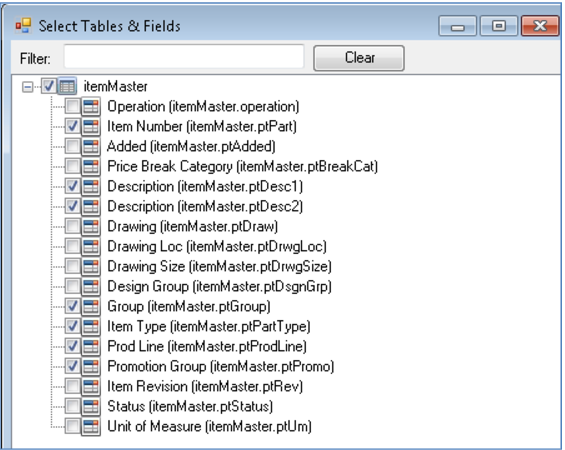
12. Click Configure Worksheet
13. Uncheck Item Master
14. Expand

Item Master
15. Check Description, Description, Group, Item Type, Prod Line, Promotion Group
16. Click Save Changes
17. Click Create Worksheet
Key Points
• Pre-defined worksheet, formatted for use with Q-Xtend
• Select Q-Doc Schema
• Typically done by technical person (developer)
• Standard naming conventions
o Confirm, Copy, Maintain, Enter, Issue, Receive, Record
Query QAD Data
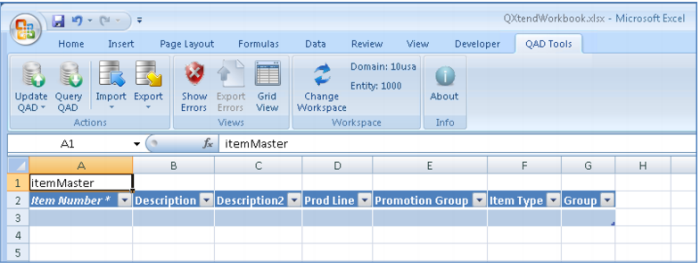
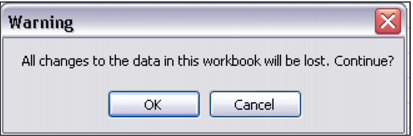
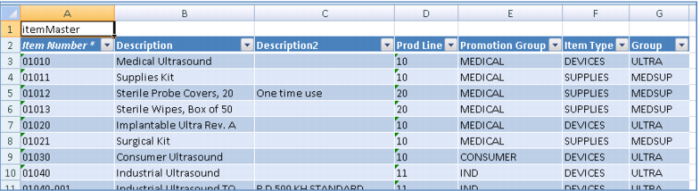
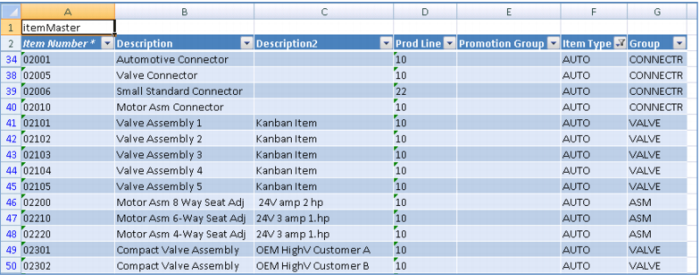
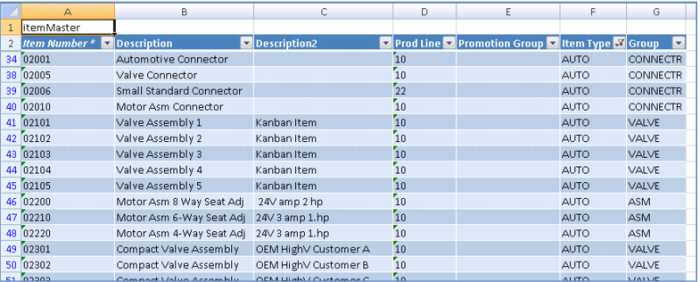
Next populate the worksheet. Just press a button and if you have the security clearance, all the data from your QAD Enterprise Application will be loaded.
This loaded all of the item information, but in most cases, you will want to work with just a subset of this data. You can use standard Excel tools to filter this data – for example, choosing just the Finished Goods – or you can put the filter right on the Query. Especially when working with very large files, this makes the query run faster and returns a much smaller set of data for you to work with.
Filters use simple Progress statements and can be as complex as you want – choosing or excluding multiple field values using standard operators like equal, not equal, AND and OR.
Demo
1. Click QAD Tools tab
2. Click
Query QAD 
icon
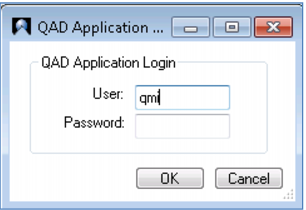
3. Enter User qmi, Password <blank>
4. Enter Max Rows Returned 0
5. Click Execute Query
6. Click OK
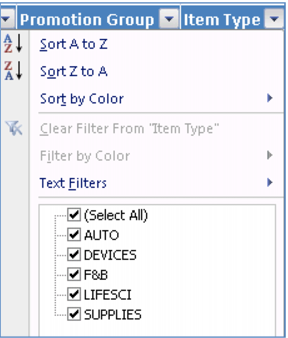
7. In Item Type, click Drop-down

icon
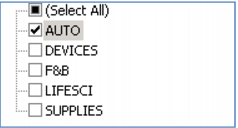
8. Uncheck (Select All)
9. Check AUTO
10. Click OK
11. Click
Query QAD 
icon
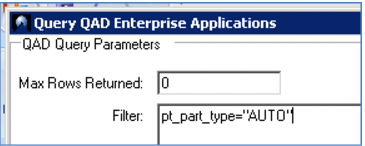
12. Enter User qmi, Password <blank>
13. Enter Max Rows Returned 0, Filter pt_part_type = “AUTO”
14. Click Execute Query
15. Click OK
Key Points
• Load data directly from QAD Enterprise Application
• Max Rows lets you control total number of records
o 0 equals ALL
o Limit number of records when testing a query
• Note the line numbers in the Excel worksheet
o Filter in Excel doesn’t delete rows, just hides them
o Filter in Query only retrieves matching rows (faster)
• Standard PROGRESS statements to select sub-set of data
o Equal =, <>, AND, OR
o pt_part_type = “AUTO”
o pt_part_type = “AUTO” AND pt_promo = “ “
o (pt_part_type = “AUTO” AND pt_promo = “ “) OR pt_group = “VALVE”
• Standard security required to access data