Install BI Analytical Modules
1 The QAD Business Intelligence analytical modules are packaged as .zip files. The .zip files contain metadata files for the Common module and all necessary analytical modules. Unzip the contents of the .zip files into a directory that you reference for the installation.
Note: Install the Common module before installing any of the analytical modules except TMS. The Common module contains core components used by all modules except TMS.
Note: For users installing TMS only, you do not need to install the Common module application files into the DWD. If you want to install the technical module documentation or any translation files, you must obtain these items from the Common module media.
2 In Setup Administrator, confirm that the job scheduler has started. If the job scheduler has not started, start the service and confirm that it does not stop.
Note: The job scheduler is created when the data warehouse is created.
3 In the directory where you extracted the Common module, there is a subdirectory named sqlserver. In this directory, there is a SQL script named misc.sql. In the SQL Server Management Studio, open misc.sql, change the database to your Data Warehouse, and execute the misc.sql script. This step adds a tab called Technical Info for the following types of objects:
• Dimension Column
• Dimension View Column
• Fact Table Column
• Kpi Fact Table Column
• Datastore Table Column
• View Column
4 These objects can be seen from the DWD under Tools|Options|Documentation.
Install BI Common Module
5 If you are installing any of these analytical modules, the Common module is required:
|
• Order Management (OM)
|
• Financials (both SE and EE) (FIN)
|
|
• Operations (OP)
|
• EAM
|
Note: Skip this section and see
Install BI Analytical Module if the analytical module you are installing does not require the Common module.
6 Go to the Application option in Setup Administrator. Change Application Directory to the directory into which you extracted the QAD Business Intelligence Common Module metadata. The contents consist of a series of .wst files.
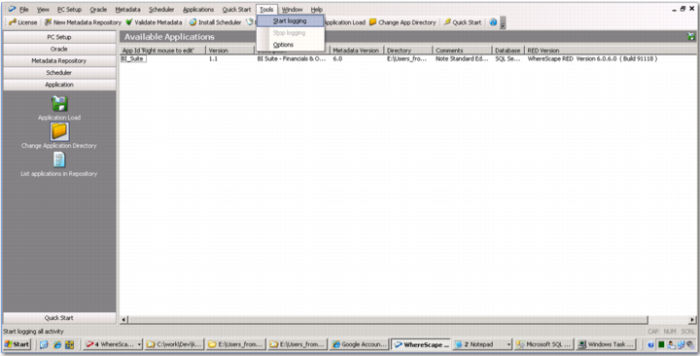
7 Go to Tools and Start Logging.
Start Logging
8 Choose a file name for your log and a directory for it to write to.
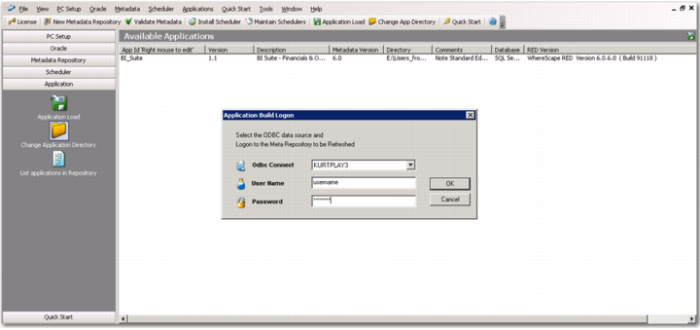
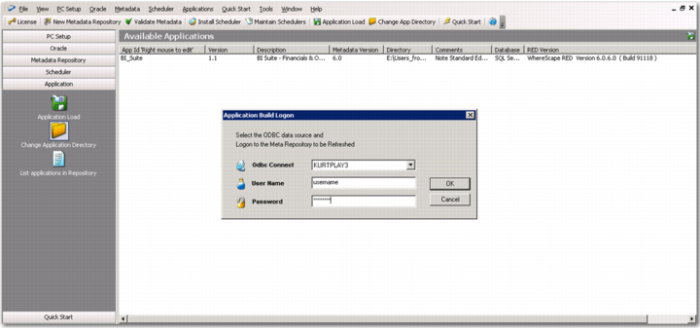
9 Install the application through Application Load. Right-click on the Common module and choose Install.
Application Load
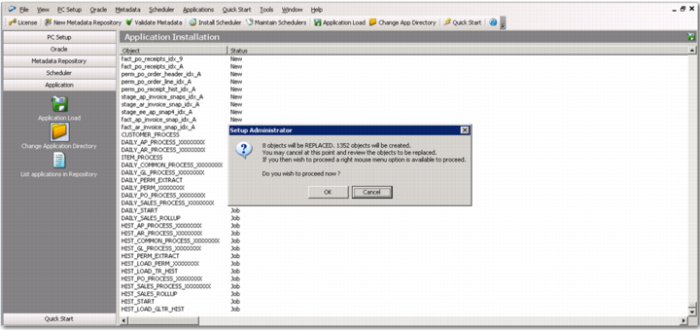
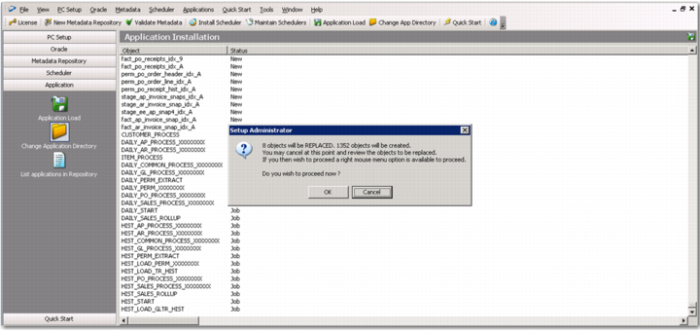
10 If a message appears saying that files may be overwritten, choose Cancel and verify that the files are OK to be overwritten. If the files can be overwritten, go back to step
6 and repeat.
Confirm File Overwrite
Install BI Analytical Module
11 Next, go back to the Application option in Setup Administrator. Change the Application Directory to the directory into which you extracted the first Analytical Module you want to install.
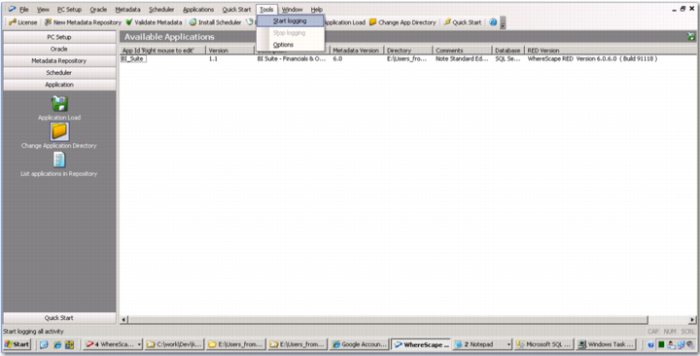
12 Select Start Logging from the Tools drop-down menu.
Start Logging
13 Choose a file name for your log and a directory for it to write to.
14 Install the application through Application Load. Right-click on the desired module and choose Install.
Application Load
15 If a message appears about files being overwritten, choose Cancel and verify that the files are OK to be overwritten. If the files can be overwritten, go back to step
11 and repeat.
Confirm File Overwrite
16 Repeat for any other modules that are required.
17 Review the message log. The files that are replaced are identified at the top of the log. To proceed, right-click within the log and choose Proceed to Load. Once the main application load is running, the operation can take as long as 5-10 minutes.
Note: If the top of the DWD screen displays Not Responding, wait up to 30 minutes for the job to finish. If it takes any longer, close the screen and start over.
18 After loading all the module components, you can refresh the DWD by clicking All Objects in the Browser pane and pressing F5. If this does not work, you can log off and log back in to the DWD.