Maintenance Module Setup – Codes
In the Maintenance module, maintenance codes are user-defined codes that are used in a variety of areas, including equipment, master lists, PM templates, work orders, and service requests. Depending on your permissions, you can add or edit existing records. Maintenance codes are located in Maintenance|Codes.
The following codes can be defined in the Maintenance module:
DUOM Codes
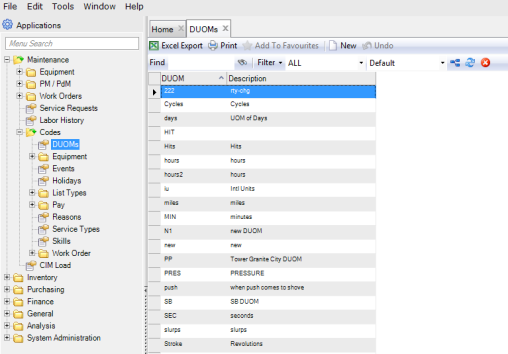
DUOM codes are user-defined codes used in the PM/PdM module to represent the driving unit of measure for equipment and tools. DUOM codes are located in Maintenance|Codes|Equipment|DUOM.
To add a DUOM code, open the DUOM browse and click New. Enter the code in the DUOM field and a brief description of the code in the Description field. Press Enter to save.
Maintenance Codes: DUOMs
Equipment Codes
Equipment codes are user-defined codes for BOM Types, Catalogs, Categories, Failure Types, Locations, Products, Statuses, Types, Character 1, and Character 2. Access equipment codes in Maintenance|Codes|Equipment.
BOM Type Codes
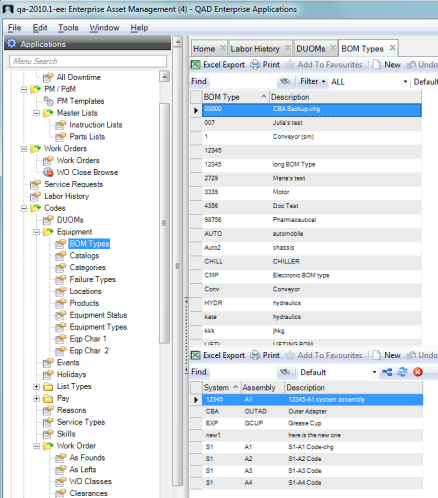
BOM Type codes are only associated with pieces of equipment. Equipment with a BOM Type receives a structure of systems and assemblies under systems associated with that specific equipment. Any type of transaction such as material issuances, labor distribution, or purchases can not only be made against the equipment name, but also to a specific system code or an assembly code attached to the equipment.
BOM Type codes, which are located in Maintenance|Codes|Equipment|BOM Types, enable the system to generate a more detailed analysis of where repairs were made on a piece of equipment. You can use a BOM Type code to set up the default or standard system and assembly structure for a piece of equipment.
Follow these steps to add a BOM Type code:
1 Open the BOM Type browse and click New.
2 Enter the code in the BOM Type field and a brief description in the Description field.
3 Press Enter to Save.
4 Add systems and assemblies to the BOM Type that you created. Select the BOM Type and click New in the lower browse.
5 Use the lookups in the System and Assembly fields to add an assembly and system to BOM Type code.
6 Press Enter to Save.
7 Continue to add systems and assemblies to the BOM Type code as necessary.
Equipment Codes: BOM Type
Catalog Codes
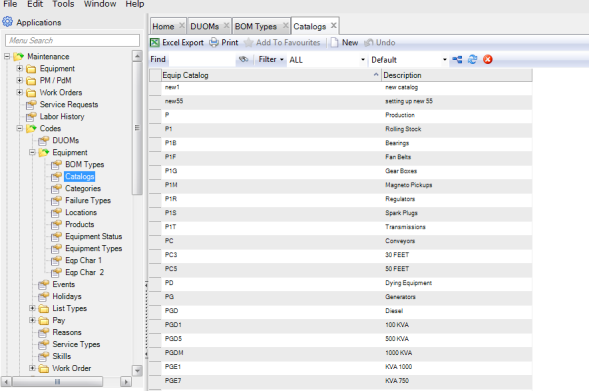
Catalog codes are used to group common equipment under a single code, for better reporting and filtering capabilities. The Catalog codes are located in Maintenance|Codes|Equipment|Catalogs.
To add a Catalog code, open the Catalog browse and click New. Enter the code in the Equipment Catalog field and a brief description of the code in the Description field. Press Enter to save.
Equipment Codes: Catalogs
Category Codes
The Category codes are used to group equipment in broad categories or types. This code is a double-digit alphanumeric value for reporting and filtering equipment. The Category codes are located in Maintenance|Codes|Equipment|Categories.
To add a Category code, open the Category browse and click New. Enter the code in the Category field and a brief description of the code in the Description field. Press Enter to save.
Equipment Codes: Categories
Equipment Failure Types
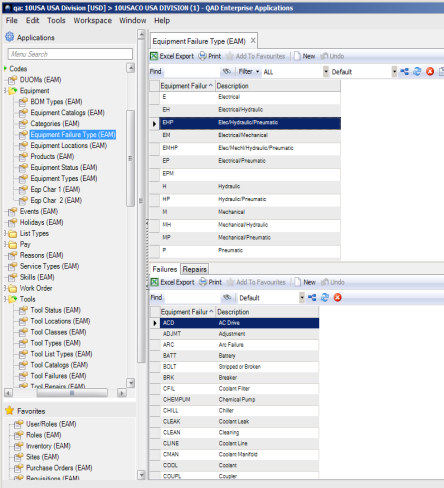
The Failure Type codes are used to group failure codes based on an equipment type. For example, “mechanical” is a failure type, and “motor burn out” is a failure code. These codes allow you to track equipment failures on work orders to analyze a PM program’s effectiveness. If PMs are designed to prevent a certain type of failure, but it is occurring before the PM issue-by date, then modify the PM to come due more frequently.
Note: EAM e-mails warnings about PMs whose failure frequency exceeds PM frequency.
If there is not a PM work order to prevent a frequent equipment failure, then create a PM work order.
Follow these steps to add an Equipment Failure Type code:
1 Open the Equipment Failure Type code browse and click New.
2 Enter the failure type code in the Equipment Failure Type field and a short description in the Description field.
3 Press Enter to save.
4 Add failure and repair codes to the failure type code that you created. Select the Equipment Failure Type and click New in the lower browse.
5 Use the lookups in the Failure and Repair fields to add failure and repair codes to Equipment Failure Type code.
6 Press Enter to Save.
7 Continue to add failure and repair codes to the Equipment Failure Type code as necessary.
Equipment Codes: Equipment Failure Types
Equipment Location Codes
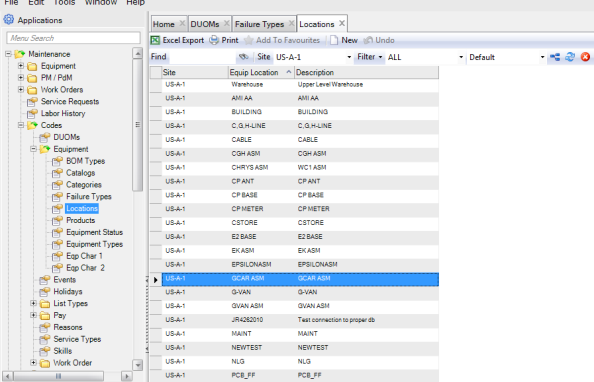
Equipment Location codes are user-defined codes used to describe the physical locations of pieces of equipment. These codes, which are useful for reporting and filtering purposes, are used in equipment records, work orders, and PM templates. Equipment Locations are located in Maintenance|Codes|Equipment|Equipment Locations.
To add a Location, open the Locations browse and click New. Enter the equipment location in the Equipment Location field and a short description in the Description field. Press Enter to save.
Equipment Codes: Locations
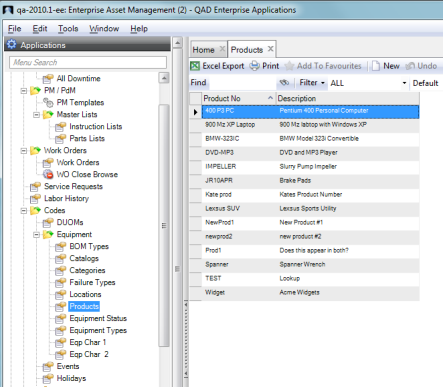
Product Number Codes
Product Number codes are user-defined codes used to represent the products produced by a piece of equipment established in EAM; for example, a die used in a press. Product Number codes allow you to:
• Associate the Product codes with the equipment record.
• Specify what was being produced on work orders for equipment with associated products.
• Run management reports on the product the piece of equipment produces.
Product Number codes are located in Maintenance|Codes|Equipment|Products.
To add a Product Number code, open the Products browse and click New. Enter the product number in the Product Number field and a short description in the Description field. Press Enter to save.
Equipment Codes: Product Numbers
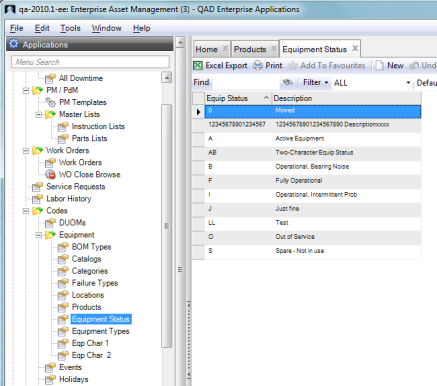
Equipment Status Codes
Equipment Status codes are user-defined codes used to describe the status of a piece of equipment. These codes are used for reporting and filtering equipment. The Equipment Status codes are located in Maintenance|Codes|Equipment|Equipment Status.
To add an Equipment Status code, open the Equipment Status browse and click New. Enter the equipment status in the Equipment Status field and a short description in the Description field. Press Enter to save.
Equipment Codes: Equipment Status
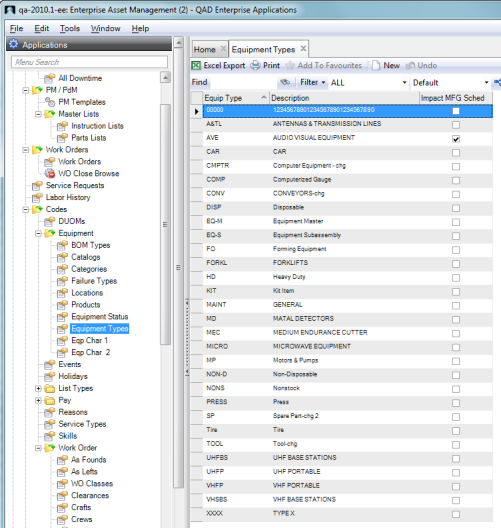
Equipment Type Codes
Equipment Type codes are user-defined codes used as general classifications or types of equipment that can be used for reporting and filtering purposes. The Equipment Type codes are located in Maintenance|Codes|Equipment|Equipment Types.
Follow these steps to add an Equipment Type code:
1 Open the Equipment Type browse in Maintenance|Codes|Equipment|Equipment Types and click New.
2 Enter the equipment type in the Equipment Type field and a short description in the Description field.
3 Select the Impact MFG Sched check box if you use Production Scheduling Workbenches integration with EAM.
4 Press Enter to save.
Equipment Codes: Equipment Types
Equipment Character 1 Codes
Equipment character 1 codes are validation tables that are used with the Equip Char 1 user-defined fields. For example, if you click in the Equip Char 1 User-Defined field, the lookup allows you to select one of the items in the equipment character 1 table. For more information about using user-defined fields, see
User-Defined Fields. The equipment character 1 codes are located in Maintenance|Codes|Equipment|Eqp Char 1.
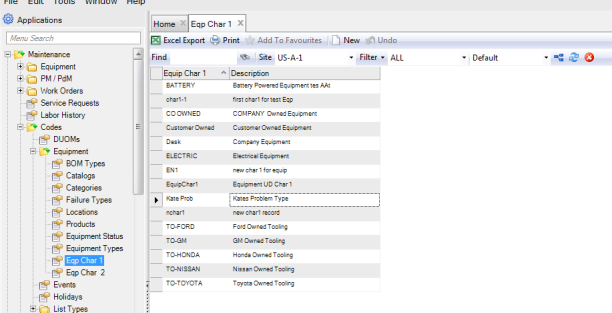
To add an equipment character 1 code, open the Equipment Character 1 browse and click New. Enter the code in the Equip Char 1 field and a brief description of the code in the Description field. Press Enter to save.
Equipment Codes: Equipment Character 1
Equipment Character 2 Codes
Equipment character 2 codes are validation tables that are used with the Equip Char 2 user-defined fields. For example, if you click in the Equip Char 2 user-defined field, the lookup allows you to select one of the items in the equipment character 2 table. For more information about using user-defined fields, see
User-Defined Fields. The equipment character 2 codes are located in Maintenance|Codes|Equipment|Eqp Char 2.
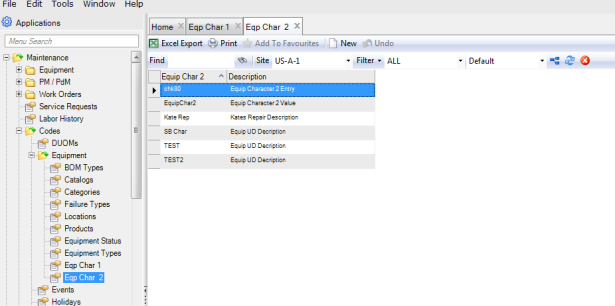
To add an equipment character 2 code, open the Equipment Character 2 browse and click New. Enter the code in the Equip Char 2 field and a brief description of the code in the Description field. Press Enter to save.
Equipment Codes: Equipment Character 2
Event Codes
Event codes are user-defined codes used to create on-demand PM work orders for specific events. The Event table lookup lists these codes. You can associate an event with a date range. PM work orders associated with an event automatically schedule based on the date range, or when you request PMs for a specific event such as a seasonal shut-down. The Event codes are located in Maintenance|Codes|Events.
Follow these steps to add an event code:
1 Open the Events browse and click New.
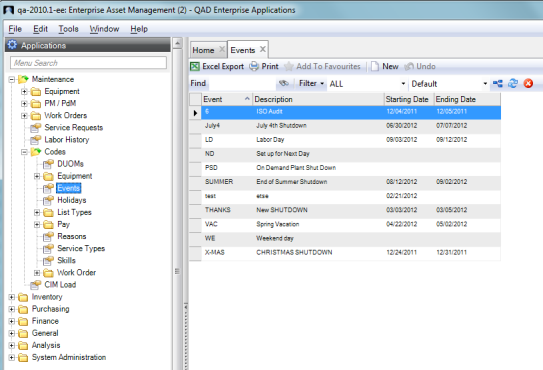
2 Enter the code in the Event field and a brief description of the code in the Description field.
3 Use the lookups to set the starting and ending dates for the event.
Note: When a PM work order is associated with an Event code, the PM is automatically scheduled during this date range.
4 Press Enter to save.
Events Codes
Holiday Codes
Holiday codes are user-defined codes used to set up specific days during the year when the company is closed for a designated holiday. The Work Order module uses this information when scheduling and assigning employees to work orders. When a work order is scheduled, EAM verifies the date against employee availability and company holidays. The Holiday codes are located in Maintenance|Codes|Holidays.
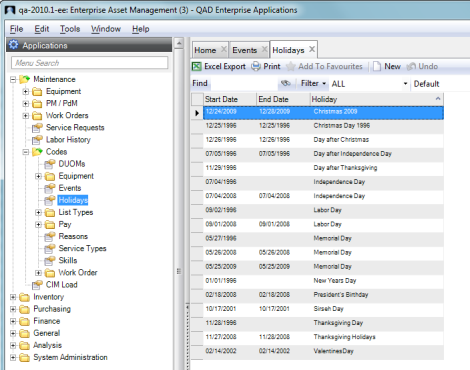
To add a Holiday code, open the Holiday browse and click New. Use the lookups to select the starting and ending dates. Enter the name of the holiday in the Holiday field. Press Enter to save.
Holiday Codes
List Type Codes
The list type codes are user-defined codes that include the instruction list type and parts type codes.
Instruction List Type Codes
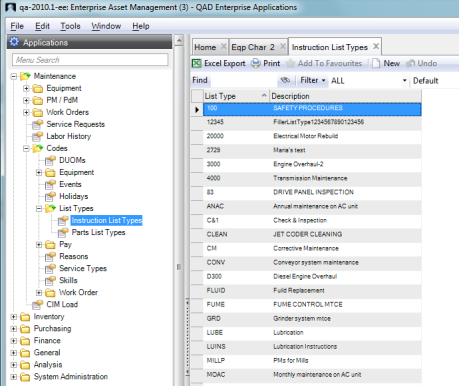
Instruction list type codes are user-defined codes that are used to group common types of master instruction lists (MILs) for better sorting and filtering. When you create an MIL, you associate an instruction list type code to that MIL. For example, you can create list type codes for common instructions for PMs, repairs, and rebuild type classifications. You can apply those codes to MILs and then group and sort the MILs by those list type codes. The instruction list type codes are located in Maintenance|Codes|List Types|Instruction List Types.
To add an instruction list type code, open the Instruction List Types browse and click New. Enter the instruction list type code in the List Type field and a short description in the Description field. Press Enter to save.
List Type Codes: Instruction List Types
Parts List Type Codes
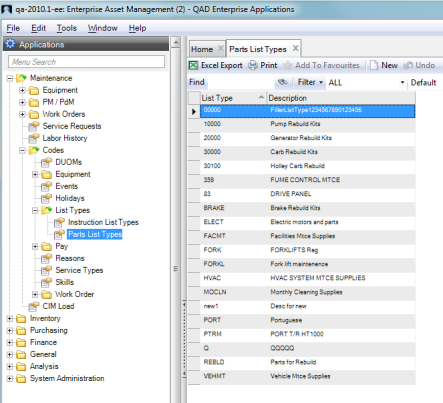
Parts list type codes are user-defined codes used to group master part lists (MPLs) together by common types for better sorting and filtering. Parts list type codes are applied when creating master parts lists and work order parts lists. Parts list type codes are located in Maintenance|Codes|List Types|Parts List Types.
To add a parts list type code, open the Parts List Types browse and click New. Enter the parts list type code in the List Type field and a short description in the Description field. Press Enter to save.
List Type Codes: Parts List Type
Pay Codes
Pay codes are user-defined codes that include additive codes and multiplier codes.
Pay Additive Codes
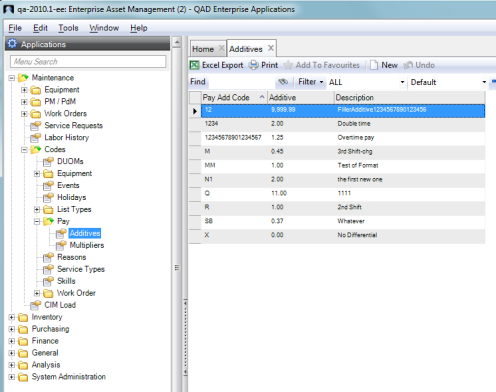
Pay additive codes are user-defined codes that are used to add a specific amount to the standard hourly rate when posting labor. These codes can be associated with an employee ID. The Post Labor action in Work Orders and Projects uses this code in the Labor Cost calculation. The pay additive codes are located in Maintenance|Codes|Pay| Additives.
Example: If an employee has an hourly rate of $10/hour, and is associated with a pay additive code for 50 more cents, then the hourly rate becomes $10.50. Sometimes, companies use the pay additive code for weekend shifts or third shifts as an incentive for employees to work in the off-times.
To add a pay additive code, open the Additives browse and click New. Enter the additive code in the Pay Add Code field. Enter the additive amount in the Additive field. Enter a short description in the Description field. Press Enter to save.
Pay Codes: Pay Additive
Pay Multiplier Code
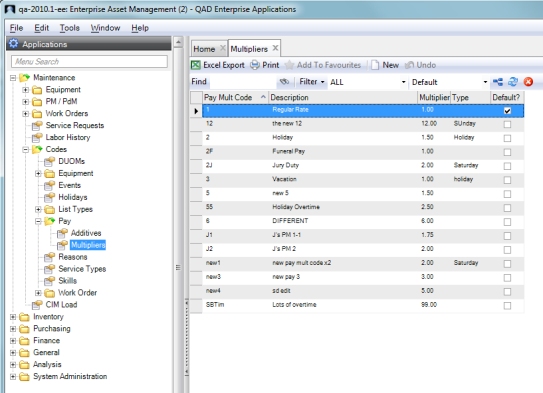
The pay multiplier code is applied to the regular pay rate to determine the total labor cost for an employee when posting labor. Use a pay multiplier as part of a formula to calculate the total labor cost. The pay multiplier multiplies against the standard hourly rate in the employee record.
The pay multiplier codes are located in Maintenance|Codes|Pay|Multipliers.
Follow these steps to add a multiplier code:
1 Open the Multipliers browse and click New.
2 Enter the multiplier code in the Pay Multiplier Code field and a short description in the Description field.
3 Enter the multiplier amount in the Multiplier field. The amount entered in this field is multiplied by the standard hourly rate in the employee’s record.
4 Enter the multiplier type in the Type field. In this field, you can enter Saturday, Sunday, Holiday, or you can leave it blank.
5 Select the Default? check box to set that pay multiplier as the default. When you are posting labor, the default pay multiplier code is displayed in the Pay Multiplier Code field.
6 Press Enter to save.
Pay Codes: Pay Multiplier
Reason Codes
The reason code is used in the Maintenance module to give a short description of downtime. This code is used for reporting and filtering purposes within a work order. The reason codes are located in Maintenance|Codes|Reasons.
To add a reason code, open the Reasons browse and click New. Enter the reason code in the Reason field and a short description in the Description field. Press Enter to save.
Reason Codes
Service Type Codes
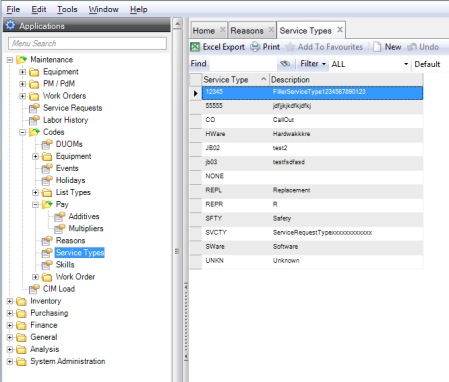
Service type codes are used to designate the types of service requests. Use these codes when managing SRs for sorting or filtering. Service type codes are located in Maintenance|Codes| Service Types.
To add a service type code, open the Service Types browse and click New. Enter the service type code in the Service Type field and a short description in the Description field. Press Enter to save.
Service Type Codes
Skills Codes
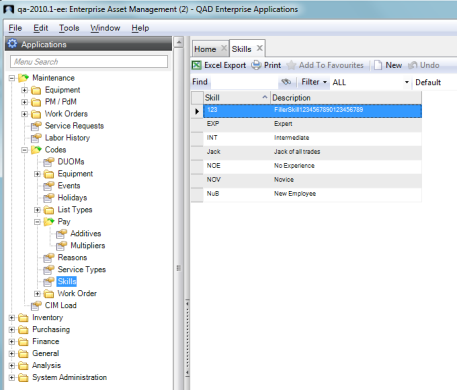
The skill codes are used to describe an employee’s capabilities within a craft. For example, if an employee’s craft code is mechanic, enter an Expert skill level. You can associate the skill code with a master parts list with a craft code followed by a skill code, or to a work order’s instruction list.
The skill codes are located in Maintenance|Codes|Skills.
To add a skill code, open the Skills browse and click New. Enter the skill code in the Skill field and a short description in the Description field. Press Enter to save.
Skills Codes
Work Order Codes
Work order codes are user-defined codes that include the following:
As Found Codes
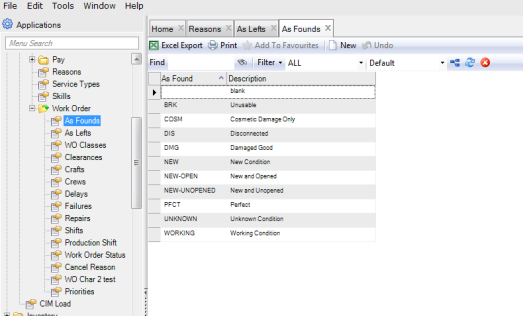
Technicians use the as-found codes to specify the condition of the equipment as repairs begin. As-found codes are located in Maintenance|Codes|Work Order|As Founds.
To add an as-found code, open the As Founds browse and click New. Enter the as-found code in the As Found field and a short description in the Description field. Press Enter to save.
Work Order Codes: As Founds
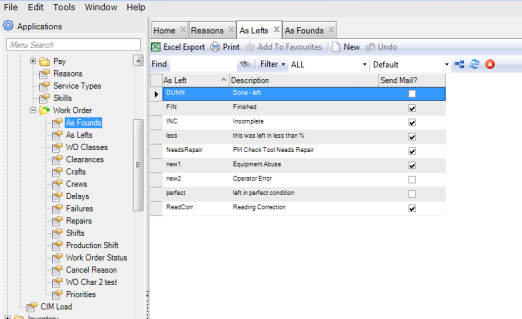
As Left Codes
Technicians use the as-left codes to specify the condition of the equipment after repairs are finished. If desired, you can set an as-left code to trigger an e-mail anytime it is used. For example, if a work order uses an as-left code that specifies e-mail notification, EAM e-mails the user or group specified in the Notify field in the work order and notifies them that something more needs to be done.
As-left codes are located in Maintenance|Codes|Work Order|As Lefts.
Follow these steps to add an as-left code:
1 Open the As Lefts browse and click New.
2 Enter the as-left code in the As Left field and a short description in the Description field.
3 Select the Send Mail? check box if EAM should automatically send an e-mail anytime this code is used. The e-mail is sent to the user or group that is specified in the Notify field in the work order.
4 Press Enter to save.
Work Order Codes: As Lefts
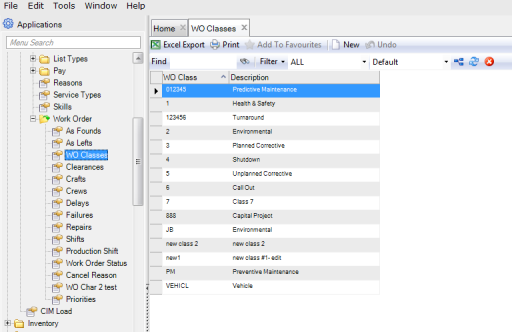
WO Class Codes
WO class codes are user-defined codes used to describe the type of work order that is created. WO class codes are located in Maintenance|Codes|Work Order|WO Classes.
To add a WO class code, open the WO Classes browse and click New. Enter the WO classes code in the WO Class field and a short description in the Description field. Press Enter to save.
Work Order Codes: WO Classes
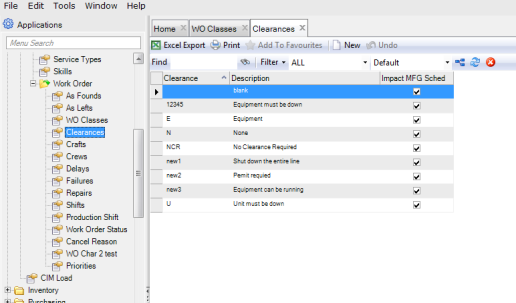
Clearance Codes
Clearance codes, which are user-defined codes used in preventive maintenance and work orders, specify the type of clearance that is required to perform work on a piece of equipment.
Example: Clearance codes used to provide an additional level of safety could include the following statements:
• You can run machinery while performing this type of work.
• Shut down the machinery.
• Shut down the entire line.
Clearance codes are located in Maintenance|Codes|Work Order|Clearances.
Follow these steps to add a clearance code:
1 Open the Clearances browse and click New.
2 Enter the clearance code in the Clearance field and a short description in the Description field.
3 Select the Impact MFG Sched check box if you use Production Scheduling Workbenches integration with EAM. For more information, see QAD Planning and Scheduling Workbenches User Guide.
4 Press Enter to save.
Work Order Codes: Clearances
Craft Codes
Craft codes, which are associated with a regular pay rate, are user-defined codes used to assign and post labor in EAM. The craft code’s pay rate is used to calculate the planned cost on WO instruction lists and in MILs. Craft codes are located in Maintenance|Codes|Work Order|Crafts.
To add a craft code, open the Craft browse and click New. Enter the craft code in the Craft field and a short description in the Description field. Enter the pay rate in the Regular Pay Rate field. Press Enter to save.
Work Order Codes: Crafts
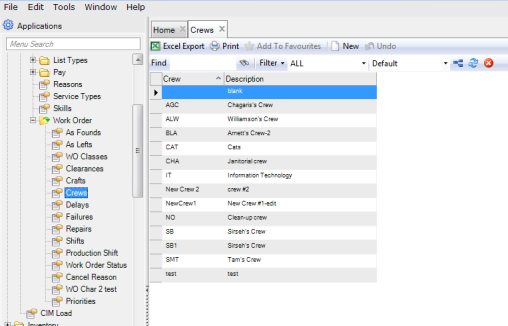
Crew Codes
Crew codes are user-defined codes used on work orders or PM templates to name the job crew in which the technician works. Crew codes are located in Maintenance|Codes|Work Order|Crews.
To add a crew code, open the Crews browse and click New. Enter the crew code in the Crew field and a short description in the Description field. Press Enter to save.
Work Order Codes: Crews
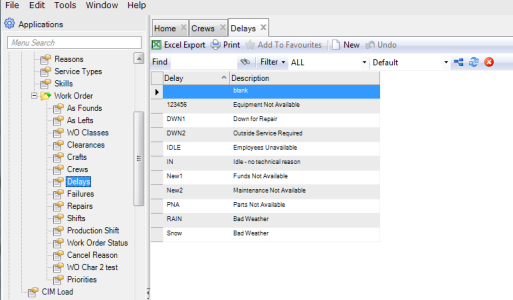
Delay Codes
Delay codes are user-defined codes used to describe why work has been delayed. Delay codes are located in Maintenance|Codes|Work Order|Delays.
To add a delay code, open the Delays browse and click New. Enter the delay code in the Delay field and a short description in the Description field. Press Enter to save.
Work Order Codes: Delays
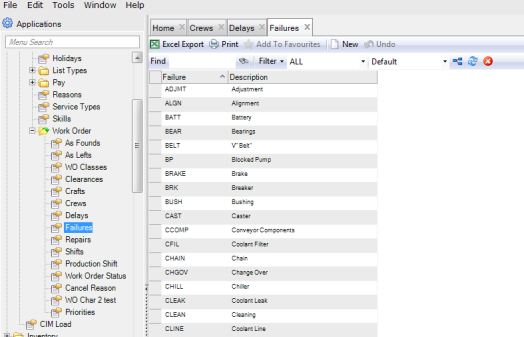
Failure Codes
Failure codes are user-defined codes used to describe the cause of a failure or breakdown. The code usually indicates the part or component that failed. Failure codes are located in Maintenance|Codes|Work Order|Failures.
To add a failure code, open the Failures browse and click New. Enter the failure code in the Failure field and a short description in the Description field. Press Enter to save.
Work Order Codes: Failures
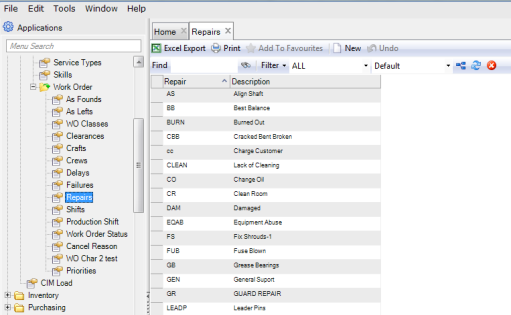
Repair Codes
Repair codes, used in equipment failure analysis, are user-defined codes used to classify the type of repair required to fix the existing problem on the equipment. Repair codes are located in Maintenance|Codes|Work Order|Repairs.
To add a repair code, open the Repairs browse and click New. Enter the repair code in the Repair field and a short description in the Description field. Press Enter to save.
Work Order Codes: Repairs
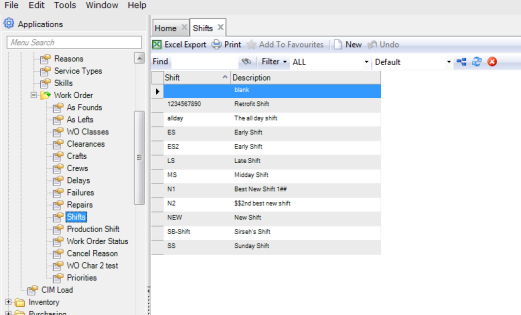
Shift Codes
Shift codes, which are used in PM templates and work orders, are user-defined codes used to determine when an employee is available to be scheduled for work. Shift codes are located in Maintenance|Codes|Work Order|Shifts.
To add a shift code, open the Shifts browse and click New. Enter the shift code in the Shift field and a short description in the Description field. Press Enter to save.
Work Order Codes: Shifts
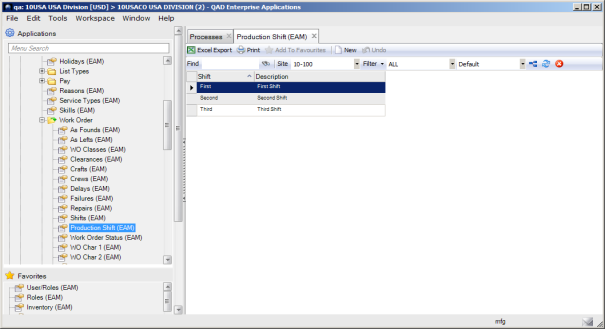
Production Shift Codes
Production shift codes are used in equipment downtime. These codes populate the Production Shift lookup on the Equipment Down Time submenu. Production shift codes are located in Maintenance|Codes|Work Order|Production Shift.
To add a production shift code, open the Production Shift browse and click New. Enter the production shift code in the Shift field and a short description in the Description field. Press Enter to save.
Work Order Codes: Production Shift
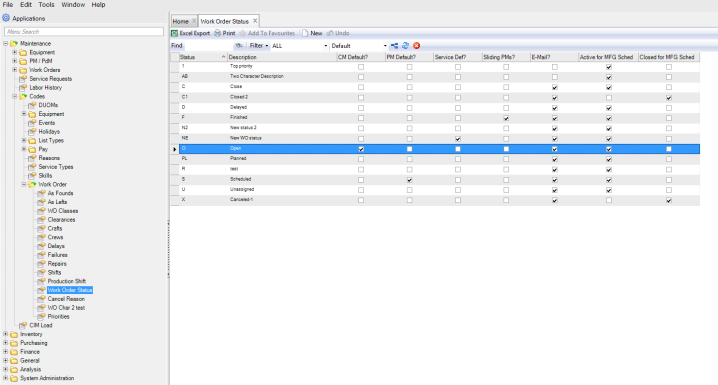
Work Order Status Codes
Work order status codes are user-defined codes that describe the status of a work order. Closed, Finished, and Canceled are permanent default work order statuses that cannot be deleted. You can create WO status codes that contain specific functionality. For example, you can:
• Indicate the default status when creating a service request, CM, or PM work order.
• Specify that the C or F status for a PM work order triggers the update of the associated sliding PM template.
• Allow EAM to automatically send an e-mail to the WO notify person anytime a work order changes to that status.
Work order status codes are located in Maintenance|Codes|Work Order|Work Order Status.
Follow these steps to add a work order status code:
1 Open the Work Order Status browse and click New.
2 Enter the work order status code in the Status field and a short description in the Description field.
3 Select the appropriate check box if this status should be the default status for CM, PM, Service, or sliding PM work orders.
• CM Default? Select this check box if you want this status to be the default status for new CM work orders.
• PM Default? Select this check box if you want this status to be the default status for new PM work orders.
• Service Default? Select this check box if you want this status to be the default status for new Service work orders.
• Sliding PMs? Select this check box if you want this status to be the default status for new sliding PM work orders.
Note: Only one status can be selected as the default for each of these settings. For example, you cannot select two different statuses as the CM default.
4 Select the E-Mail? check box to have EAM automatically send an e-mail to the WO notify person anytime a work order changes to that status.
5 Define if the work order status is pulled into the QAD ERP workbenches by selecting either the Active for MFG Sched or Closed for MFG Sched check boxes. The system displays only those work orders that have a status indicating Manufacturing Scheduling Active or Manufacturing Scheduling Closed in the workbenches. For more information, see QAD Planning and Scheduling Workbenches User Guide.
6 Press Enter to save.
Work Order Codes: Work Order Status
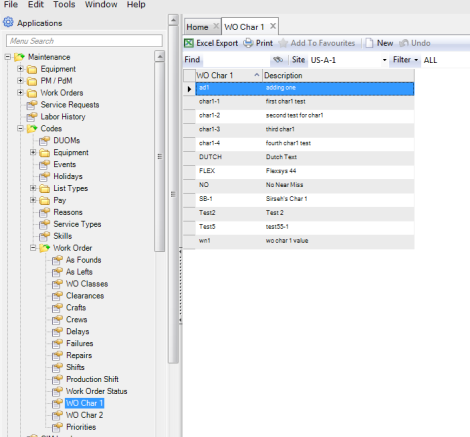
WO Character 1 Codes
WO character 1 codes are validation tables that are used with the WO Char 1 user-defined fields. For example, if you click in the WO Char 1 User-Defined field, the lookup allows you to select one of the items in the work order character 1 table. For more information about using user-defined fields, see
User-Defined Fields. The WO character 1 codes are located in Maintenance|Codes|Work Order|WO Char 1.
To add a WO character 1 code, open the WO Character 1 browse and click New. Enter the code in the WO Char 1 field and a brief description of the code in the Description field. Press Enter to save.
Work Order Codes: WO Character 1
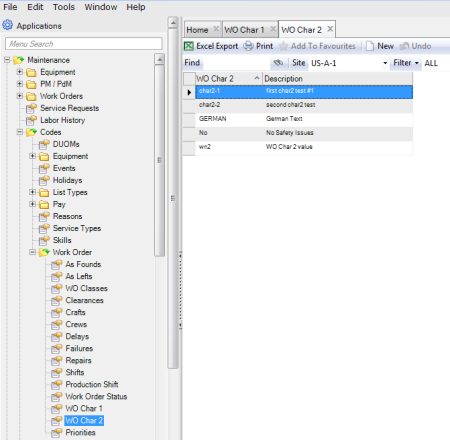
WO Character 2 Codes
WO character 2 codes are validation tables that are used with the WO Char 2 user-defined fields. For example, if you click in the WO Char 2 user-defined field, the lookup allows you to select one of the items in the work order character 2 table. For more information about using user-defined fields, see
User-Defined Fields. The WO character 2 codes are located in Maintenance|Codes|Work Order|WO Char 2.
To add a WO character 2 code, open the WO Character 2 browse and click New. Enter the code in the WO Char 2 field and a brief description of the code in the Description field. Press Enter to save.
Work Order Codes: WO Character 2
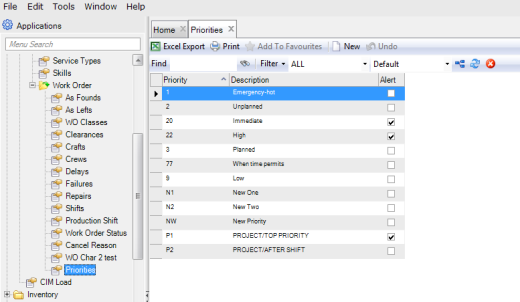
Priority Codes
Priority codes are user-defined codes used on work orders to reflect the priority level of the work order. Priority codes are located in Maintenance|Codes|Work Order|Priorities.
Follow these steps to add a priority code:
1 Open the Priorities browse and click New.
2 Enter the priority code in the Priority field and a short description in the Description field.
3 Select the Alert check box to page the person specified in the Alert field on the service request or WO based on this priority.
4 Press Enter to save.
Work Order Codes: Priorities
Tool Codes
Tool codes are located in Maintenance|Codes|Tools. They are user-defined codes for:
• Tool Status
• Tool Locations
• Tool Classes
• Tool Types
• Tool List Types
• Tool Catalogs
• Tool Failures
• Tool Repairs
• Tool Failure Types
• Tool Rebuild Locations
Tool Status
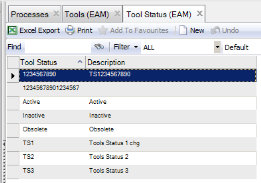
Tool Status codes are used to define a status meaningful for a tool. They are not used for inventory parts, which are defined separately. The three system-provided Tool Status codes are Active, Inactive, and Obsolete, but you can define additional statuses in the browse.
Tools Codes: Tool Status
To add a Tool Status code, open the Tool Status browse and click New. Enter the code in the Tool Status field and a brief description of the code in the Description field. Press Enter to save.
Note: Tool management does not support a status of Inactive or Obsolete for tools. That functionality is planned as a future enhancement.
Tool Locations
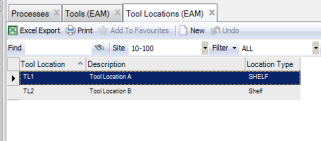
Tool Location codes are user-defined codes that define a bin or shelf in a tool room or tool crib. These definitions are different than those used for inventory parts. The location is used in the tool serial record and as a default location on the tool record.
Tools Codes: Tool Locations
To add a Tool Location code, open the Tool Locations browse and click New. Enter the code in the Tool Location field and a brief description of the code in the Description field. Enter a physical description of the location in the Location Type field, choosing from Shelf, Inspection, and Rebuild. The default Location Type is Shelf. Press Enter to save.
Tool Classes
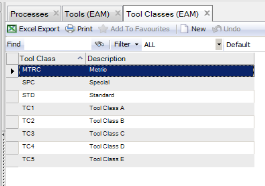
Tool classes are user-defined codes that you can add to the tool definition. You can use these codes to group common tools together and for filtering and reporting purposes.
Tools Codes: Tool Classes
To add a Tool Class code, open the Tool Classes browse and click New. Enter the code in the Tool Class field and a brief description in the Description field. Press Enter to save.
Tool Types
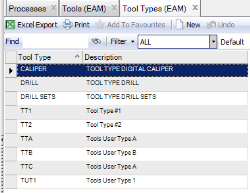
Tool Type codes are user-defined codes that you can add to the tool definition and use for filtering and for grouping common tools together.
Tools Codes: Tool Types
To add a Tool Type code, open the Tool Types browse and click New. Enter the code in the Tool Type field and a brief description in the Description field. Press Enter to save.
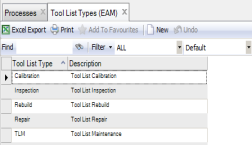
Tool List Types
Tool List Types are user-defined codes that define the intended use of the tool. The definition is used as a lookup on the Master Tool List – Type and can be used for filtering Master Tool Lists.
Tool Codes: Tool List Types
To add a Tool List Type, open the Tool List Types browse and click New. Enter the code in the Tool List Type field and a brief description in the Description field. Press Enter to save.
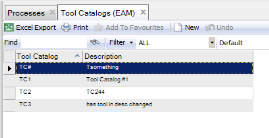
Tool Catalogs
Tool Catalog codes are used to group common tools under a single code for better reporting and filtering capabilities.
Tool Codes: Tool Catalogs
To add a Catalog code, open the Tool Catalog browse and click New. Enter the code in the Tool Catalog field and a brief description in the Description field. Press Enter to save.
Each catalog can have multiple subcatalogs, which are displayed in the lower browse. To add a subcatalog:
1 Highlight the parent catalog in the upper browse.
2 Click New in the lower browse.
3 Enter a subcatalog code in the Tool Sub Catalog field.
4 Enter a brief description in the Description field.
5 Press Enter to save.
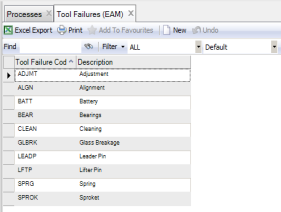
Tool Failures
Tool Failure Codes are user-defined codes used to describe the cause of a failure on a WO. The code usually indicates the part or component that failed.
To add a tool failure code, open the Tool Failures browse and click New. Enter the failure code in the Tool Failure field and a short description in the Description field. Press Enter to save.
Tool Codes: Tool Failures
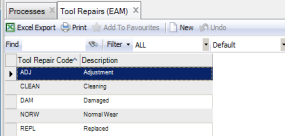
Tool Repairs
Repair codes, used in tool failure analysis, are user-defined codes used to classify the type of repair required to fix the existing problem on a WO.
To add a repair code, open the Repairs browse and click New. Enter the repair code in the Repair field and a short description in the Description field. Press Enter to save.
Tool Codes: Tool Repairs
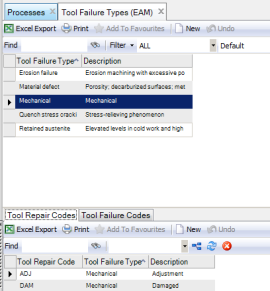
Tool Failure Types
The Tool Failure Type codes are used to define failure types with associated repair and failure codes for use with tools that are entered on a WO. These codes allow you to track tool failures on work orders to analyze a PM program’s effectiveness. If PMs are designed to prevent a certain type of failure, but the failure is occurring before the PM issue-by date, then modify the PM to come due more frequently.
Tool Codes: Tool Failure Types
Note: EAM e-mails warnings about PMs whose failure frequency exceeds PM frequency. If there is not a PM work order to prevent a frequent tool failure, then create a PM work order.
Follow these steps to add a Tool Failure Type code:
1 Open the Tool Failure Type code browse and click New.
2 Enter the failure type code in the Tool Failure Type field and a short description in the Description field.
3 Press Enter to save.
4 Add failure and repair codes to the failure type code that you created. Select the Tool Failure Type and click New in the lower browse.
5 Use the lookups in the Failure and Repair fields to add failure and repair codes to Tool Failure Type code.
6 Press Enter to save.
7 Continue to add failure and repair codes to the Tool Failure Type code as necessary.
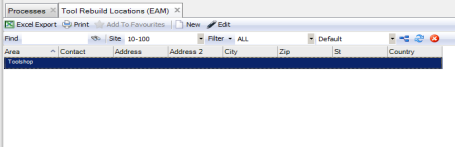
Tool Rebuild Locations
You can define Tool Rebuild Locations for use with rotable tools. Rebuild Location codes are user-defined codes used to identify areas to rebuild and work on rotable tools.
Tool Codes: Tool Rebuild Locations
To add a rebuild location code, open the Rebuild Locations browse and click New.
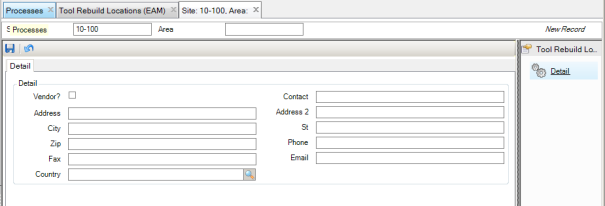
New Tool Rebuild Location
Enter the relevant information in the following fields:
Site
Displays the site identified with the rebuild location. When the system creates the rebuild location, the Site field is read-only.
Area
The rebuild location name.
Vendor?
Select this check box to indicate a vendor rebuild location.
Contact
The individual to contact for information at the rebuild location.
Address
The street address of the rebuild location.
Address 2
Additional information about the rebuild location street address such as suite number.
City
The rebuild location city.
St
The rebuild location state.
Zip
The postal code of the rebuild location.
Phone
The phone number of the rebuild location.
Fax
The fax number for the rebuild location.
Email
The e-mail address for a contact at the rebuild location.
Country
The country of the rebuild location.
Click the disc icon to save.