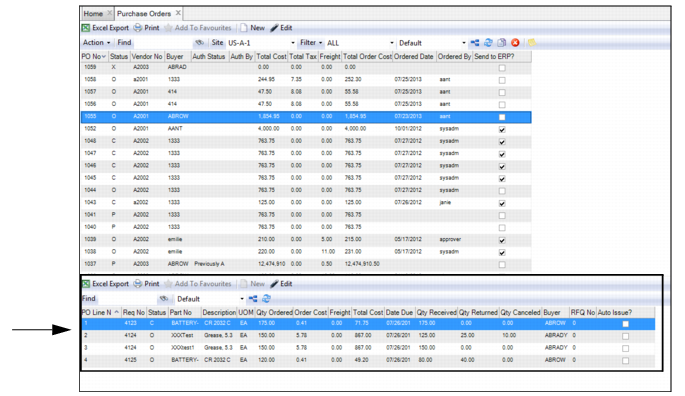
Purchase Orders Lines
The Purchase Order Lines browse displays the lines on the selected purchase order.
Purchase Order Lines Browse
View Requisitions Tied to the PO
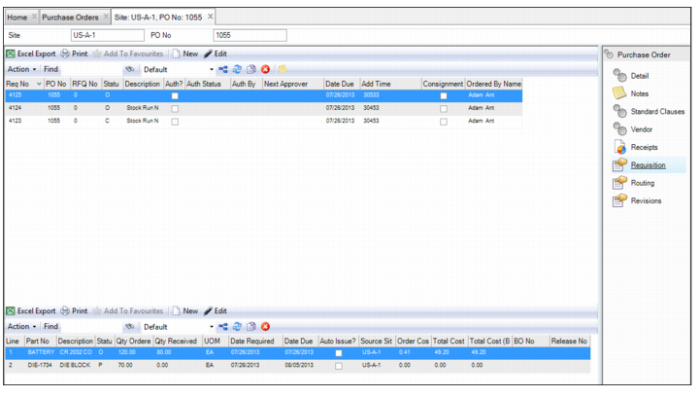
To view the requisitions that are associated with the PO, open the PO and select the Requisition submenu. The upper browse shows all requisitions that are tied to the PO. The lower browse shows the lines that are on the selected requisition.
If necessary, you can add lines to the PO directly from the Requisition submenu. See
Adding Lines to a Purchase Order.
Purchase Order: Requisition Submenu
Adding Lines to a Purchase Order
To add lines to a PO, add the lines to the requisition that is associated with the PO. When you add the lines to the requisition, the new lines are automatically added to the PO.
Note: When you add a line from the PO’s Requisition submenu, the system auto-fills most of the fields with information from the PO. This feature saves you time and ensures data integrity.
Follow these steps to add lines to a PO:
1 Open the PO and select the Requisition submenu.
2 In the upper browse, select the requisition to which you want to add the line. In the lower browse, click New.
A new requisition line record opens.
Adding a Requisition to a Purchase Order
In the Requisition submenu, you can add a requisition to a PO. When you create the requisition, you can add lines to the requisition, which are then added to the PO.
Note: When you create a requisition from the PO’s Requisition submenu, the system auto-fills most of the fields with information from the PO. This feature saves you time and ensures data integrity.
Follow these steps to add a requisition to a PO:
1 Open the PO and select the Requisition submenu.
2 In the upper browse, click New.
A new requisition record opens.