QAD Enterprise Asset Management 2017.1
>
User Guide
>
Inventory
>
Inventory
>
Setup–MRO Inventory
Setup–MRO Inventory
System Administration Module Setup
The system setup options for the Inventory module are located in System Administration|Registry. Do not modify the registry unless there is a definite need to do so. Contact the QAD EAM Support group for advice on your situation. See
Set Up Registry Data.
General Module Setup
There are various setup options in the General module in the domain and site records.
Domain Setup
The Inventory tab on the domain record contains the following fields that provide setup options for the Inventory module:
|
• Inventory Cost Method
|
• A,B,C Percent
|
• Part Description Protected
|
|
• Cons Res/Short?
|
• A,B,C Days
|
• Transit
|
|
• Cons Reserves?
|
• Reserve Inventory
|
• Reopen Stores?
|
|
• Cons Res Orders
|
• Diff Acct Period?
|
|
Site Setup
The Inventory, More Inventory, and Miscellaneous tabs on the site record contains setup options for the Inventory module.
Inventory Tab
Inventory Issues Defaults – Debit
• Department, Cost Center, Acct No, Sub Acct No, Acct No (Equip), and Sub Acct No (Equip)
Inventory Issues Defaults – Credit
• Stock Dept, Stock Cost Center, Stock Acct, Stock Sub Acct, and Stock OH Group
• NStock Dept, NStock Cost Center, NStock Acct, NStock Sub Acct, and NStock OH Group
Consignment Inventory Defaults
• Asset Dept, Asset Cost Center, Asset Acct No, and Asset Sub Acct
• Adj Dept, Adj Cost Center, Adj Acct No, and Adj Sub Acct
More Inventory Tab
Inventory Adjustment Defaults
• Dept, Cost Center, Acct No, and Sub Acct No
Include as Inventory Usage
• Issue, Relocation, Return, Adjust Up, and Adjust Down
Transit Accounts
• Dept, Acct No, Cost Center, and Sub Acct No
Options
• Auto Close Stores?, Stores Auth?, and Prompt for Pick Ticket?
Miscellaneous Tab
Sole Source Options
• Automatically, Notify, and Requestor
Revision Control
Activate revision control for inventory records in the Revision Control submenu on the Site record. See
Enable Revision Control.
Codes
The following codes can be set up for use in the Inventory module:
• Descriptor Codes. Use to further describe a piece of equipment or an inventory part. See
Descriptor Codes.
• Descriptor Definitions. Use to create standard technical documentation for equipment and inventory parts. See
Descriptor Definition Codes.
Inventory Module Setup–Codes
Inventory codes, located in Inventory|Codes, are user-defined codes. Depending on your permissions, you can add or edit existing records. The following codes can be defined in the Inventory module:
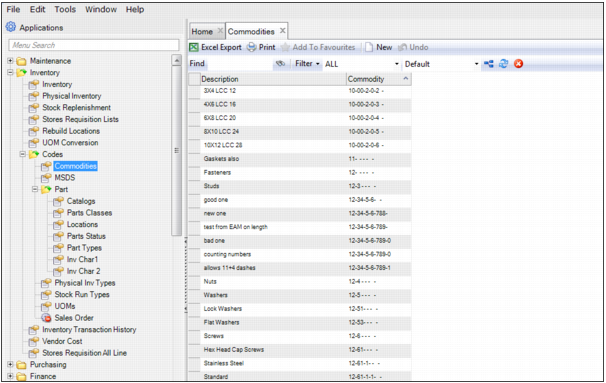
Commodity Codes
The commodity codes, located in Inventory|Codes|Commodities, are user-defined codes that:
• Group items based on the type or use of the part. Maintenance technicians use them to find or order a repair part.
• Serve as an important tool for buyers to help analyze a company’s spending habits.
• Can also be used in the stock replenishment routine and in the Inventory and Purchasing modules.
You can format commodity codes to match industry standards. The codes can be up to 15 characters in length, or have a hierarchical structure with up to four levels of two codes. The commodity code format displays dashes within the commodity, depending on the format definitions you establish in the System Registry.
Example: The format definition for commodity codes from the National Institute of Government Purchasing Web site allows up to five segments (“lengths”), in the format xxx-xx-xx-xxx-x. The first segment has three positions or characters, the second segment has two, the third segment has two, the fourth segment has three, and the fifth segment has one. The following are sample commodity codes from the site:
|
Commodity
|
Description
|
|
620
|
Office Supplies
|
|
620-80
|
Pens
|
|
620-80-21
|
Pens, Ball Point
|
|
620-80-21-075-4
|
Fine Point, Black Ink, 12/box
|
|
620-80-21-075-3
|
Fine Point, Blue Ink, 12/box
|
|
620-80-21-075-1
|
Fine Point, Green Ink, 12/box
|
|
620-80-21-075-0
|
Fine Point, Red Ink, 12/box
|
To add a commodity code, open the Commodities browse and click New. Enter the code in the Commodity field and a brief description of the code in the Description field. Press Enter to save.
Codes: Commodities
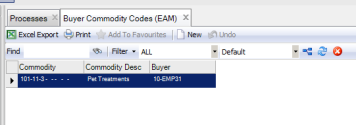
Buyer Commodity Codes
The Buyer Commodity Codes menu item is visible when the Buyer/Commodity Purchasing? check box is selected in Domain|Inventory.
Note: You must log out and log back into the system to see the menu item.
Buyer Commodity Codes
To link a Commodity code with a buyer,
1 Click New.
2 Select a Commodity code from the lookup. Tab to move automatically to the Buyer lookup. The Commodity Description updates with the description defined for that commodity.
3 Select the buyer from the Buyer lookup. Tab again to save.
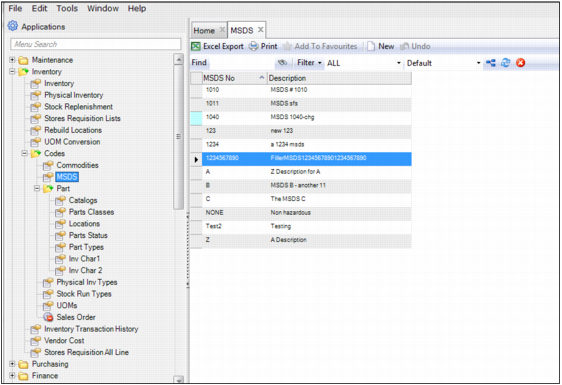
MSDS Codes
The Material Safety Data Sheet (MSDS), located in Inventory|Codes|MSDS, are user-defined codes that can be used to cross-reference MSDSs that may be stored somewhere else in the organization.
To add an MSDS code, open the MSDS browse and click New. Enter the code in the MSDS No field and a brief description in the Description field. Press Enter to save.
Codes: MSDS
Part Codes
Part codes are user-defined codes that can be used to give additional information about parts, such as catalogs, part classes, locations, part statuses, and part types. The application also provides the Inv Char 1 and 2 codes, which are user-defined codes that are used with the user-defined fields. Part codes are located in Inventory|Codes|Part.
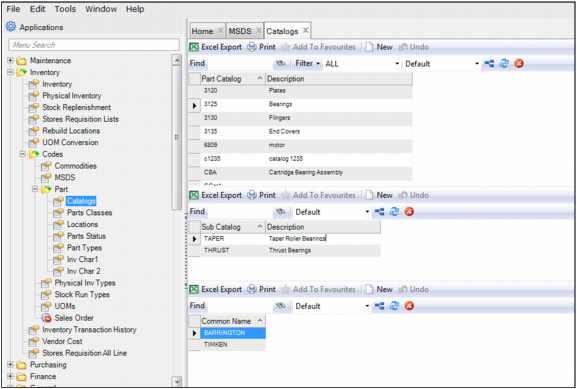
Part Catalog Codes
Catalog codes, located in Inventory|Codes|Part|Catalog, are user-defined codes that are used to group parts. The Catalog browse contains a hierarchical table. The top frame displays a broad grouping of parts, while the lower frames display the types within that group. Catalog codes are used in Inventory only, for filtering and reporting purposes.
Follow these steps to create a catalog code:
1 Open the Catalog browse. In the top frame, click New.
2 Enter the part catalog number in the Part Catalog field and a brief description in the Description field. Press Enter to save.
3 If there is a subcatalog number, select the catalog code in the top frame and click New in the middle frame. Enter the subcatalog number in the Sub Catalog field and a brief description in the Description field. Press Enter to save.
4 If there are any common names, select the subcatalog code in the middle frame and click New in the bottom frame. Enter the common name in the Common Names field. Press Enter to save. Repeat this step to add more names.
Note: A common name, which is associated with a subcatalog code, is a noun or an adjective used to describe the catalog or subcatalog. Sometimes, users enter their own names.
Part Codes: Catalogs
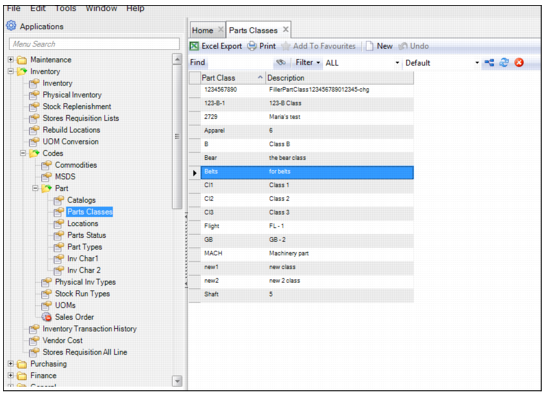
Parts Classes
Parts classes are user-defined codes located in Inventory|Codes|Part|Parts Classes. Parts classes, which are used to group common parts together, are used in the Inventory module only, for filtering and reporting purposes.
To add a parts class code, open the Parts Classes browse and click New. Enter the class code in the Part Class field and a brief description in the Description field. Press Enter to save.
Part Codes: Parts Classes
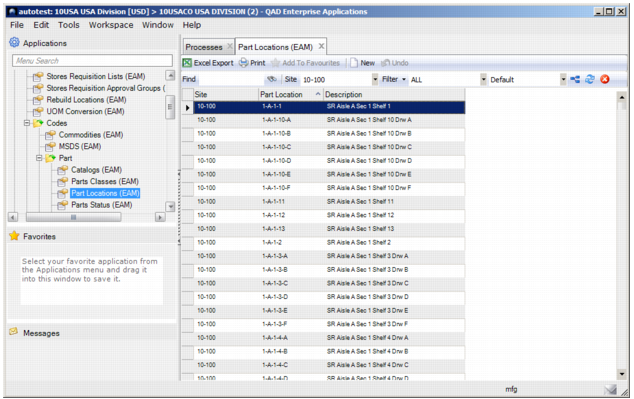
Part Location Codes
Location codes, which are located in Inventory|Codes|Part|Part Locations, are user-defined codes used to indicate the bin location of the part. Each part requires at least one location to track quantities. A current quantity is associated with the location.
To add a part location code, open the Part Locations browse and click New. Enter the location code in the Part Location field and a brief description in the Description field. Press Enter to save.
Part Codes: Part Locations
Parts Status Codes
Parts Status codes, which are user-defined codes, such as Available (A), Spare (S), and Obsolete (O), are used for analysis and reporting purposes. These codes are located in Inventory|Codes|Part|Parts Status.
To add a parts status code, open the Parts Status browse and click New. Enter the parts status code in the Parts Status field and a brief description in the Description field. Press Enter to save.
Codes: Parts Status
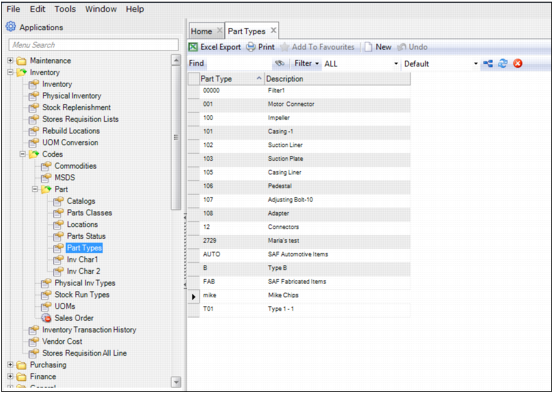
Part Types
Part Type codes are used in the stock replenishment routine. Part types indicate a part’s functional application and are used for filtering and reporting. Part type codes are located in Inventory|Codes|Part|Part Types.
To add a part type code, open the Part Types browse and click New. Enter the part type code in the Part Type field and a brief description in the Description field. Press Enter to save.
Note: Add or edit type codes only for accounting/SAF purposes. They should match the corresponding SAF data found in the QAD ERP in Generalized Codes Maintenance. If and when those items are used in operational transactions, the items with which they are associated should be items in Item Master Maintenance.
Part Codes: Part Types
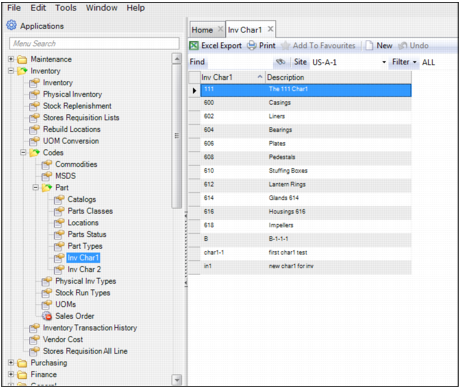
Inv Char 1 Codes
Inv Char 1 codes are validation tables that are used with the Inv Char 1 user-defined fields. For example, if you click in the Inv Char 1 user-defined field, the lookup allows you to select one of the items in the inventory character 1 table. For more information about using user-defined fields, see
User-Defined Fields. The Inv Char 1 codes are located in Inventory|Codes|Part|Inv Char 1.
Note: There are 70 user-defined fields in EAM. Of these fields, there are two Inventory tables for user-defined lookup codes that allow you to customize labels and build codes and descriptions.
To add an Inv Char 1 code, open the Inv Char 1 browse and click New. Enter the code in the Inv Char 1 field and a brief description of the code in the Description field. Press Enter to save.
Part Codes: Inv Char 1
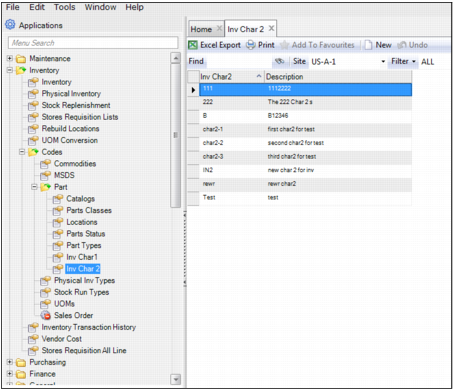
Inv Char 2 Codes
Inv Char 2 codes are validation tables that are used with the Inv Char 2 user-defined fields. For example, if you click in the Inv Char 2 user-defined field, the lookup allows you to select one of the items in the inventory character 2 table. For more information about using user-defined fields, see
User-Defined Fields. The Inv Char 2 codes are located in Inventory|Codes|Part|Inv Char 2.
Note: There are 70 user-defined fields in EAM. Of these fields, there are two Inventory tables for user-defined lookup codes that allow you to customize labels and build codes and descriptions.
To add an Inv Char 2 code, open the Inv Char 2 browse and click New. Enter the code in the Inv Char 2 field and a brief description of the code in the Description field. Press Enter to save.
Part Codes: Inv Char 2
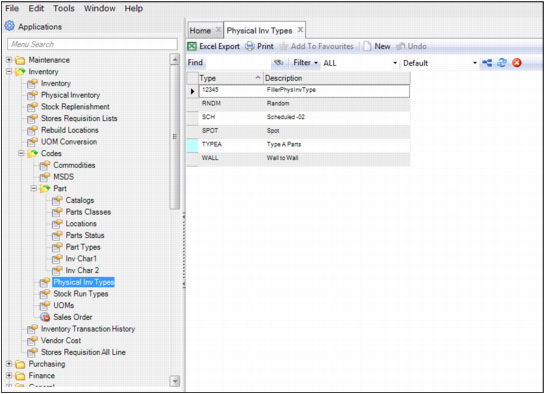
Physical Inventory Types
The Physical Inventory Type codes, located in Inventory|Codes|Physical Inv Types, are used to classify the purpose of a physical inventory count, such as wall-to-wall or spot.
To add a physical inventory type code, open the Physical Inv Type browse and click New. Enter the physical inventory type in the Type field and a brief description of the code in the Description field. Press Enter to save.
Codes: Physical Inventory Types
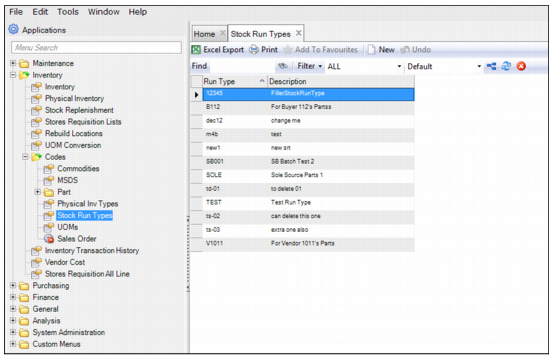
Stock Run Types
The Stock Run Type codes, located in Inventory|Codes|Stock Run Types, are used to classify the purpose of a stock run, such as internal or critical parts.
To add a stock run type, open the Stock Run Types browse and click New. Enter the stock run type in the Run Type field and a brief description of the code in the Description field. Press Enter to save.
Codes: Stock Run Types
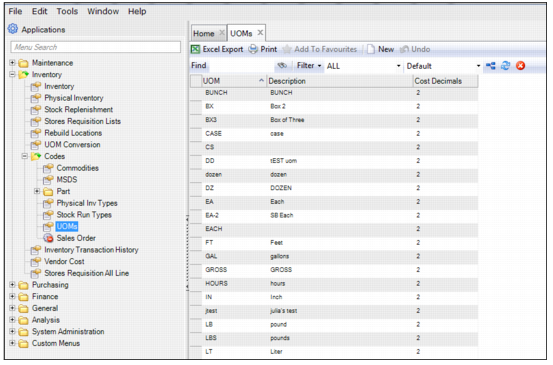
UOMs
The Unit of Measure (UOM) codes, located in Inventory|Codes|UOMs, are used to classify UOMs and cost decimals.
To add a UOM, open the UOMs browse and click New. Enter the UOM in the UOM field, a brief description in the Description field, and the cost decimal in the Cost Decimals field. Press Enter to save.
Codes: UOMs
UOM Conversion
Use Unit of Measure (UOM) Conversion to automatically create a conversion when transitioning between issuing units of measure and purchasing units of measure.
For example, parts issue out of inventory in units of each (such as individual pencils). The vendor requires the company to buy the part (pencils) in units of boxes (25 pencils to a box).
The conversion occurs when requesting 25 each. The system converts boxes from the vendor into eaches for issue. It converts the box price into each prices so that the cost at issue is for the individual pencil, not the box unit (order price).
UOM Conversion Browse
Access this browse from Inventory|UOM Conversion. Use it to organize and display records, to access supporting functions, and to edit or create new records.
UOM Conversions Browse
Creating a UOM Conversion Record
1 Open the UOM Conversion browse and click New.
2 Enter information into the following fields:
Order UOM
Use the lookup to select the UOM used when ordering the part.
Issue UOM
Use the lookup to select the UOM used when issuing the part.
Part No
Use the lookup to select the part number to associate with this UOM conversion. When the part has a unique multiplier, it is recommended that you associate a part number to the UOM conversion.
Round By
Specify rounding for resulting conversion.
Multiplier
Specify a number used to convert the Order UOM quantity to Issue UOM quantity.
3 Press Enter to save.